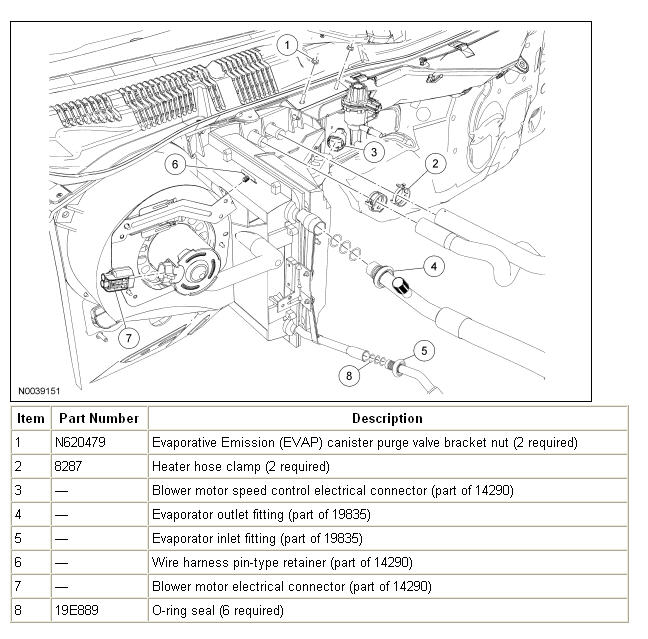
| From |
To |
Inlet Size |
Outlet Fitting Size |
O.D. |
Length |
Service Port Size | Comments |
Ford Part Numbers |
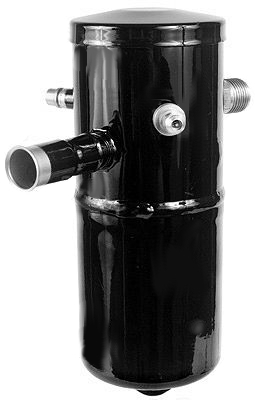
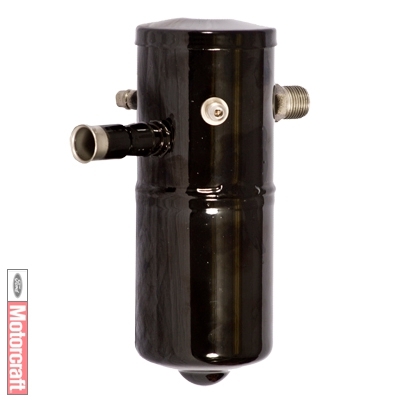
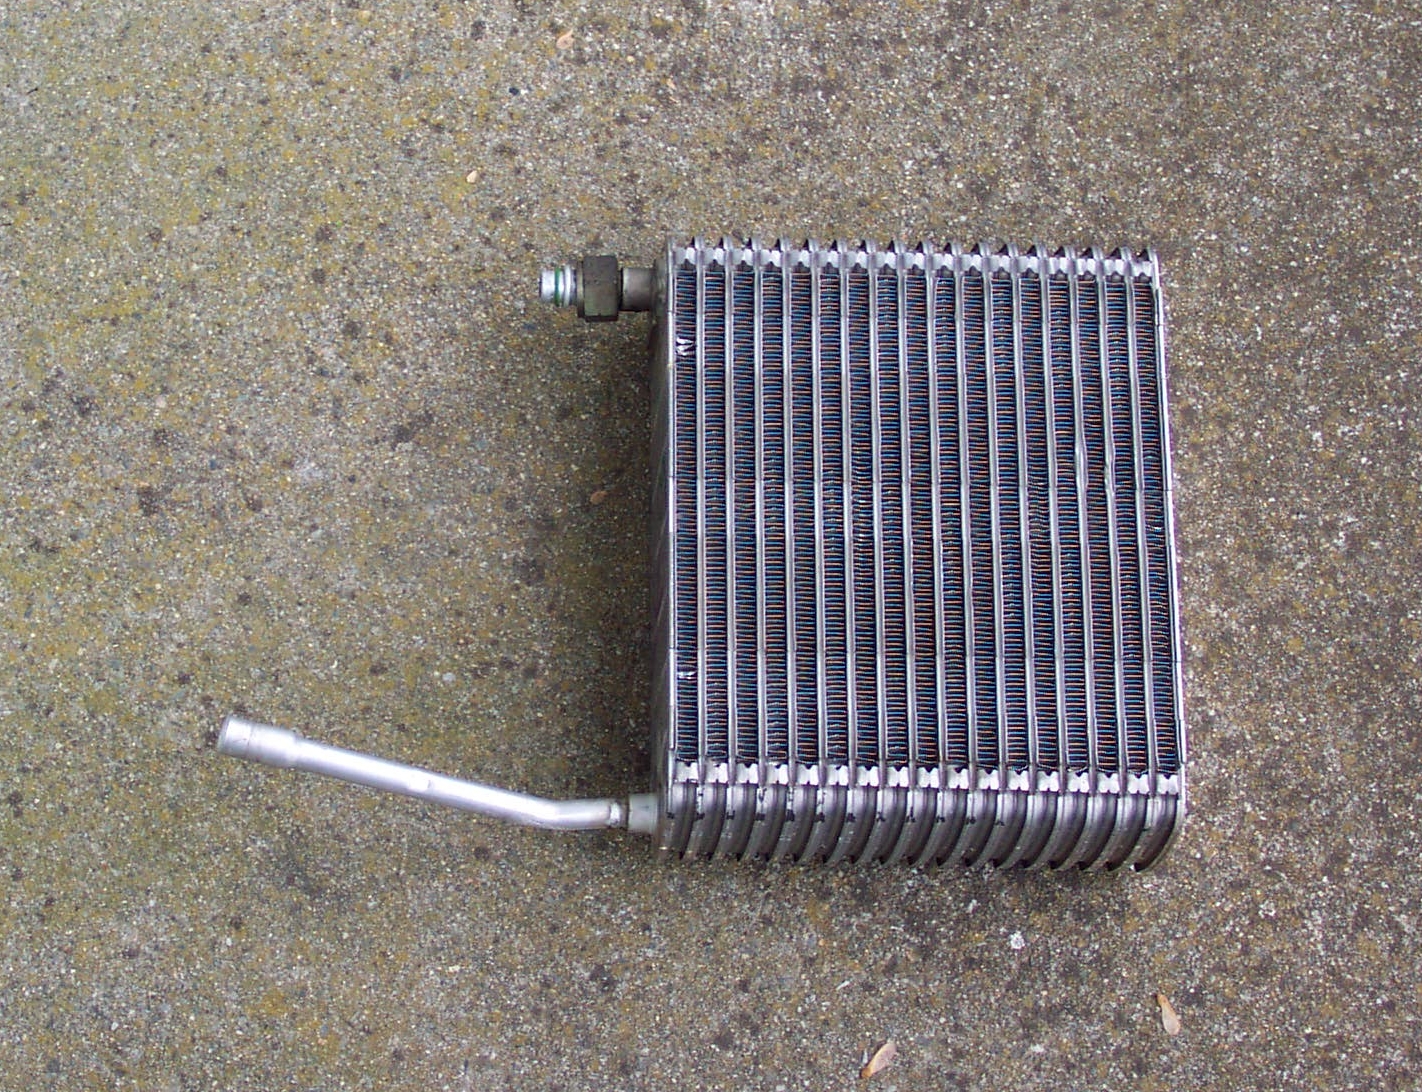
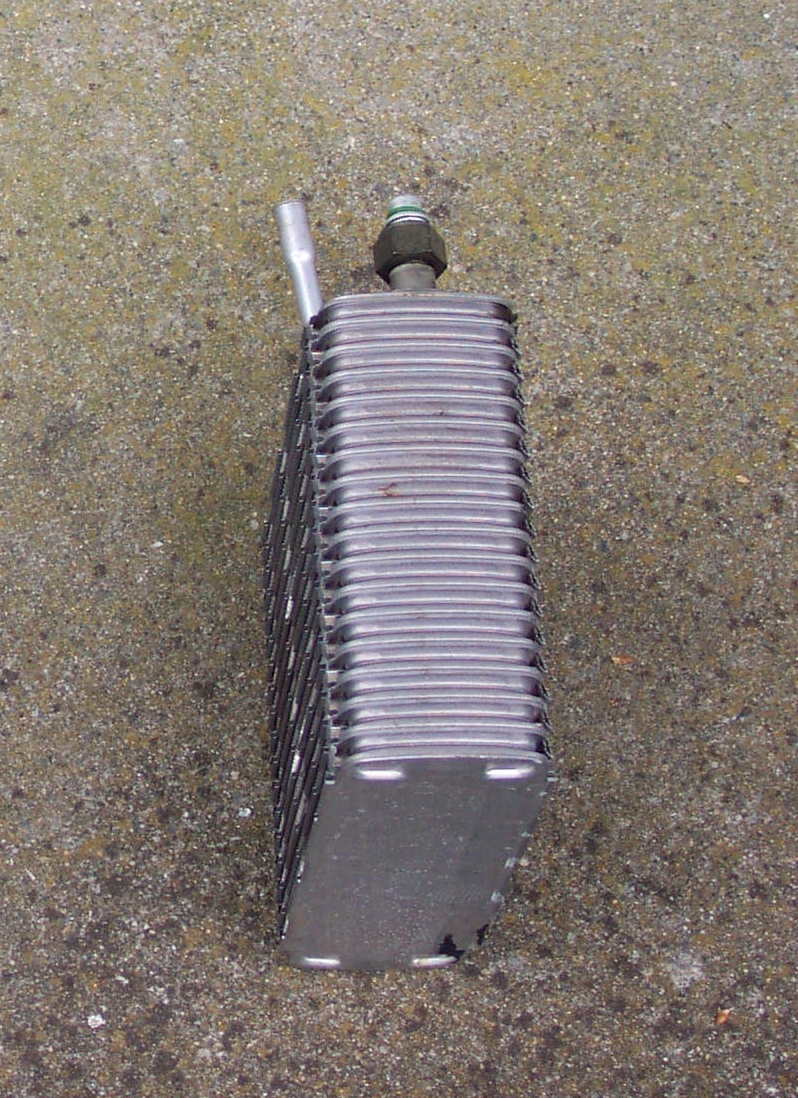
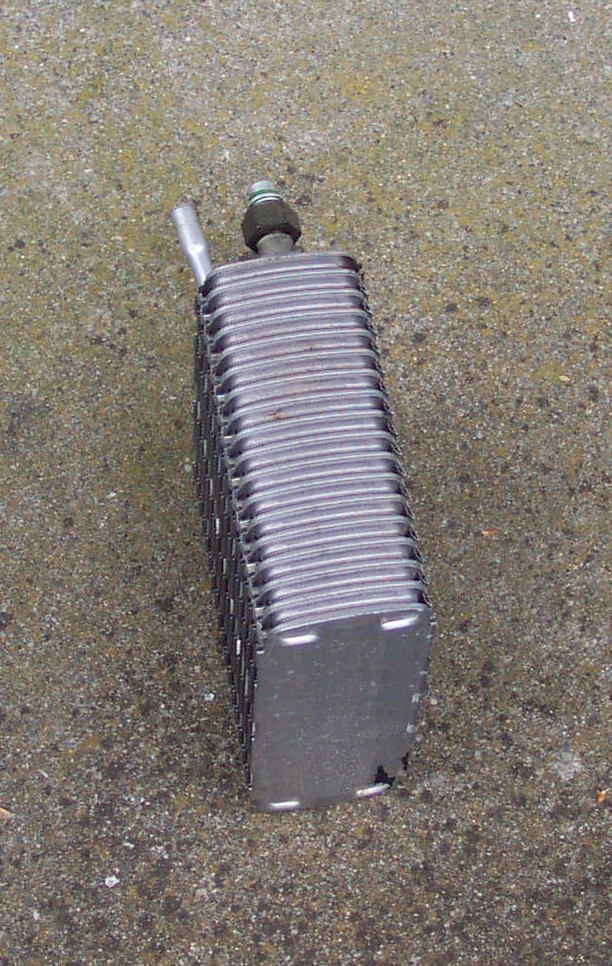
| 1992 |
1993 |
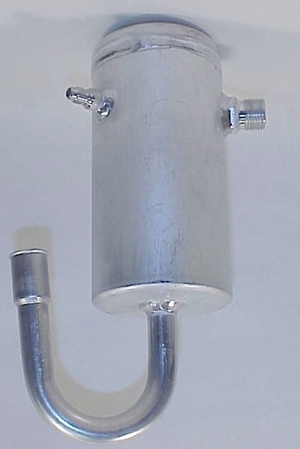
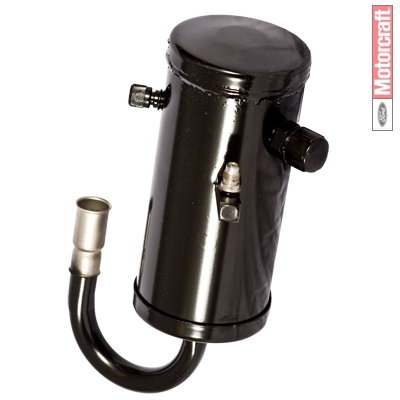
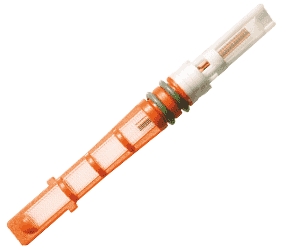
3/4" Female Springlock | 5/8" Male Insert O-Ring (M.I.O.) |
3.5" | 8" 10.1" |
1/4" Male (R12 low side guage port) 1/4" Male (Cycling Switch - 1992 only) |
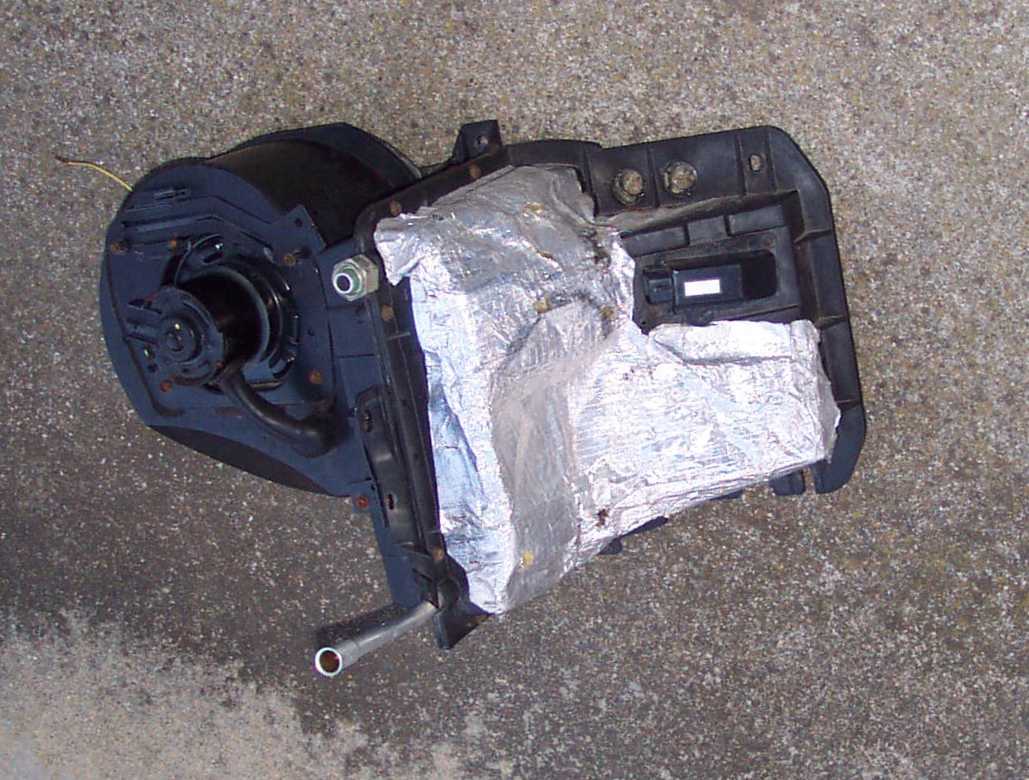
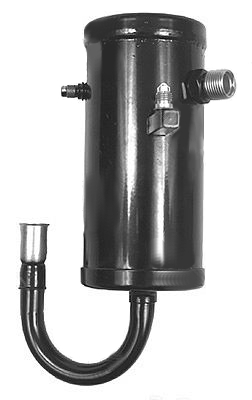
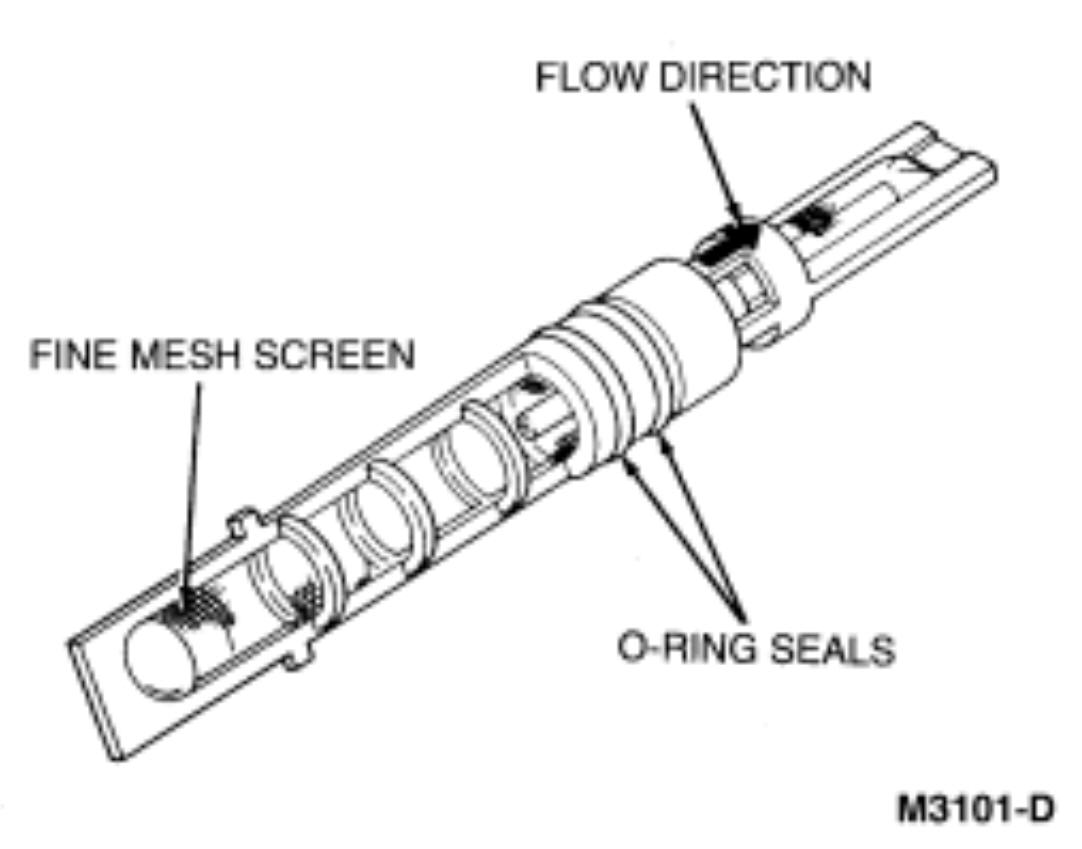
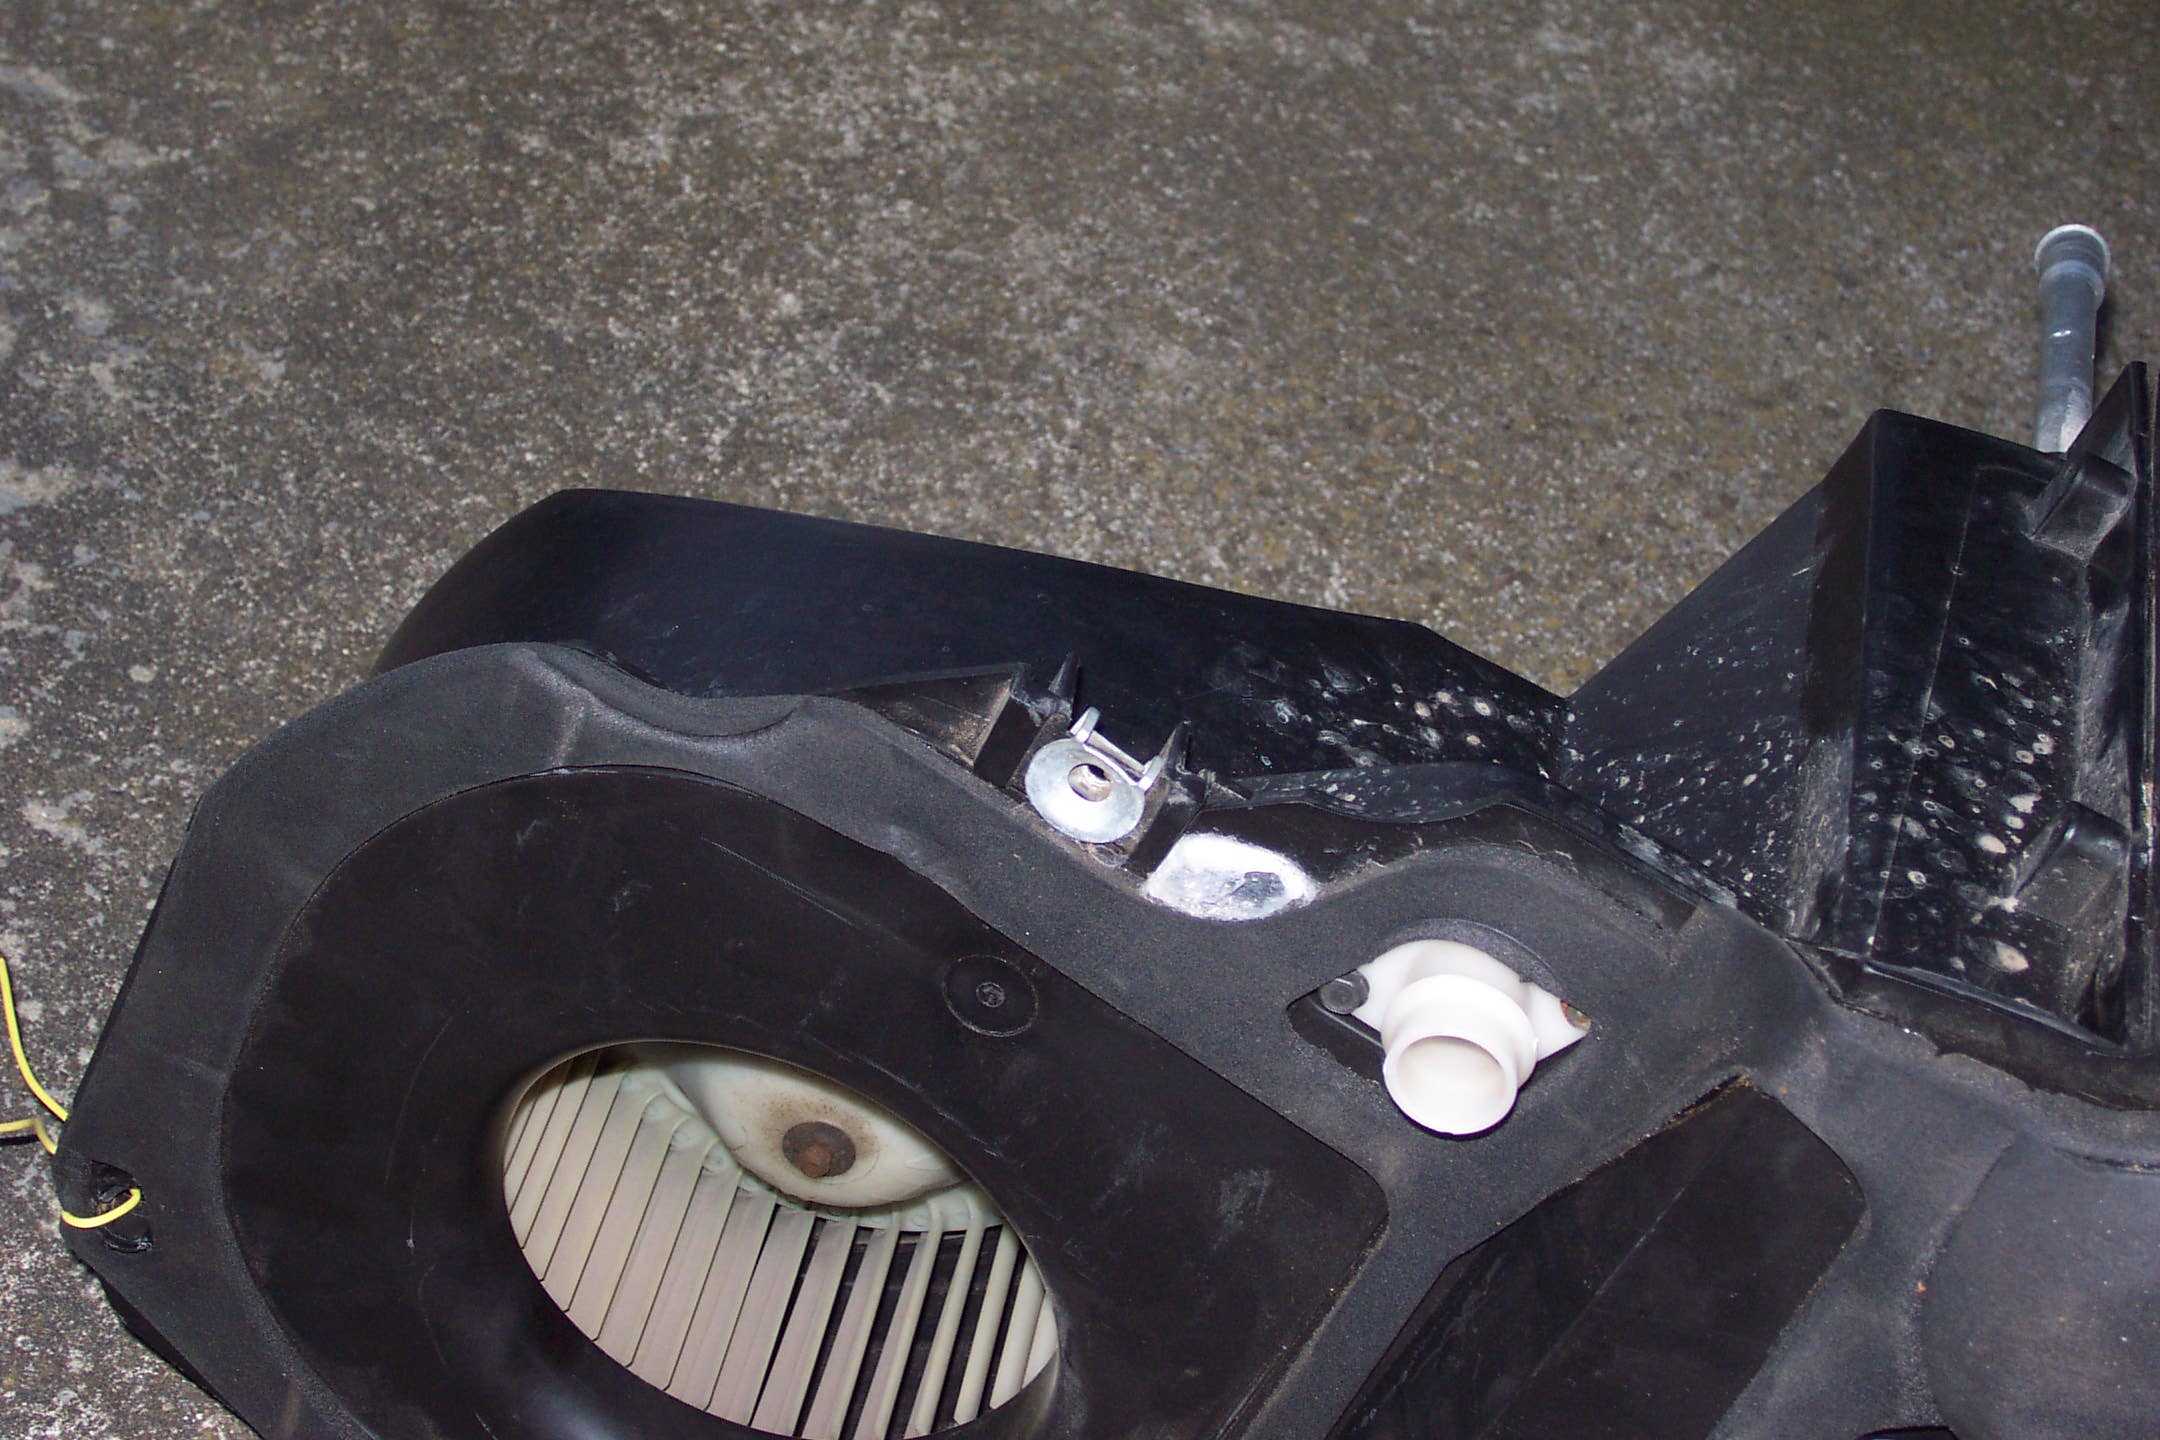
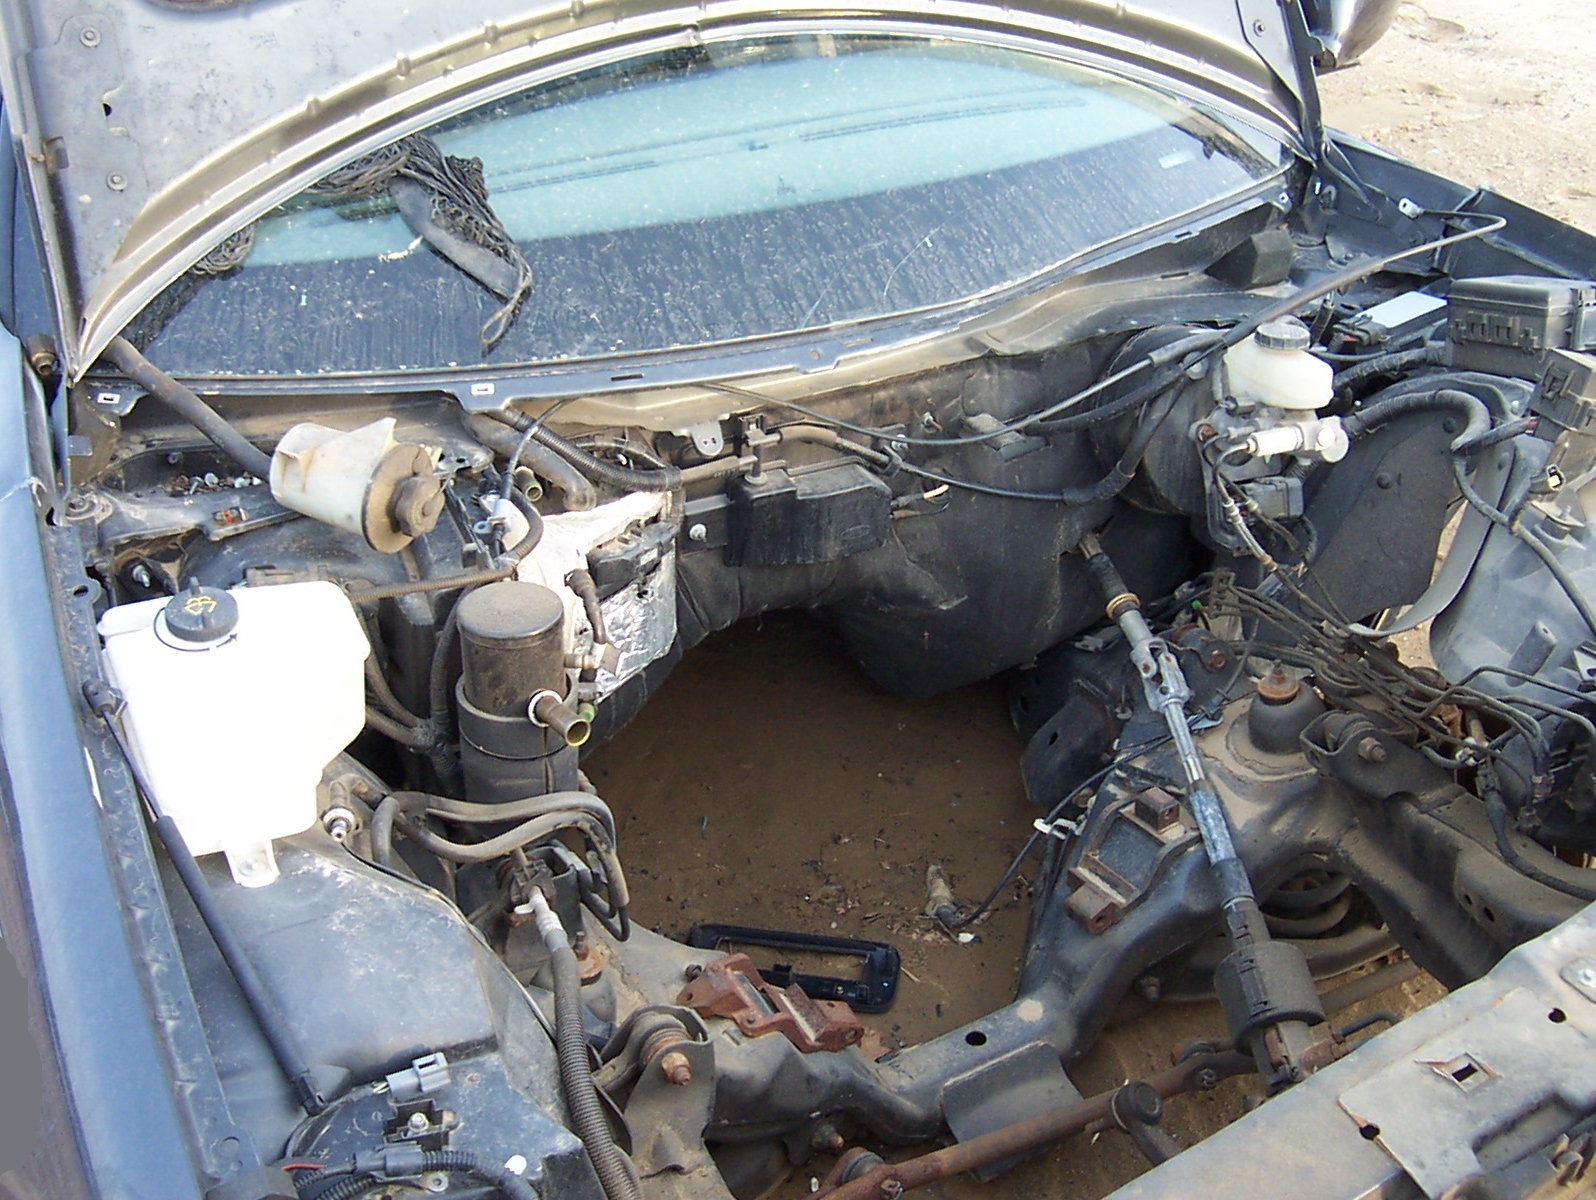
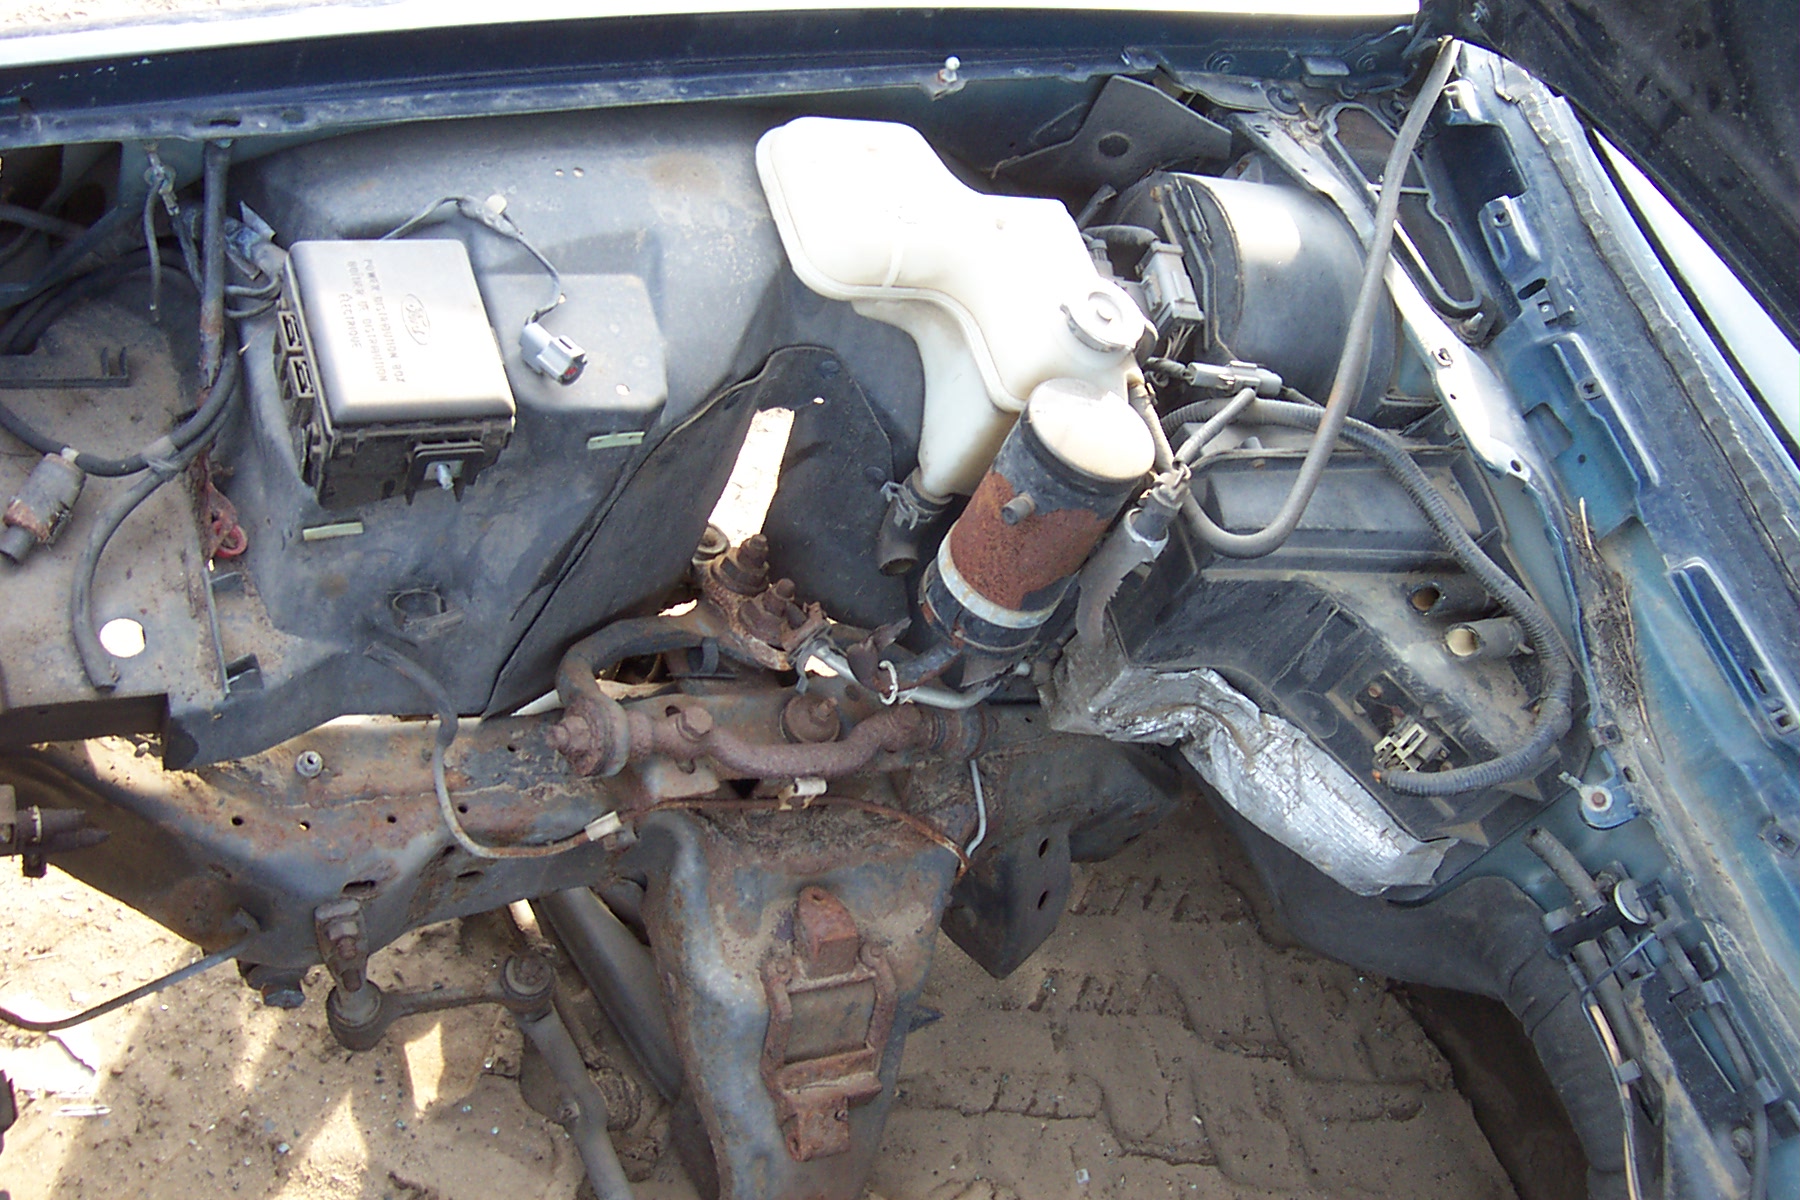
Spring lock refigerant port at
bottom of
canister, loops in a "U" shape. The cycling switch on 1992 crown vics is located on the accumulator. The cycling switch on 1993 crownvics is located on the hose connecting accumulator to compressor suction port. |
1992 YF-1707 F1VY-19C836-A 1993 YF-2035 F3VY-19C836-A |

| From |
To |
Inlet Size |
Outlet Fitting Size |
O.D. |
Length |
Service Port Size | Comments | Ford Part Numbers |
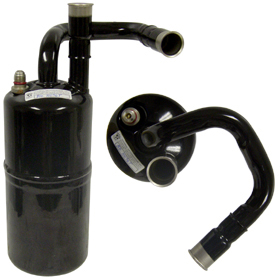
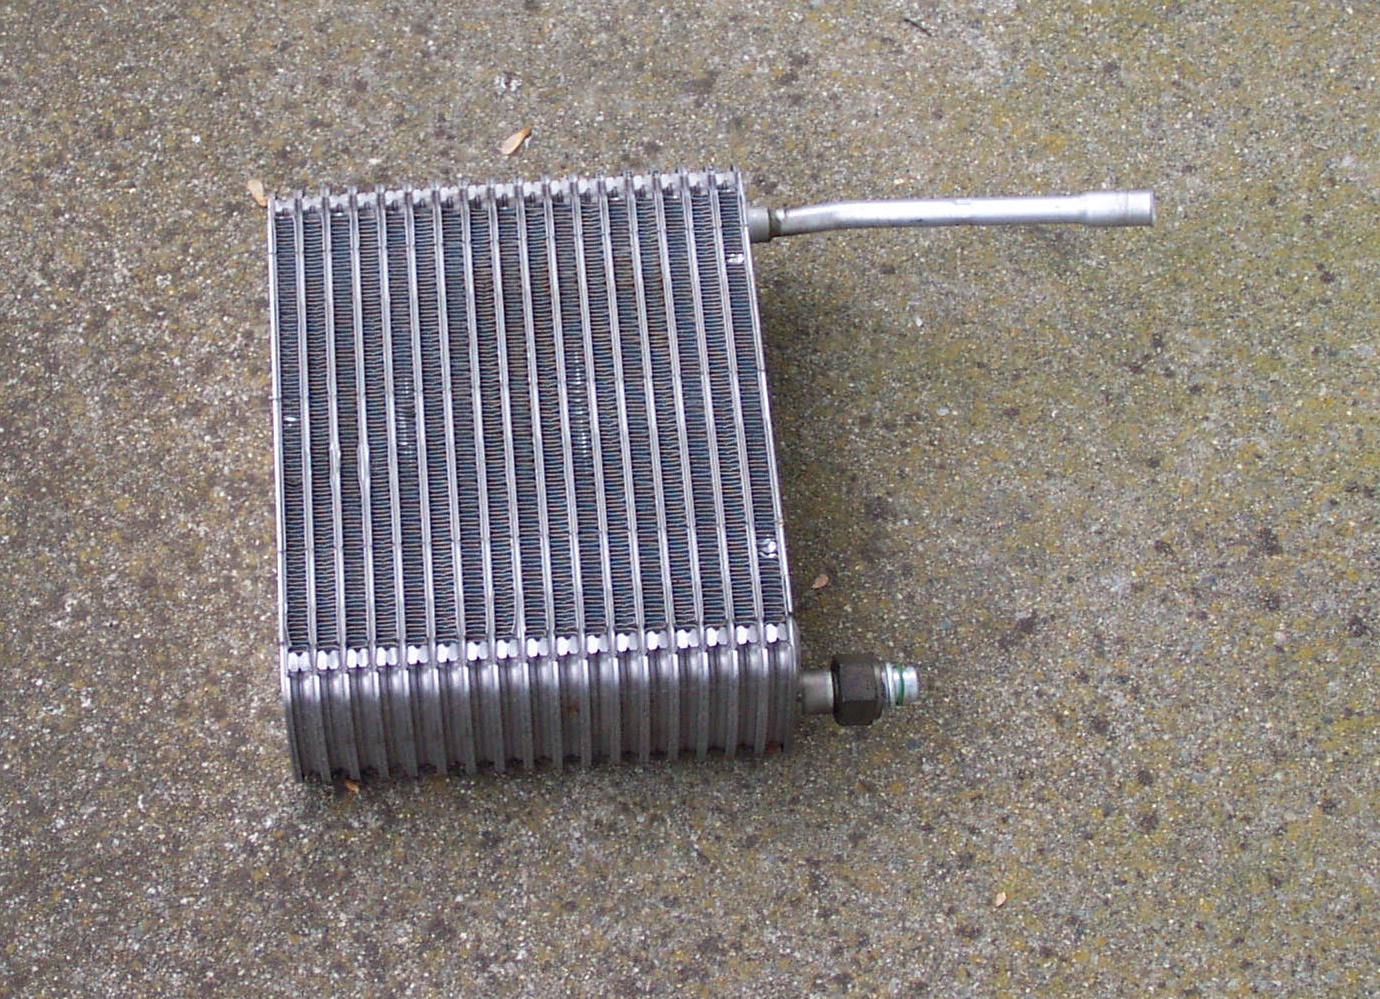
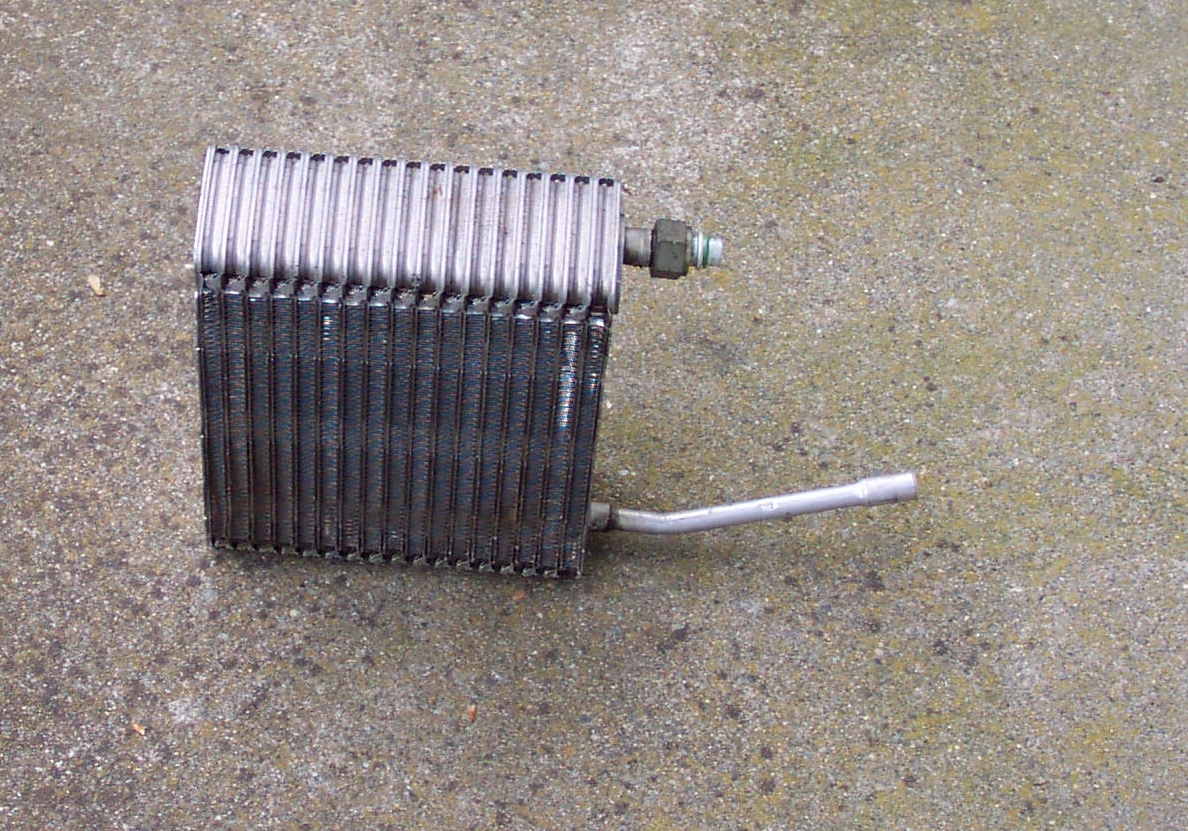
| 1994 |
1997 |
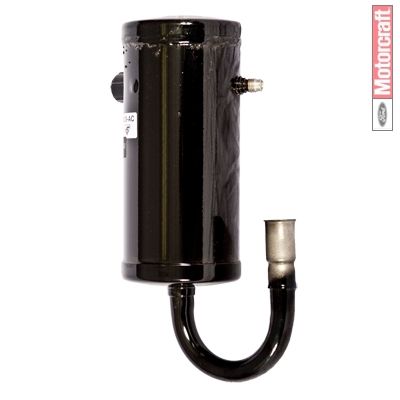
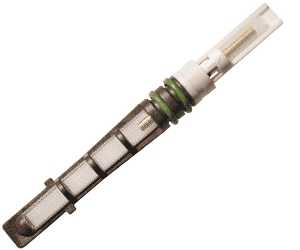
3/4" Female Springlock |
5/8" Male Insert O-Ring (M.I.O.) |
3.5" | 8" 9" |
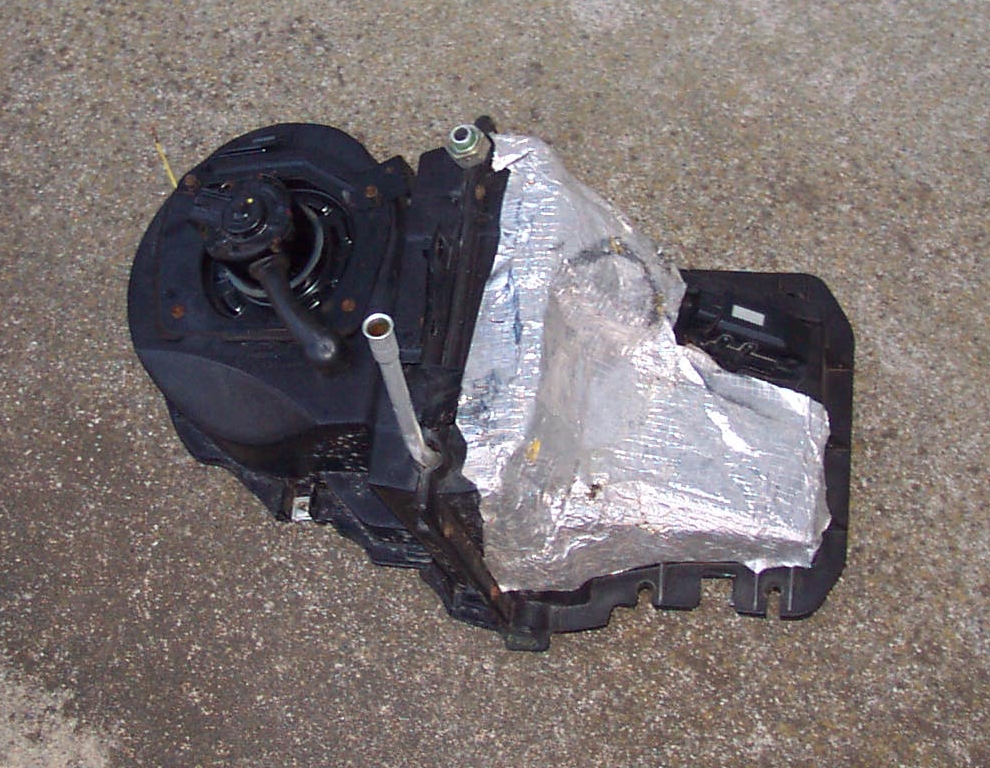
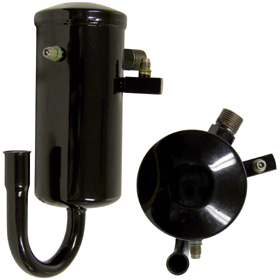
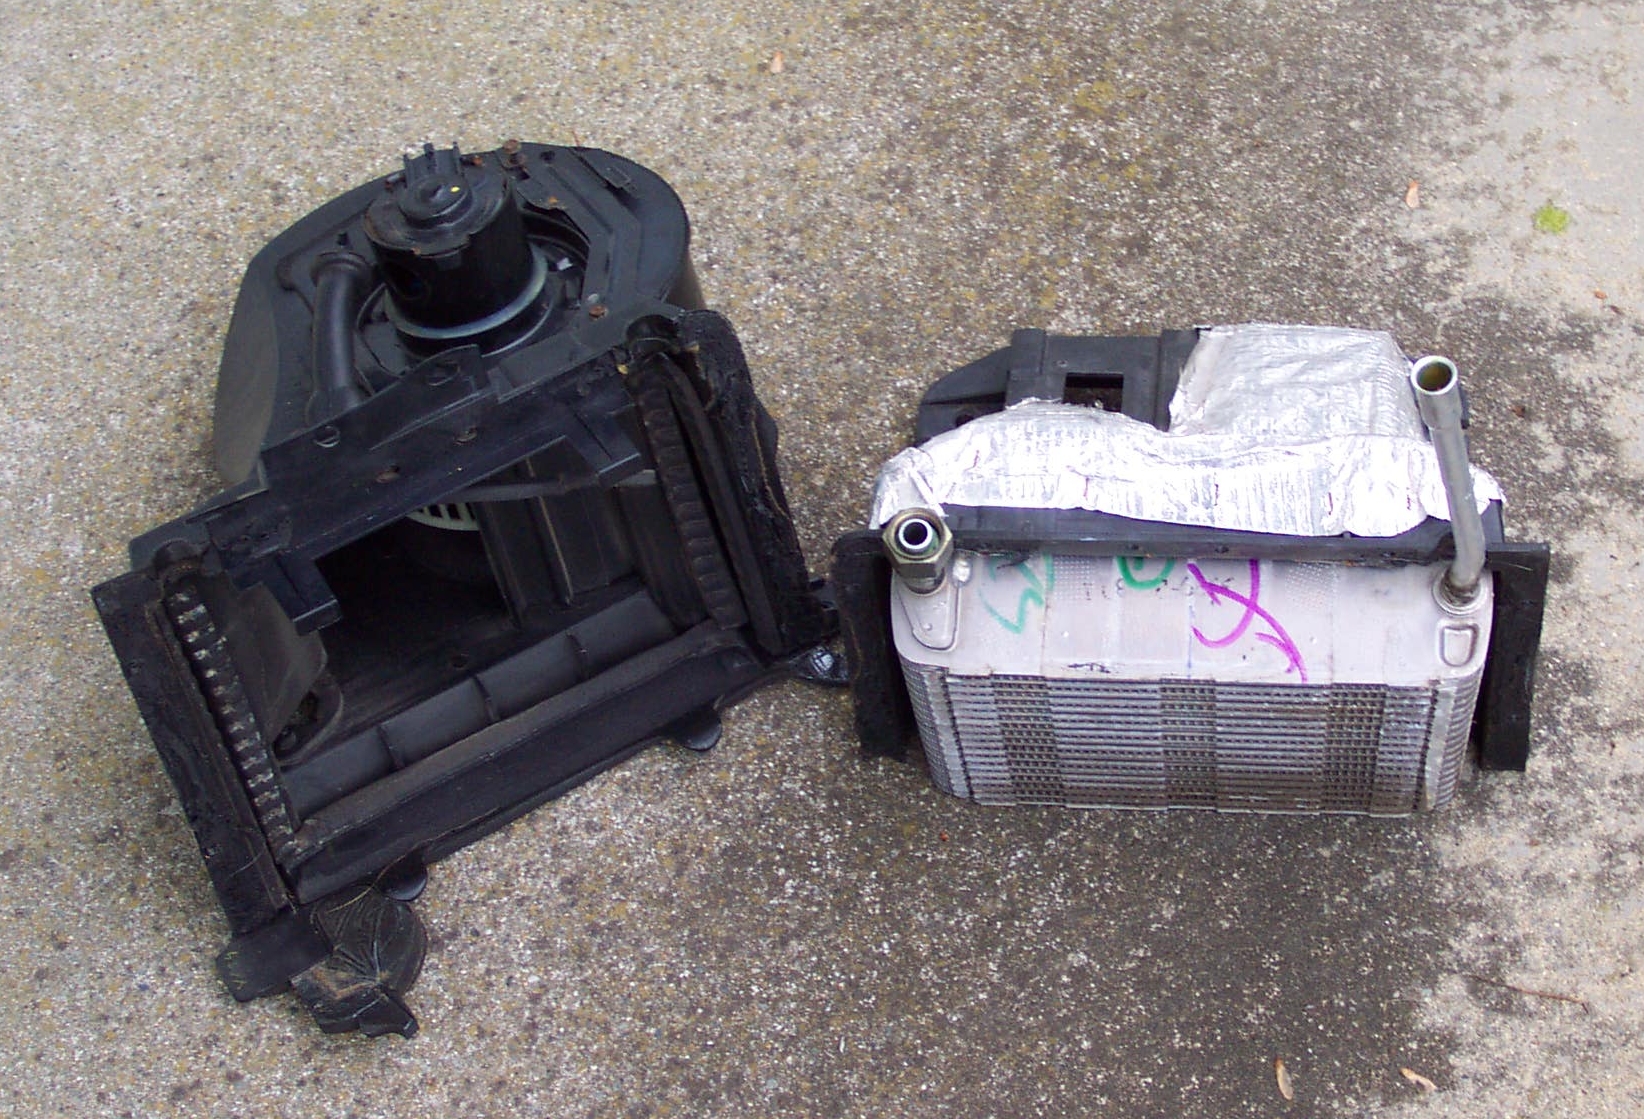
13mm R134a Quick Disconnect Fitting Low Side Charge Port | Similar unit to the 1998-2002
accumulator except the low pressure cycling switch port is not present.
Cycling switch on 94-97 crownvics is located on hose connecting accumulator to compressor suction port. |
YF-2143 F4VY-19C836-A F6AZ-19C836-AA YF-2368 F6AZ-19C836-AB YF-2450 F7AZ-19C836-AA |


| From |
To |
Inlet Size |
Outlet Fitting Size |
O.D. |
Length |
Service Port Size | Comments | Ford Part Numbers |
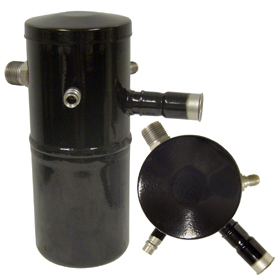
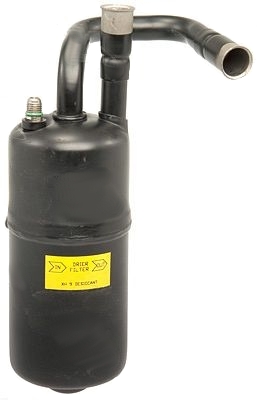
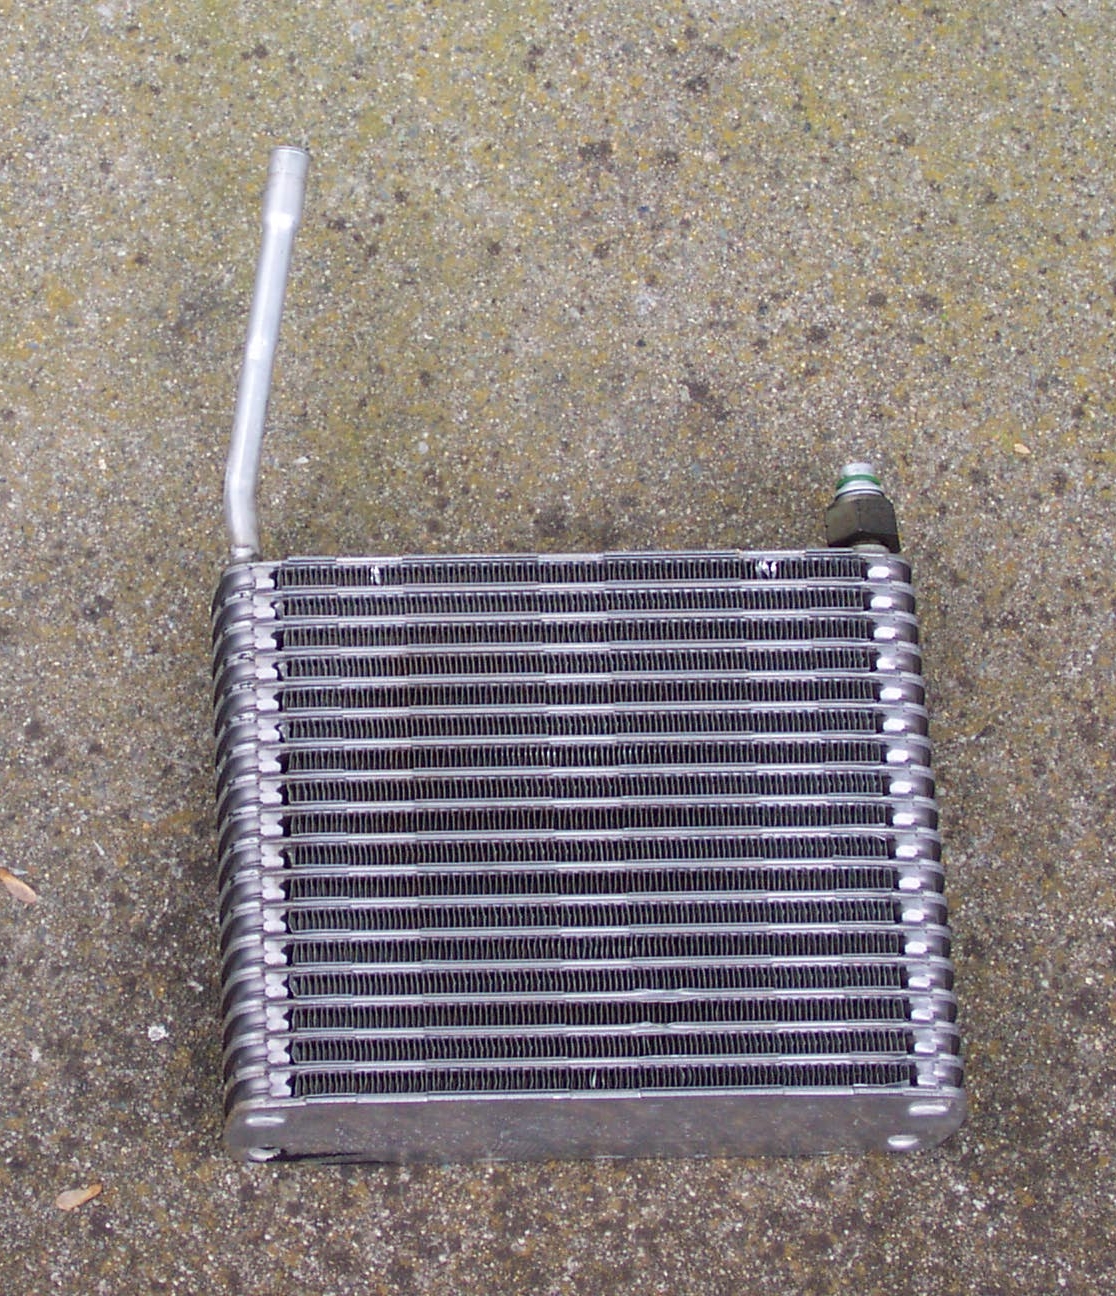
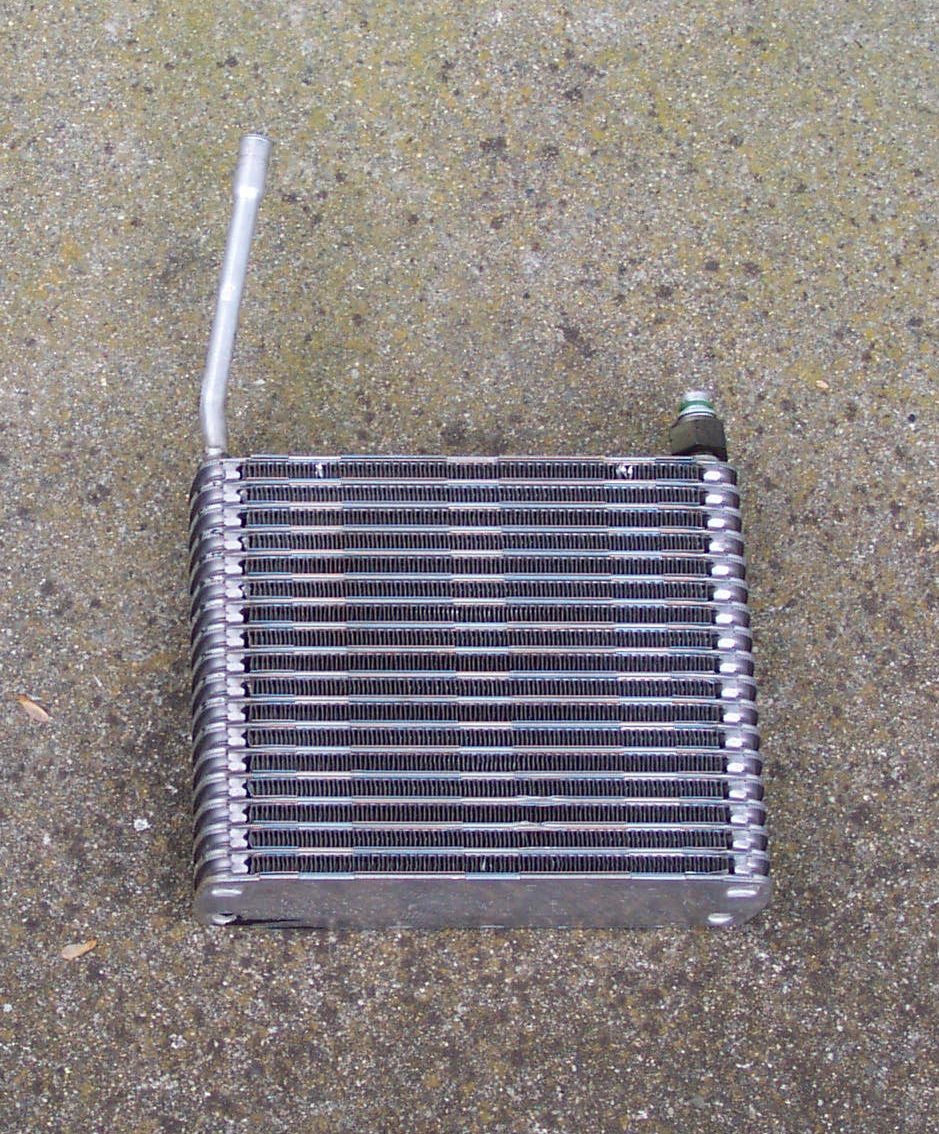
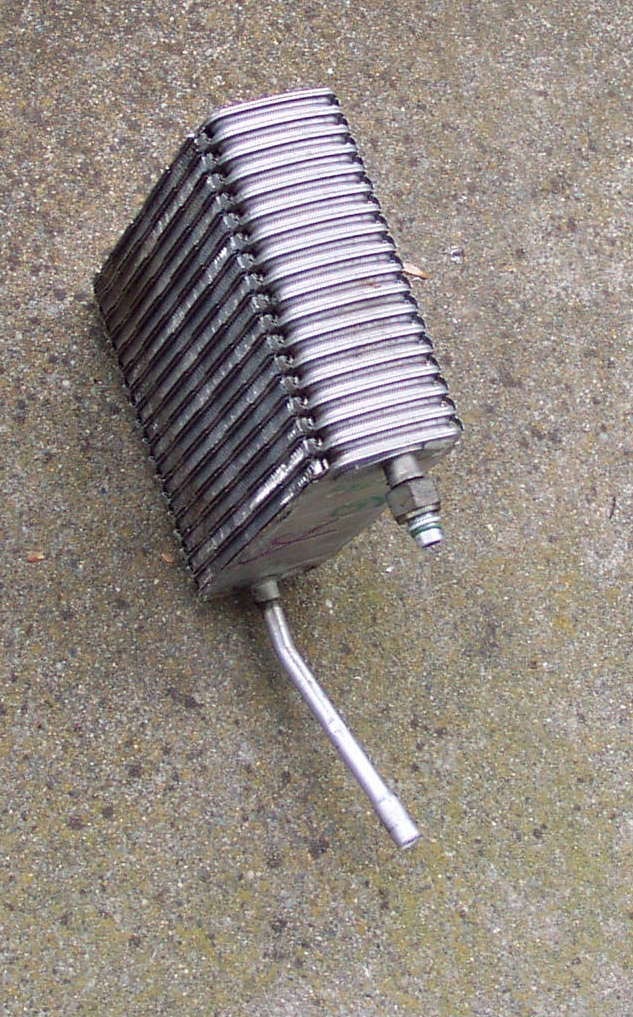
| 1998 |
2002 |
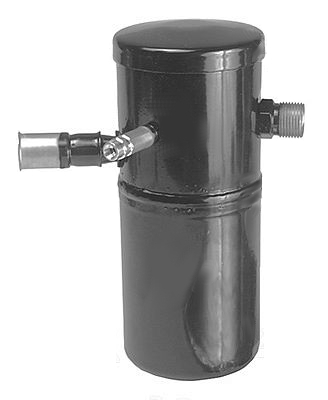
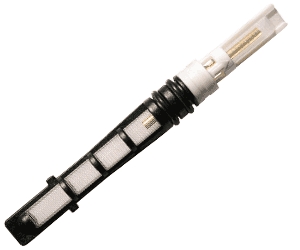
3/4" Female Springlock |
5/8" Male Insert O-Ring (M.I.O.) |
3.5" |
9" 9.25" 9.5" |
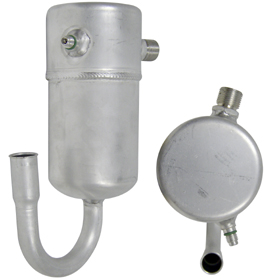
13mm R134a Quick Disconnect
Fitting Low Side Charge Port 12mm Male (Cycling Switch) |
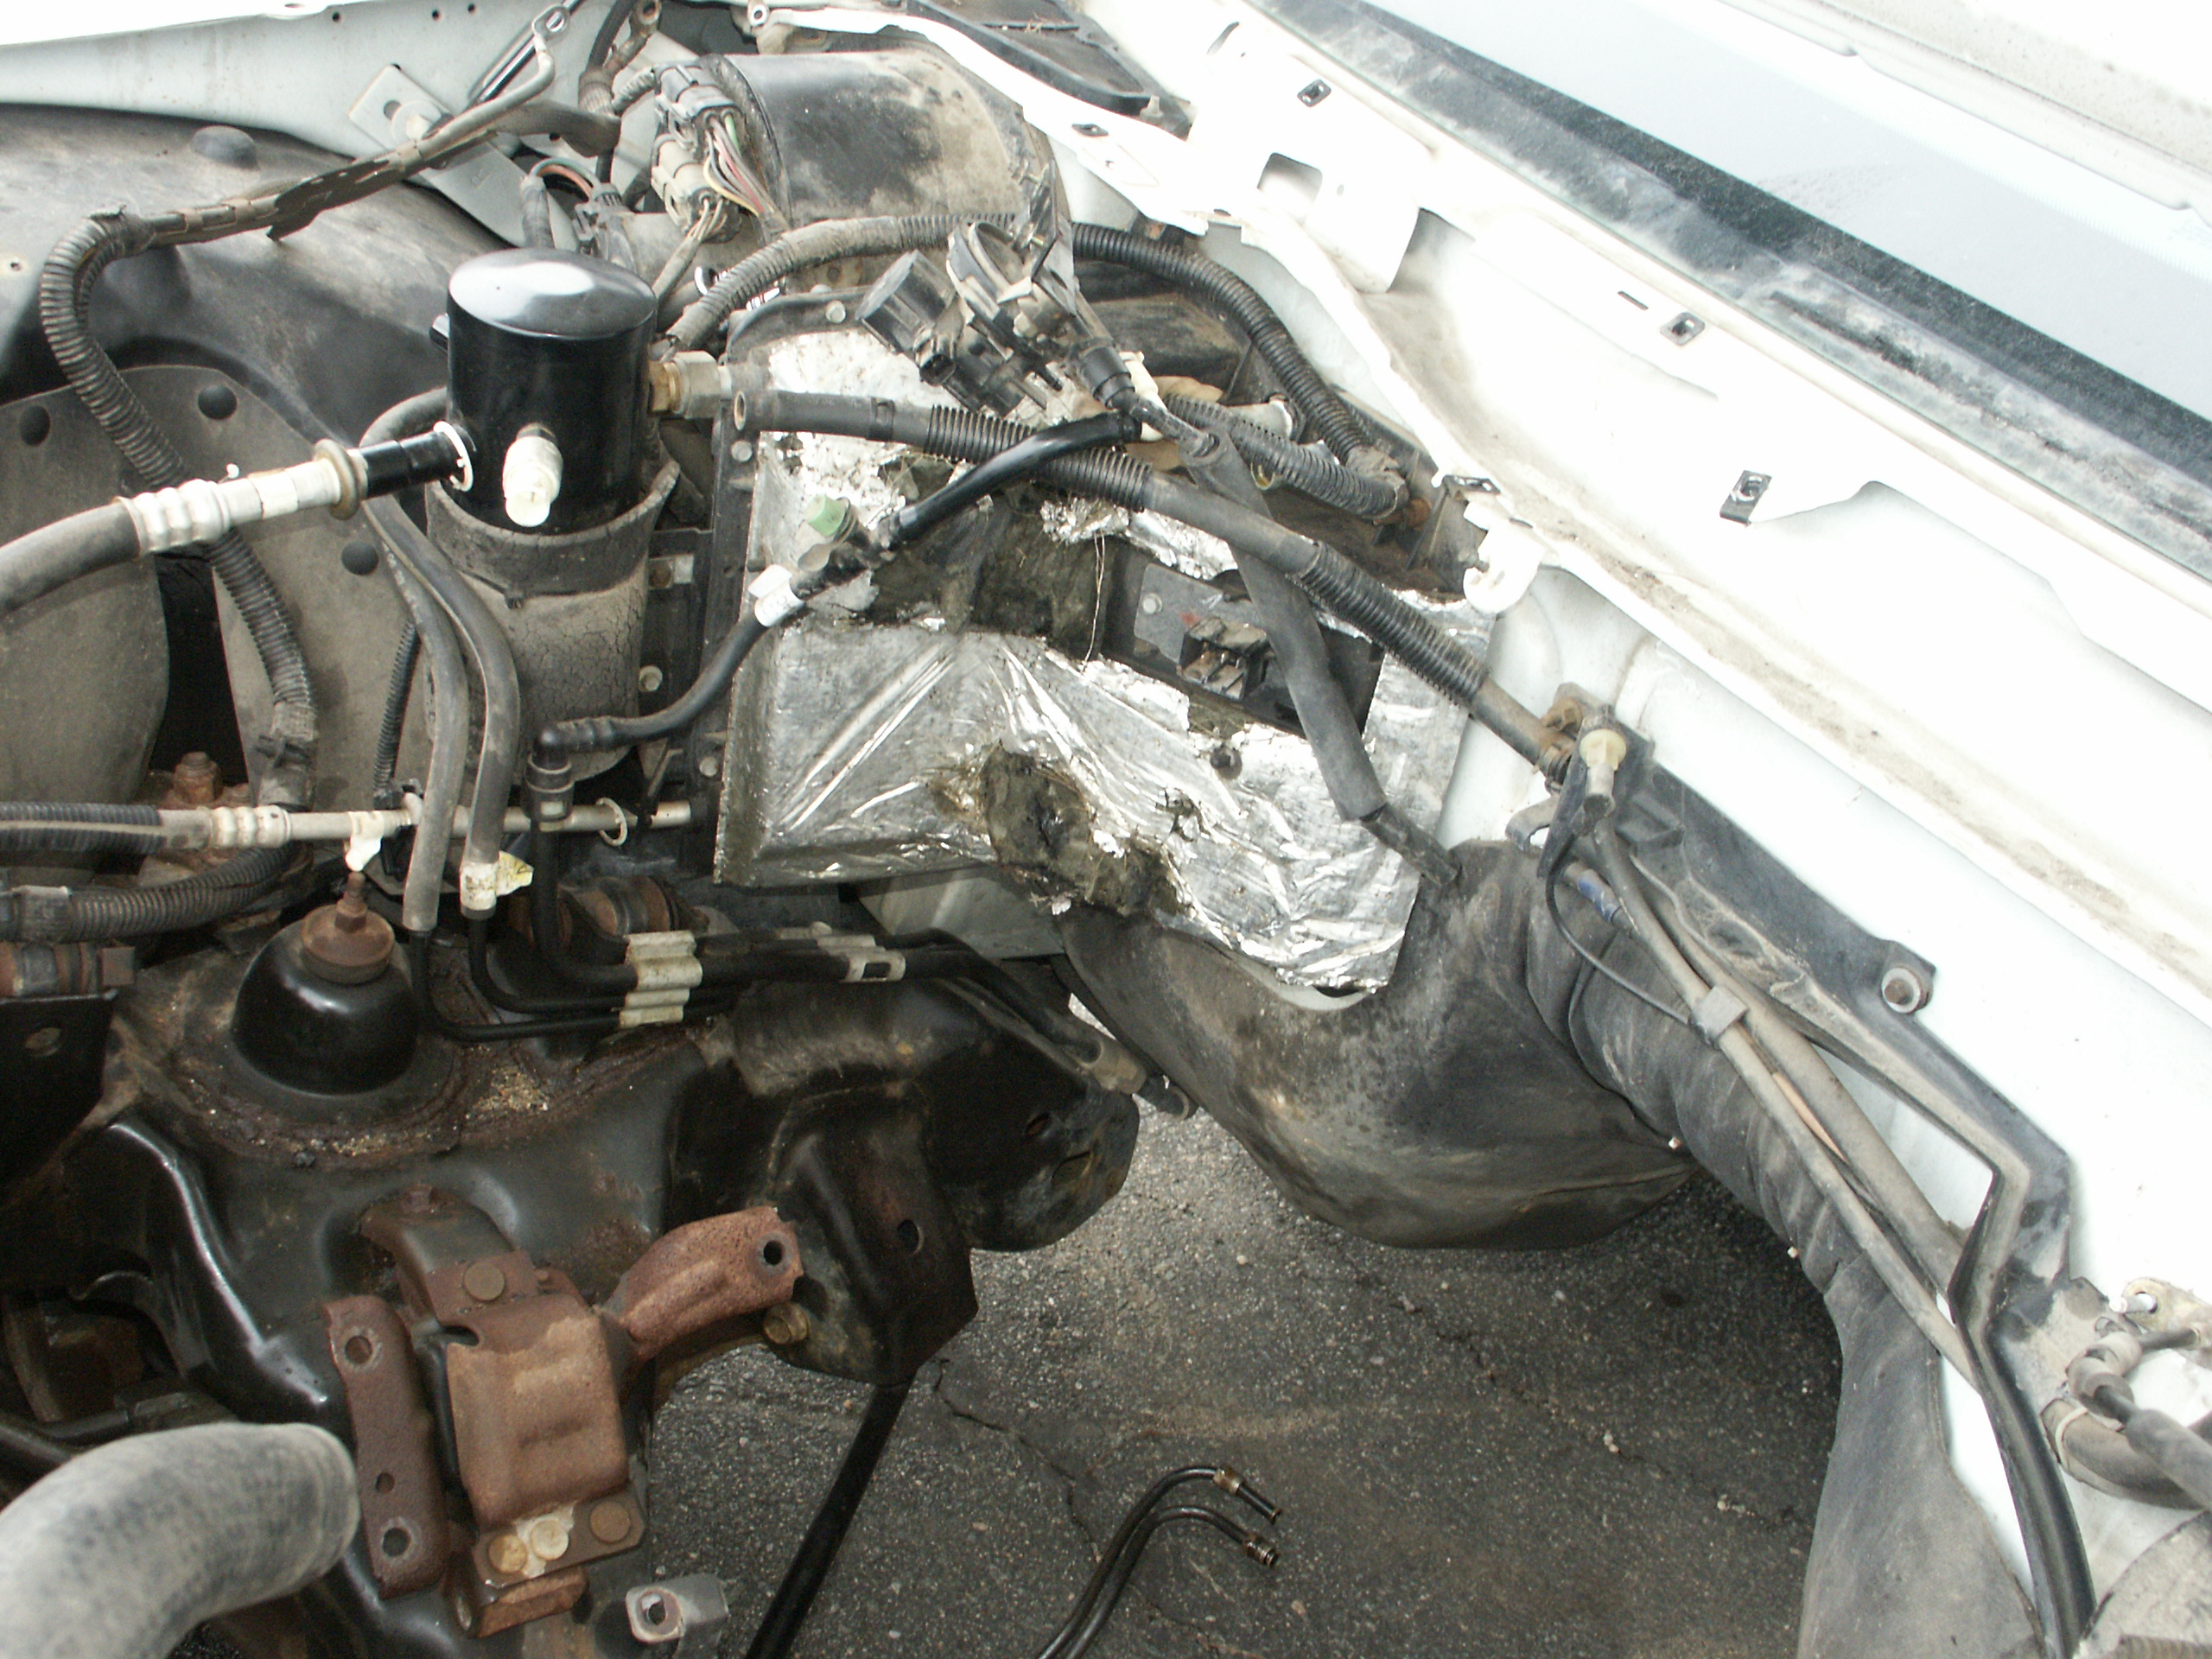
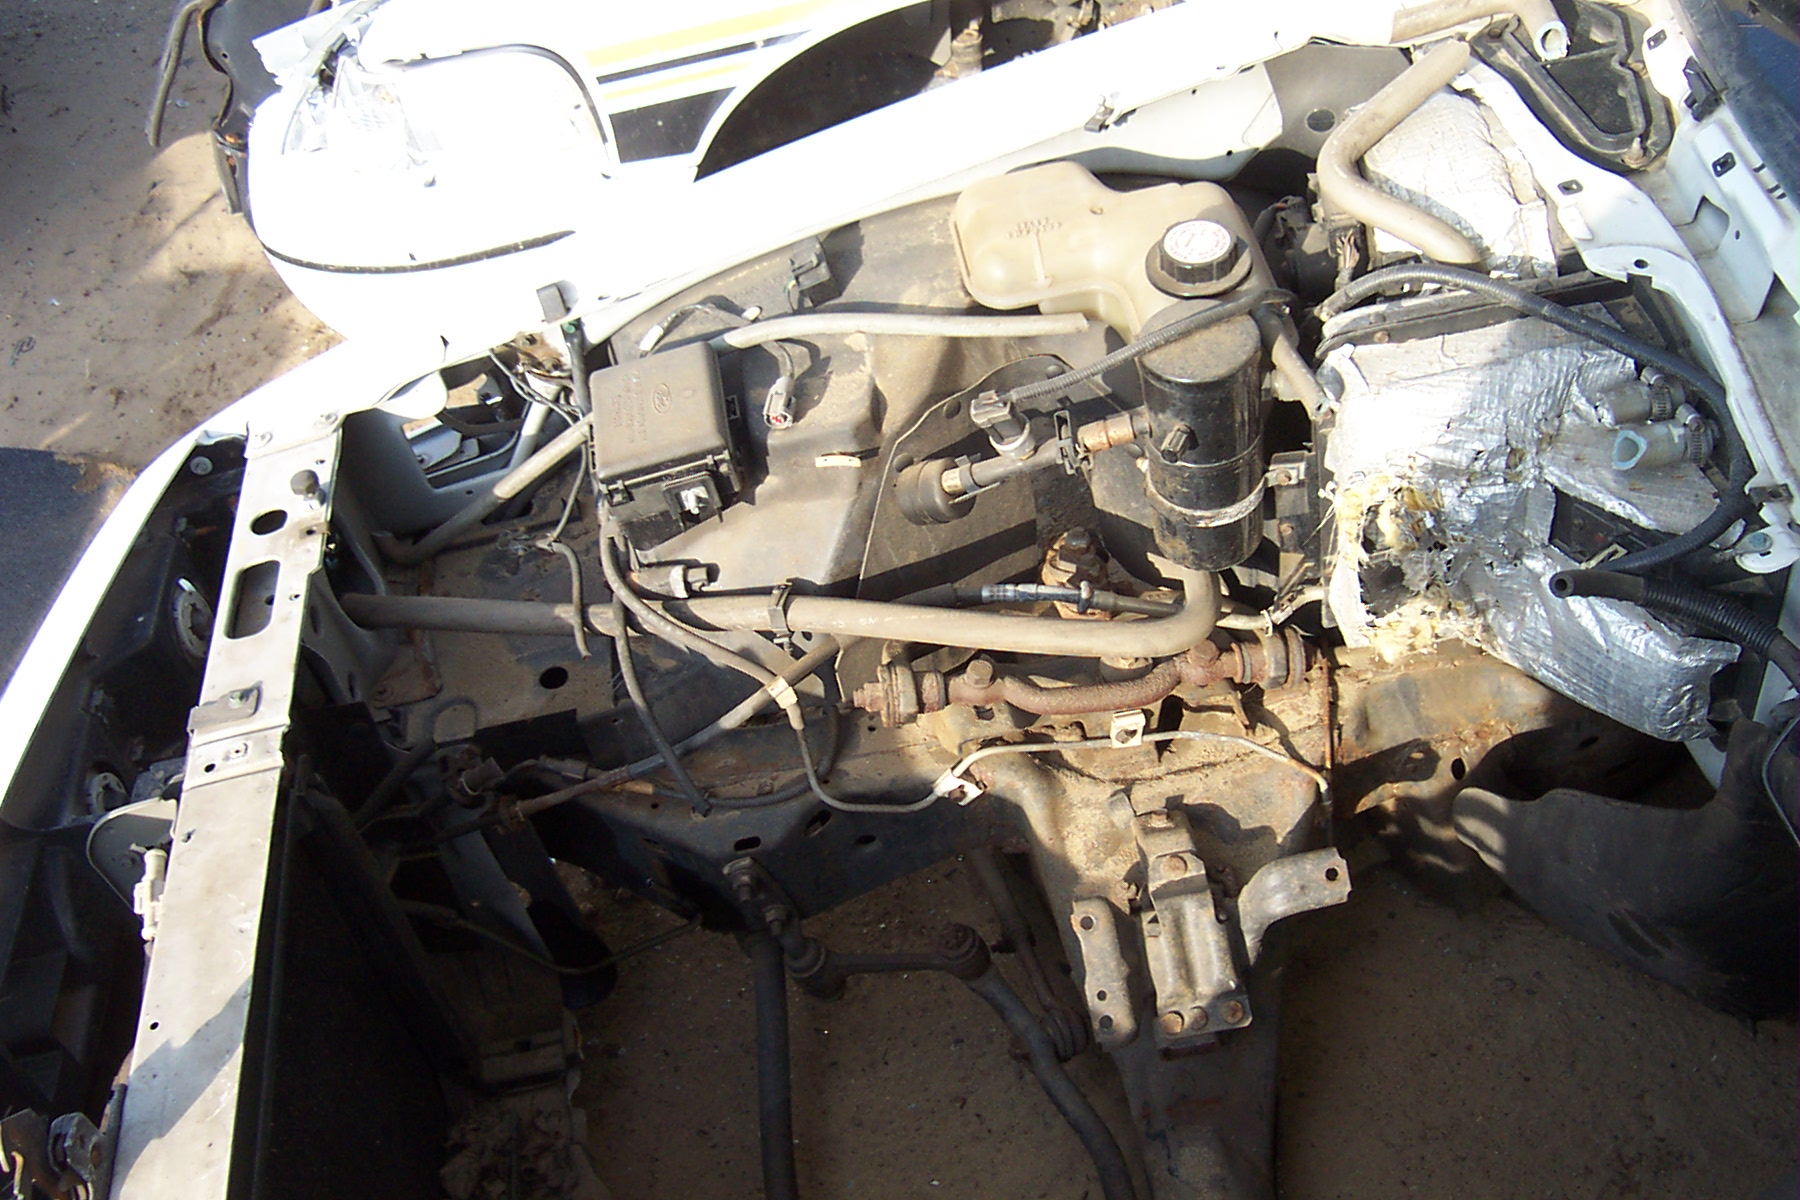
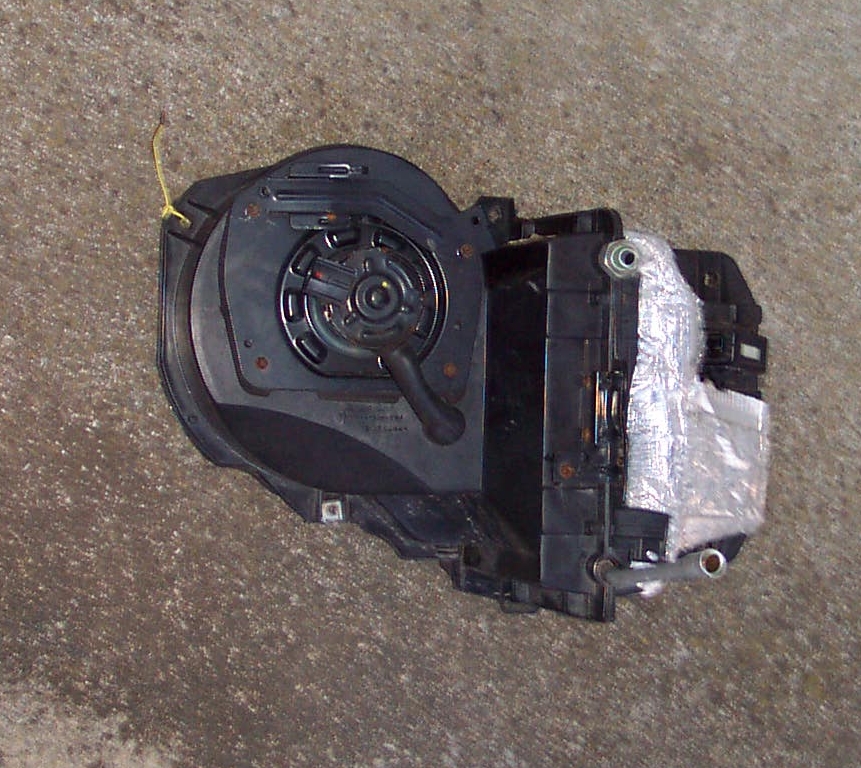
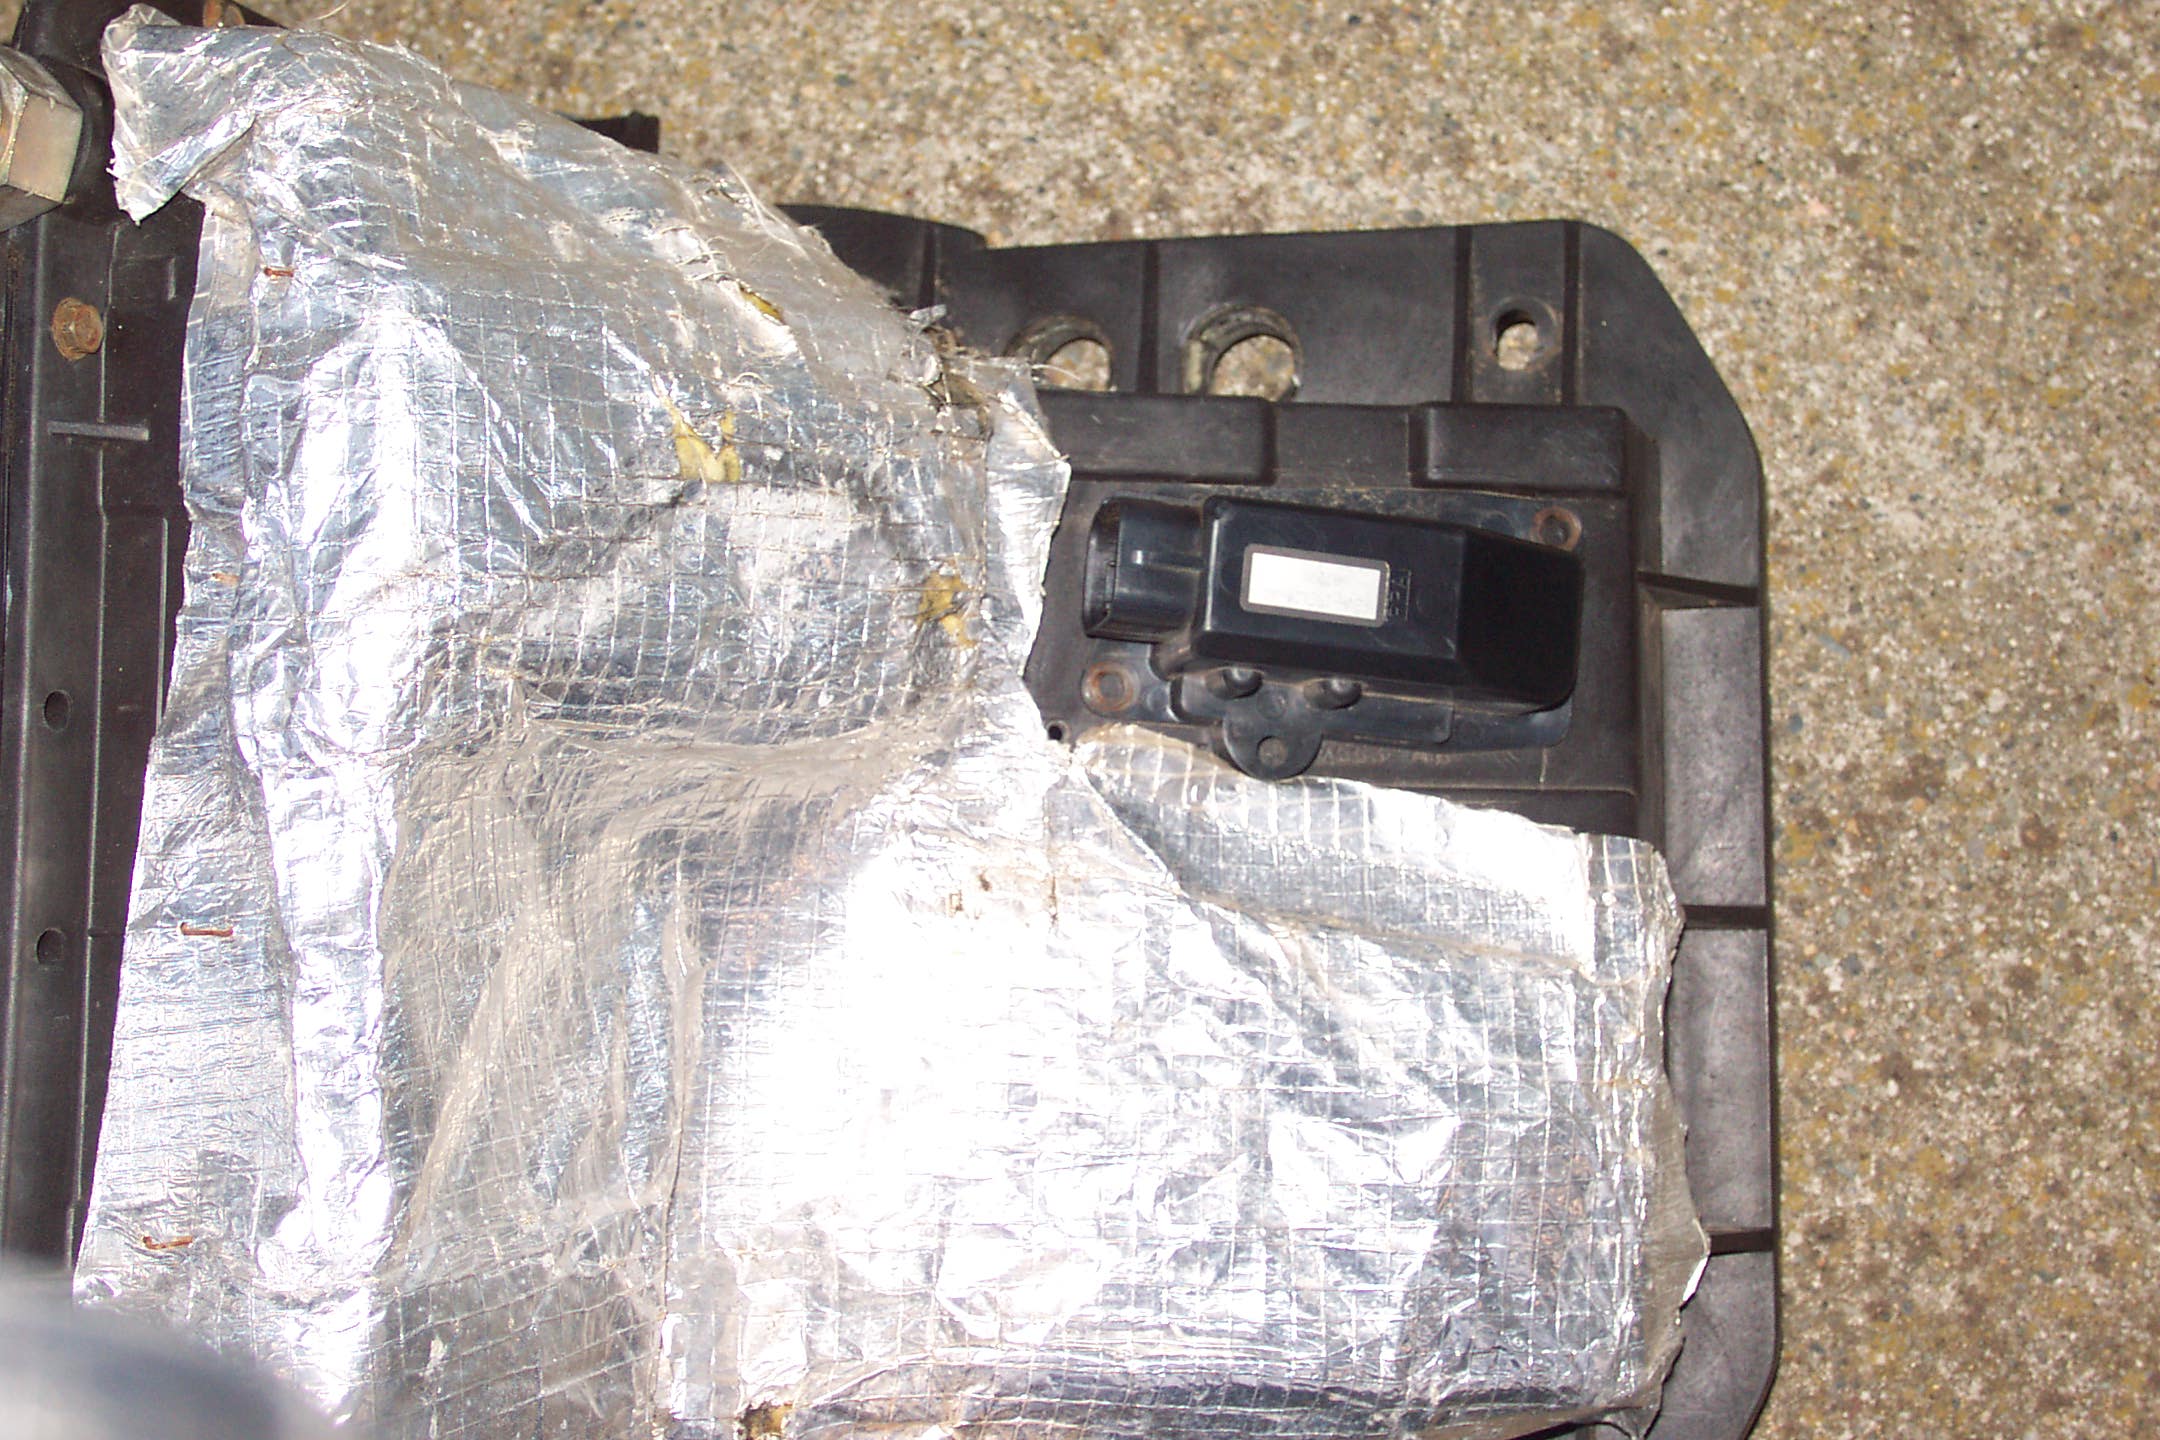
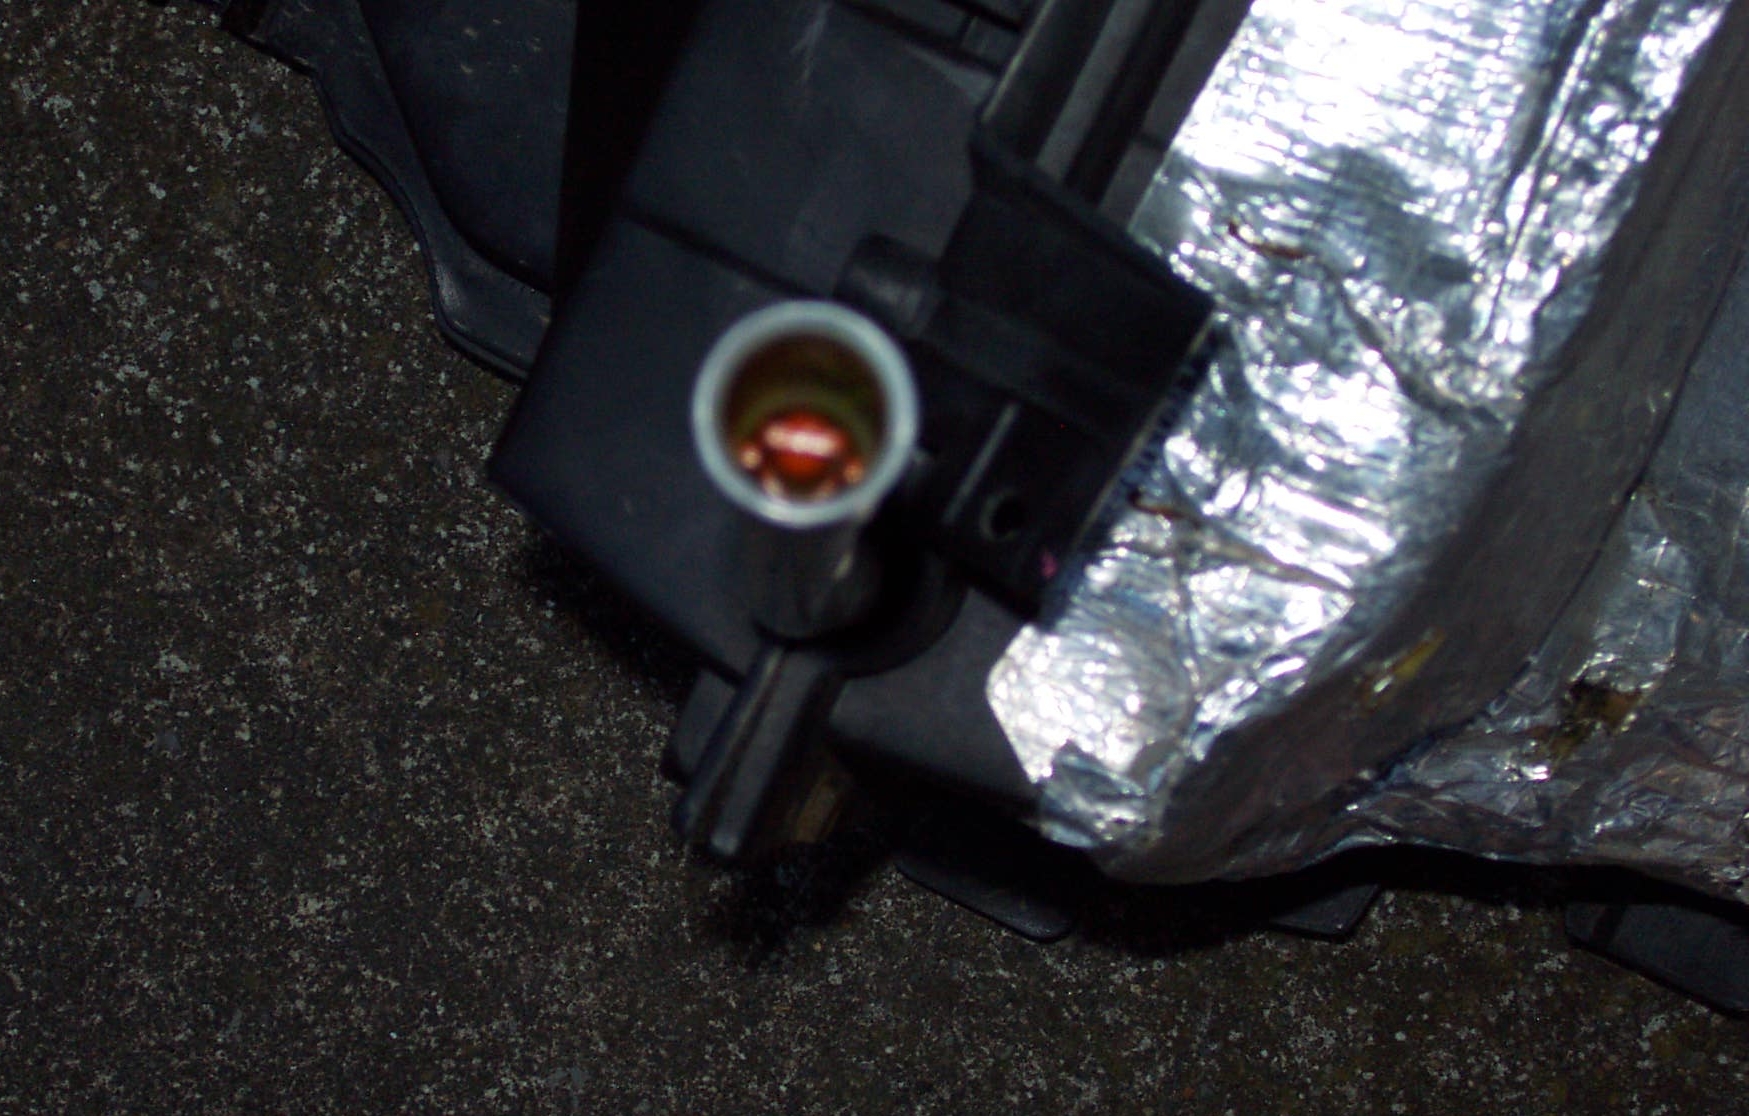
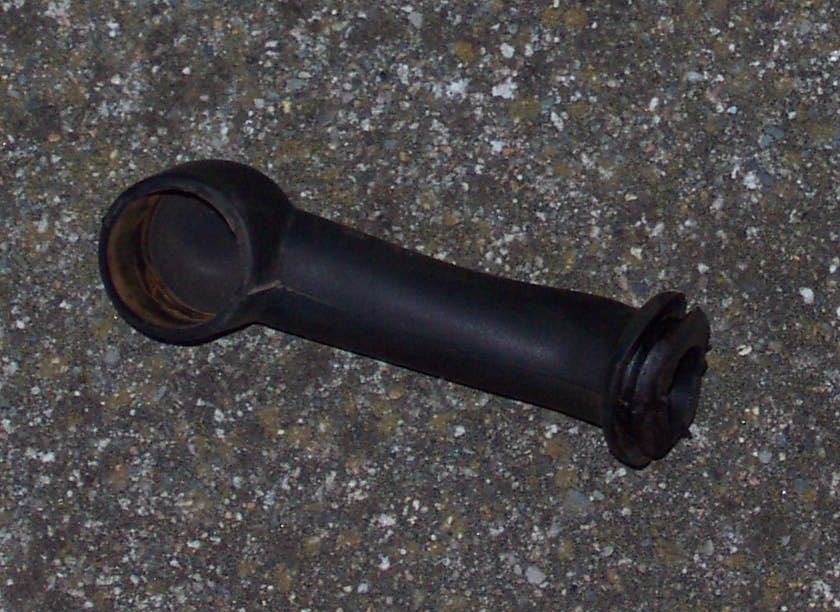
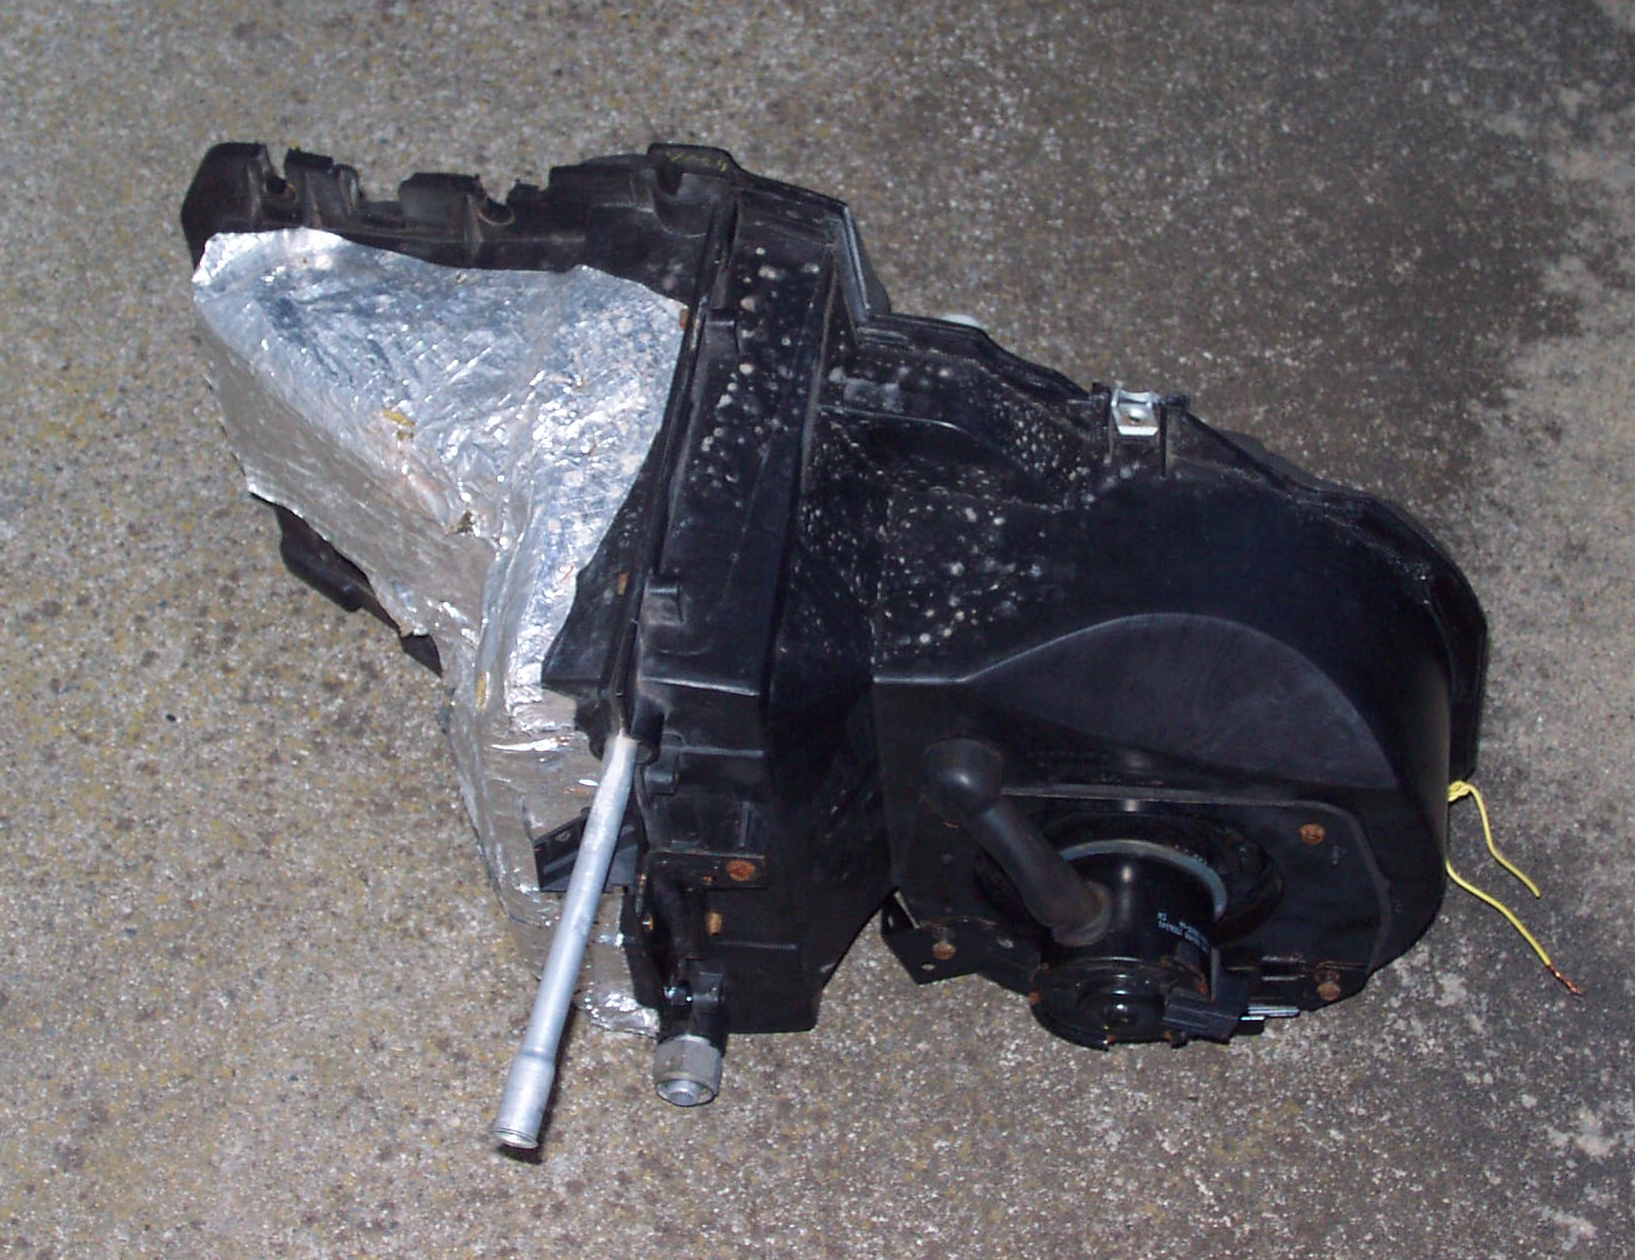
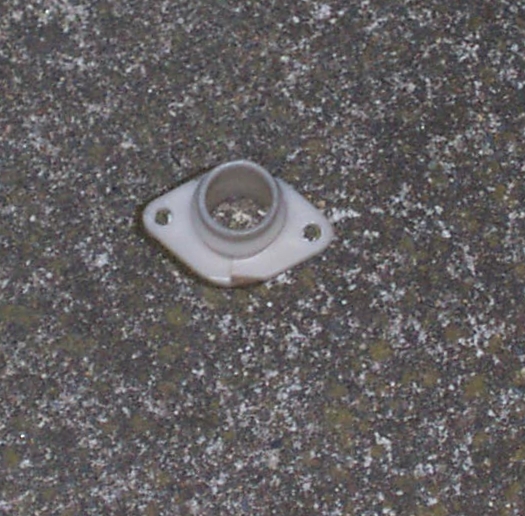
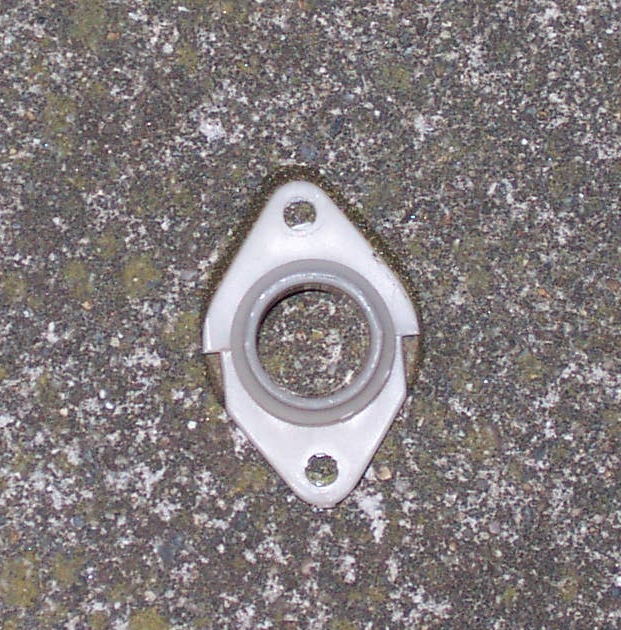
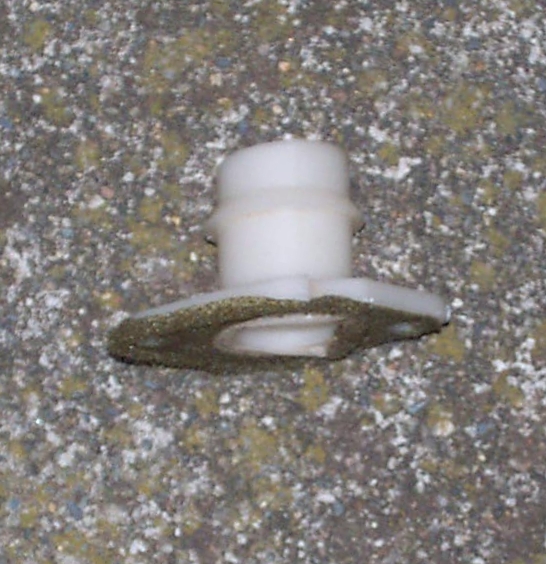
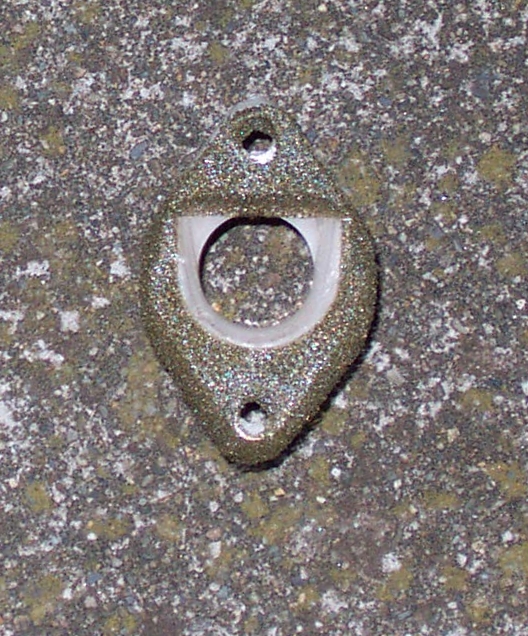
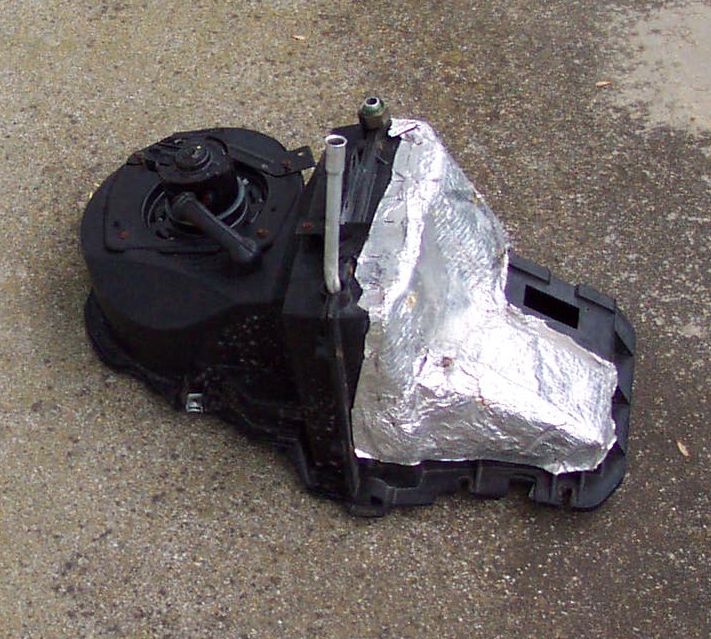
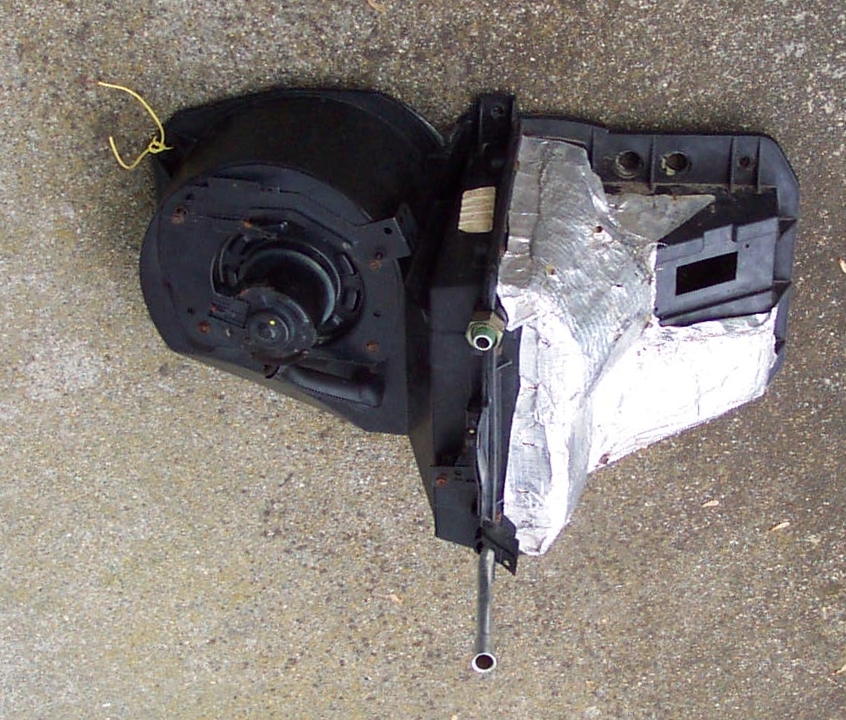
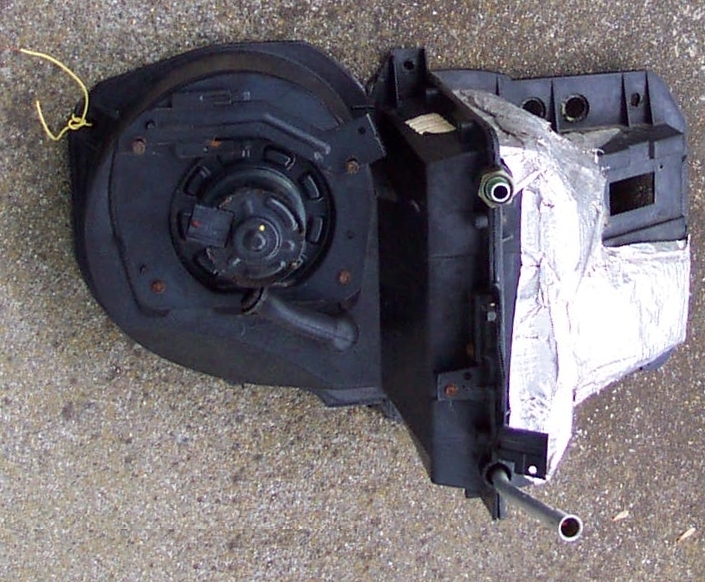
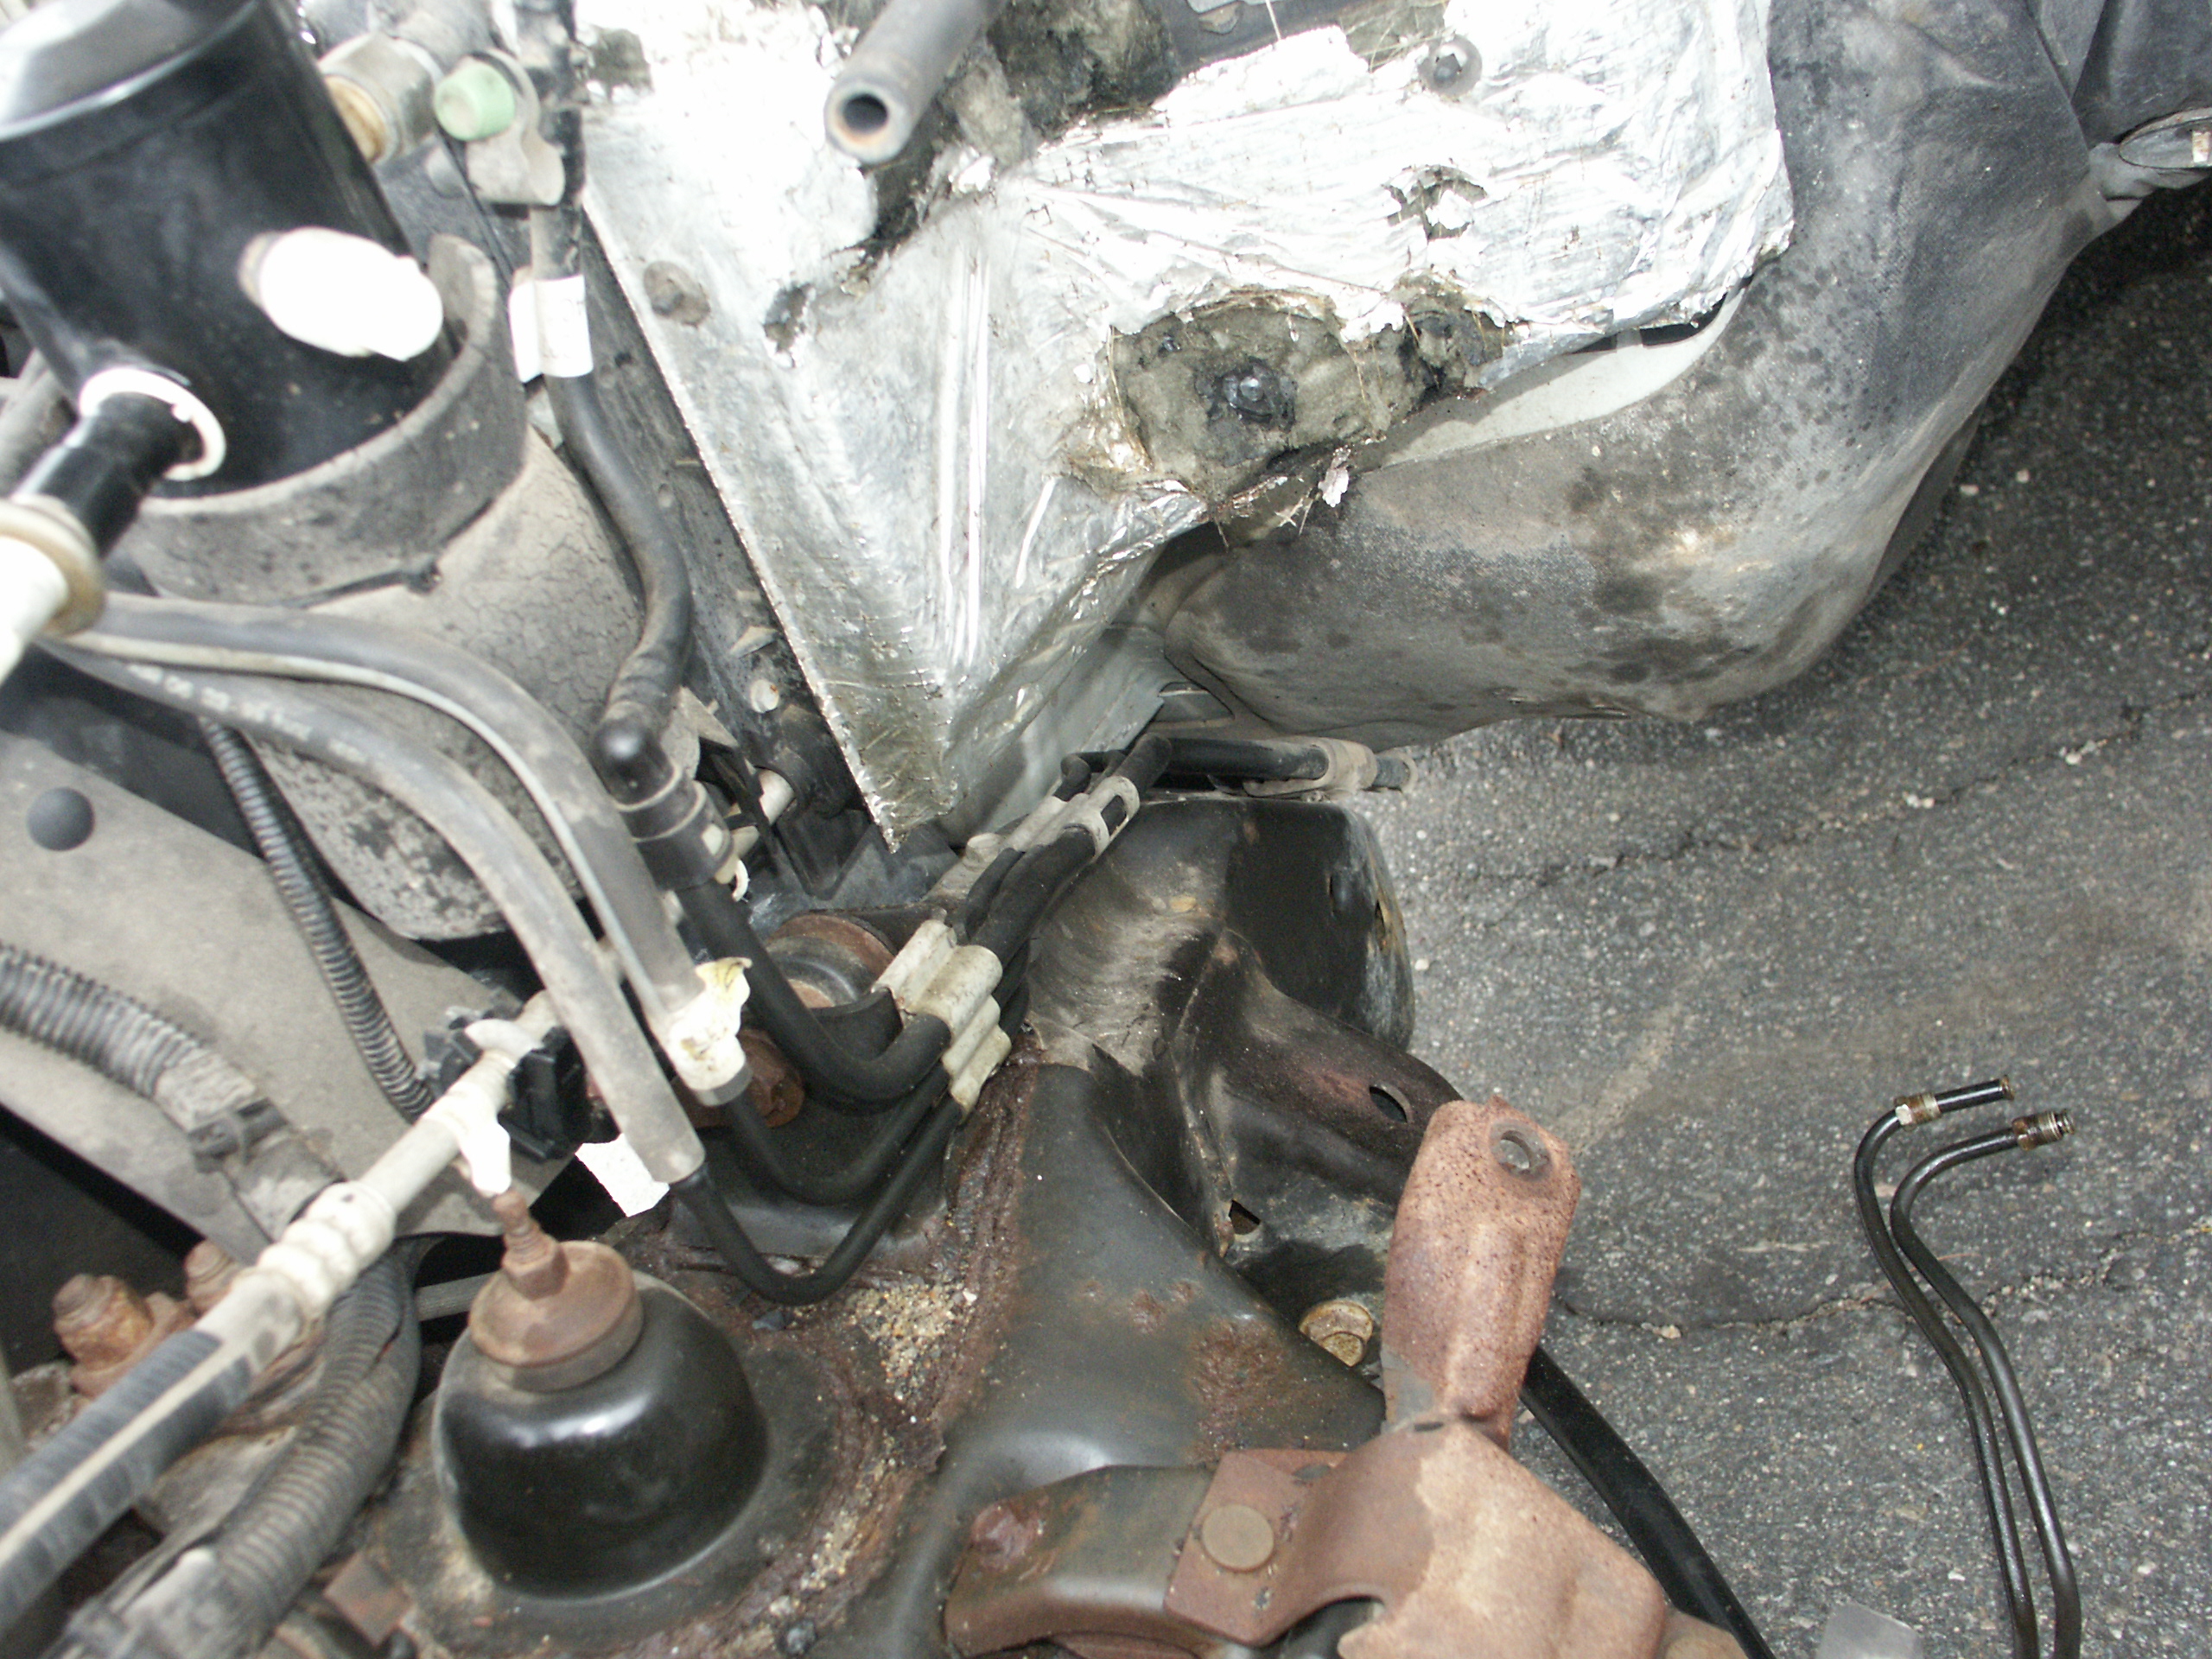
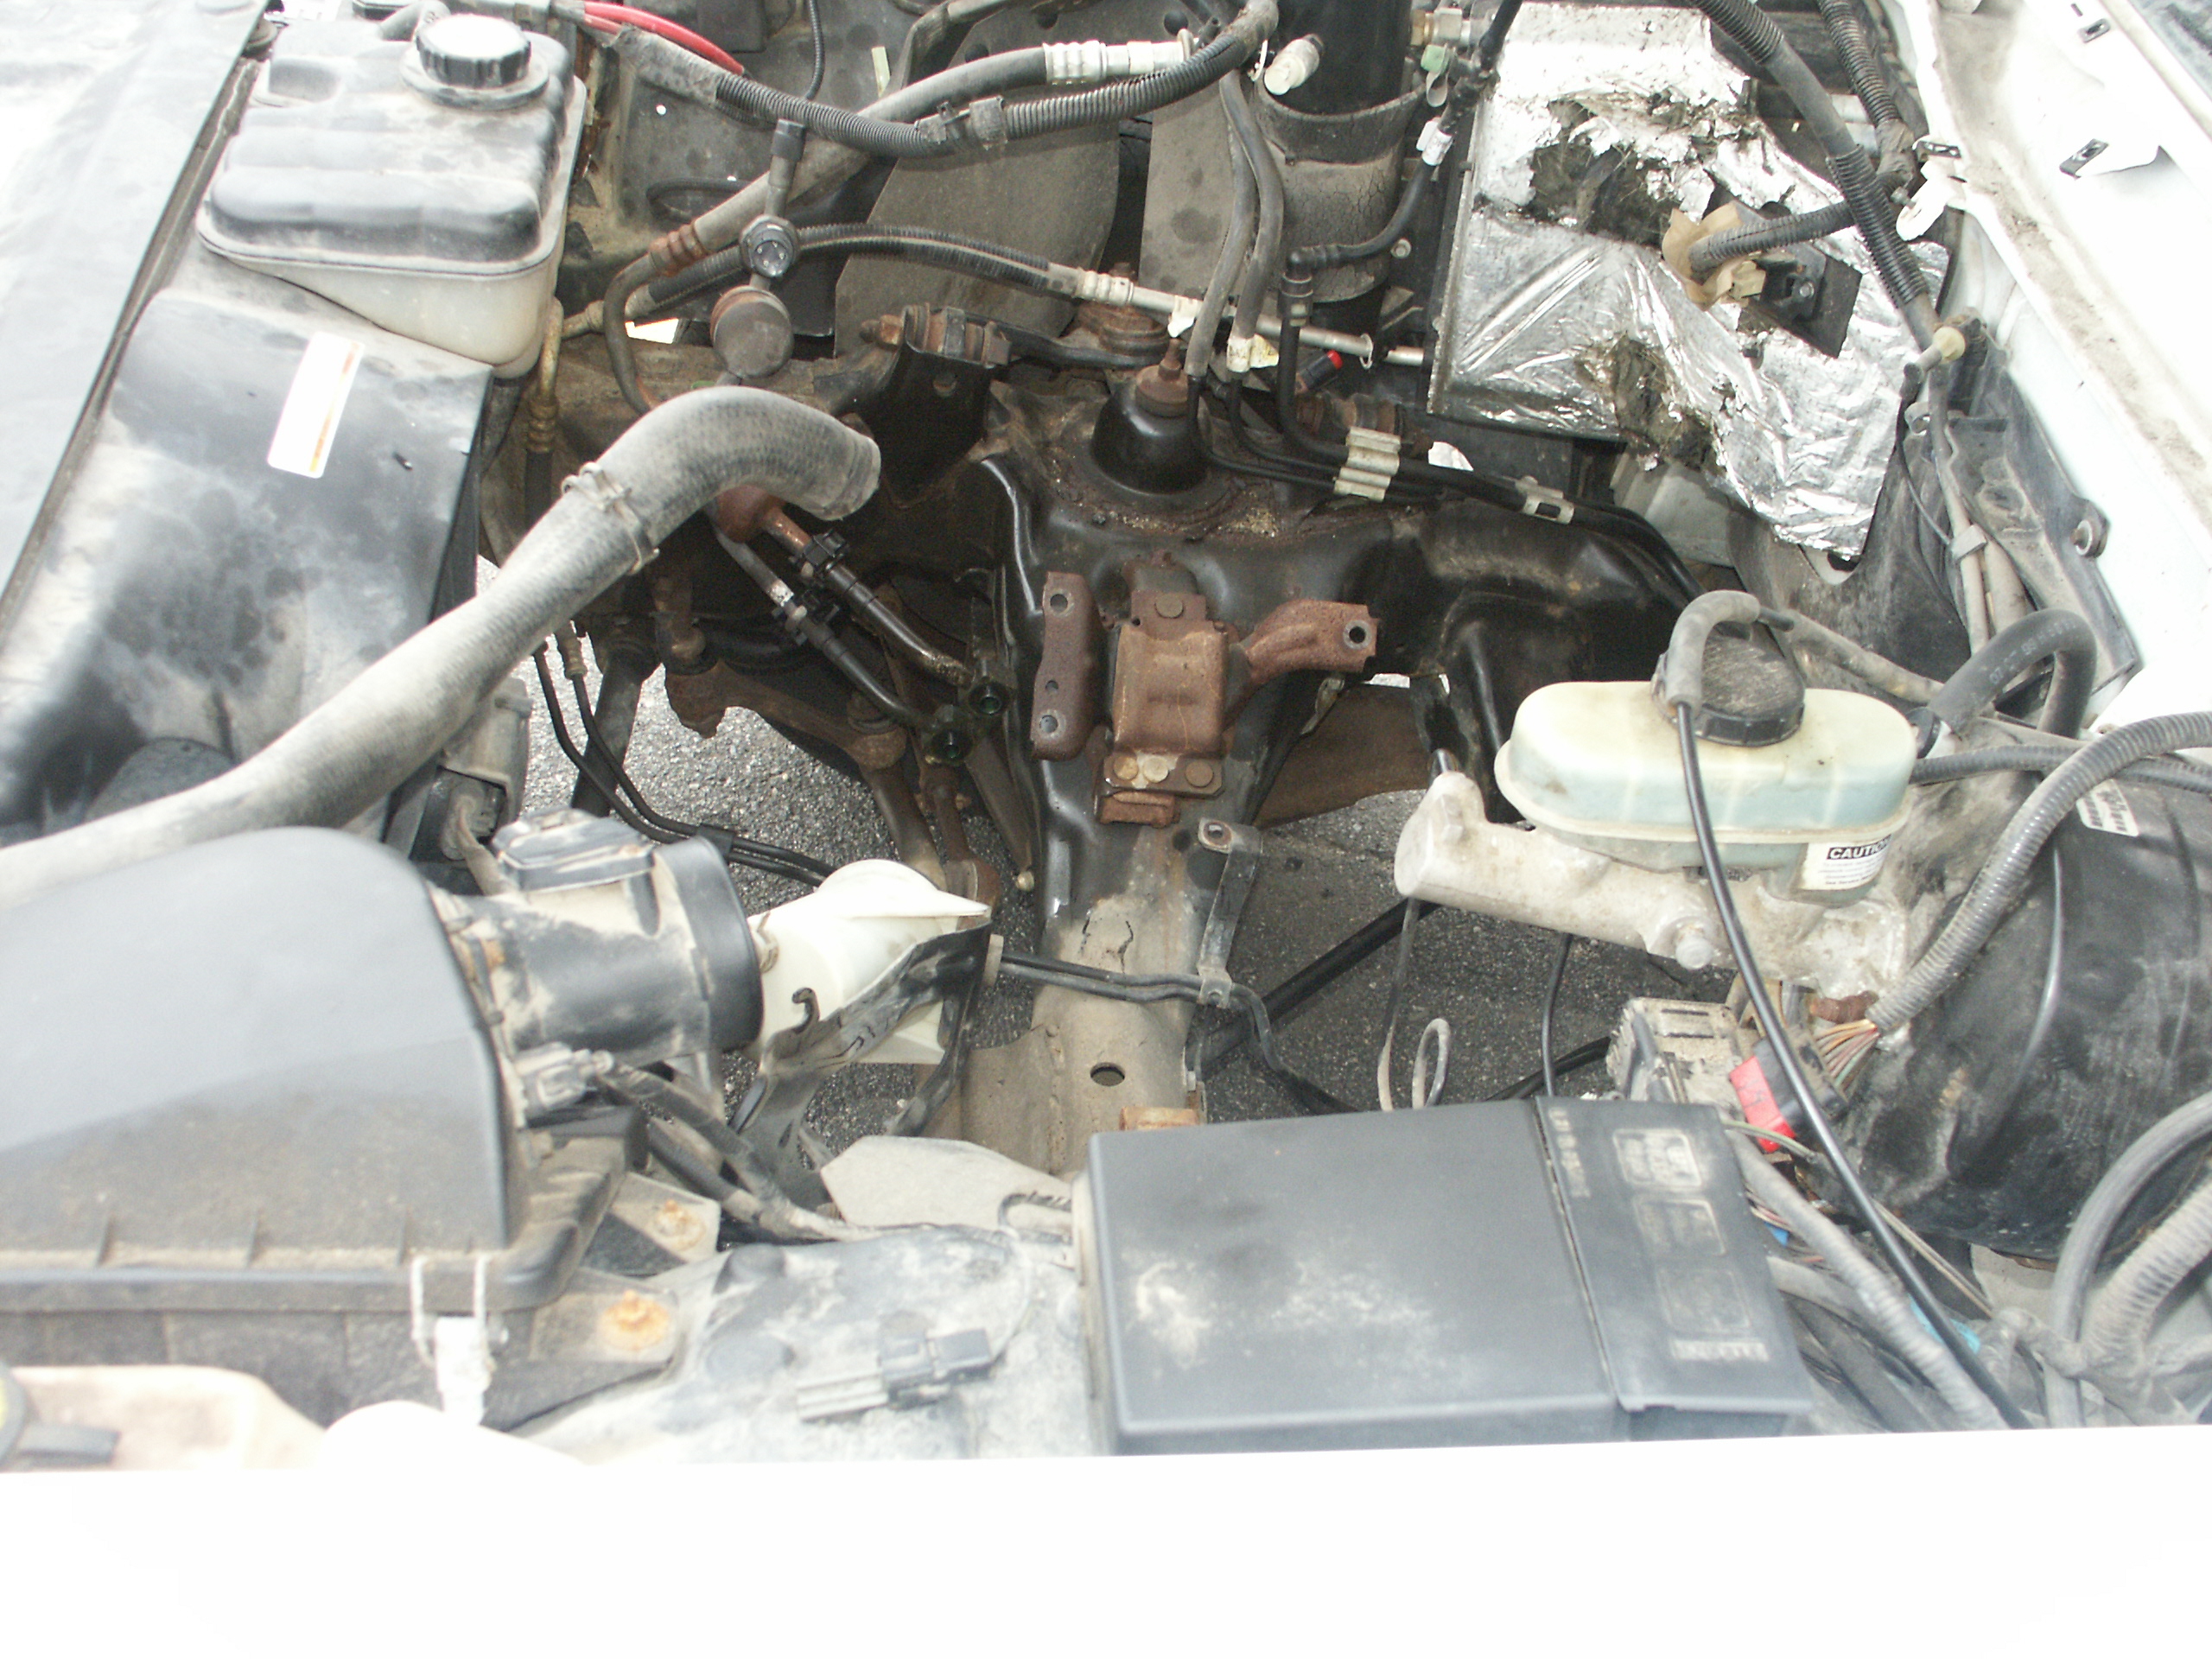
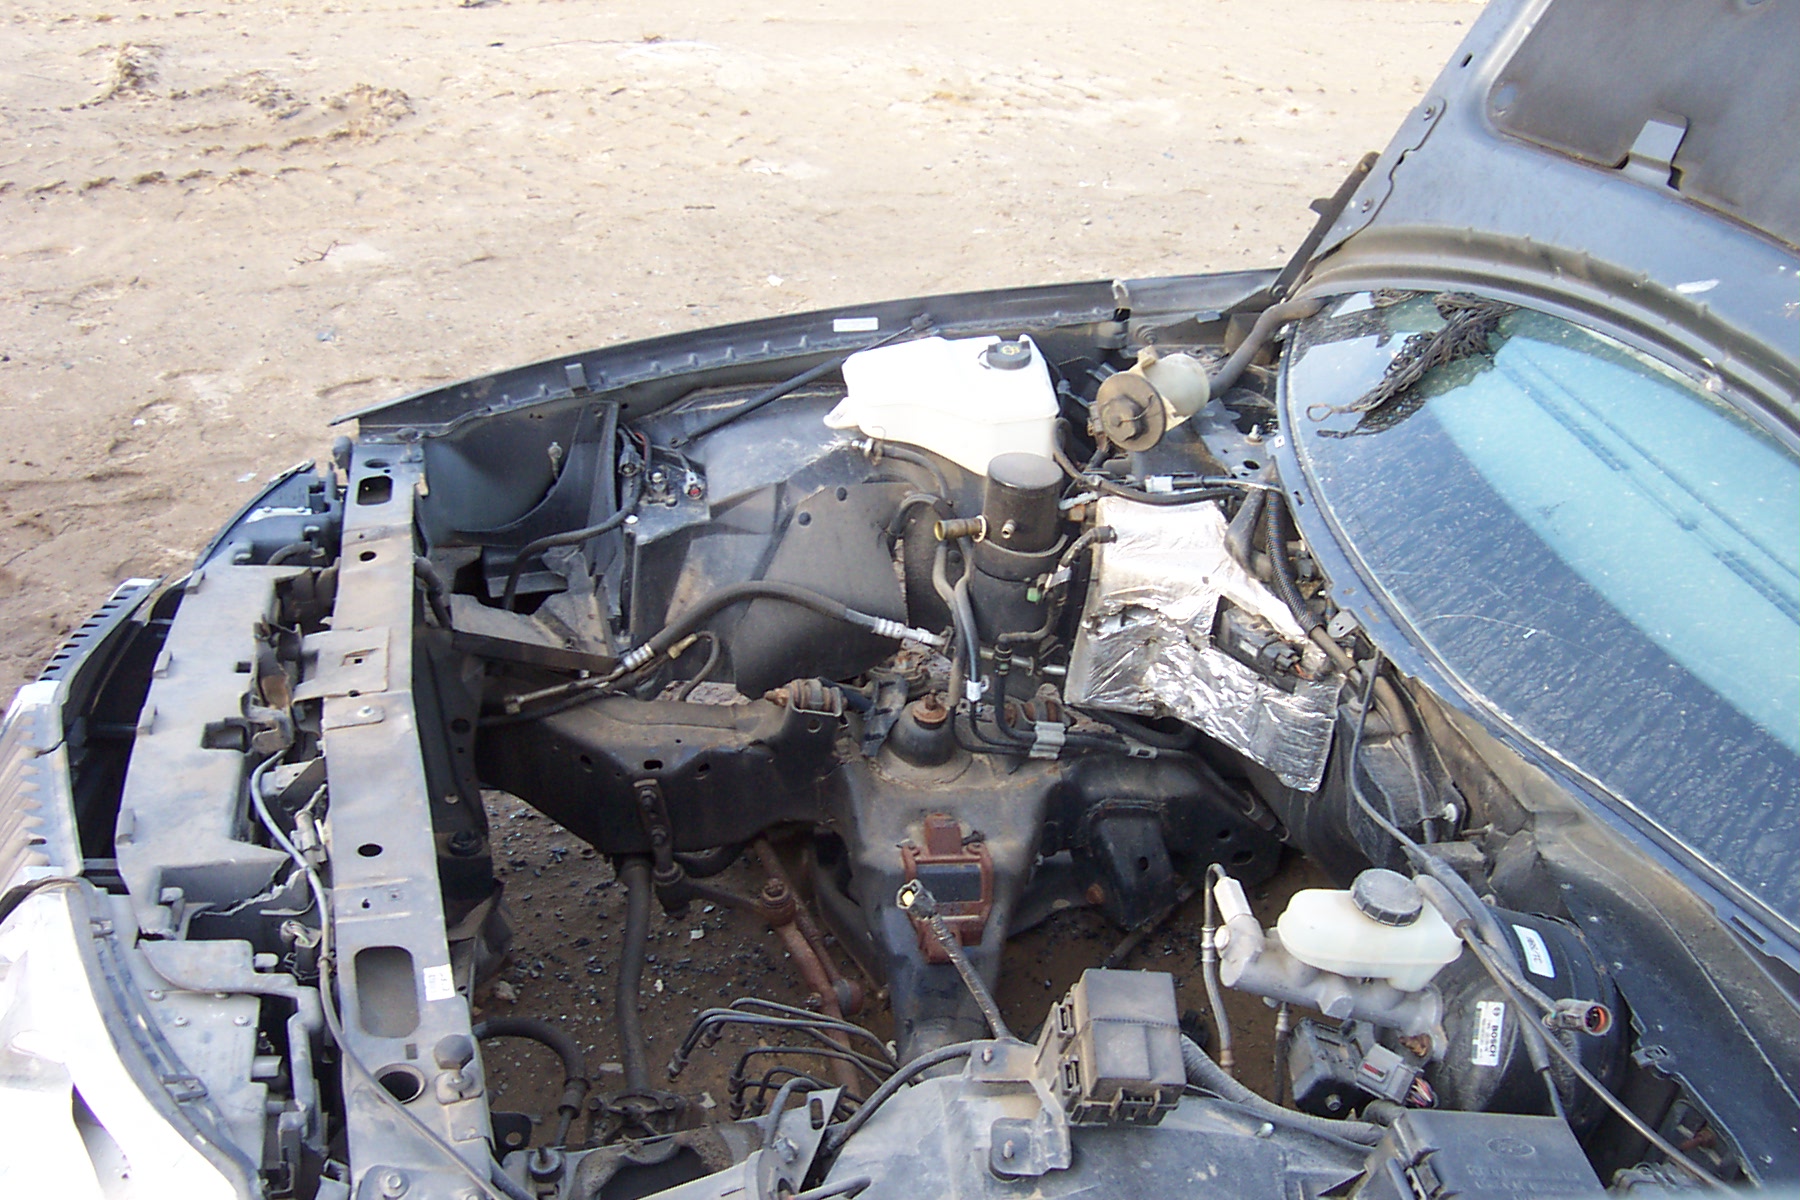
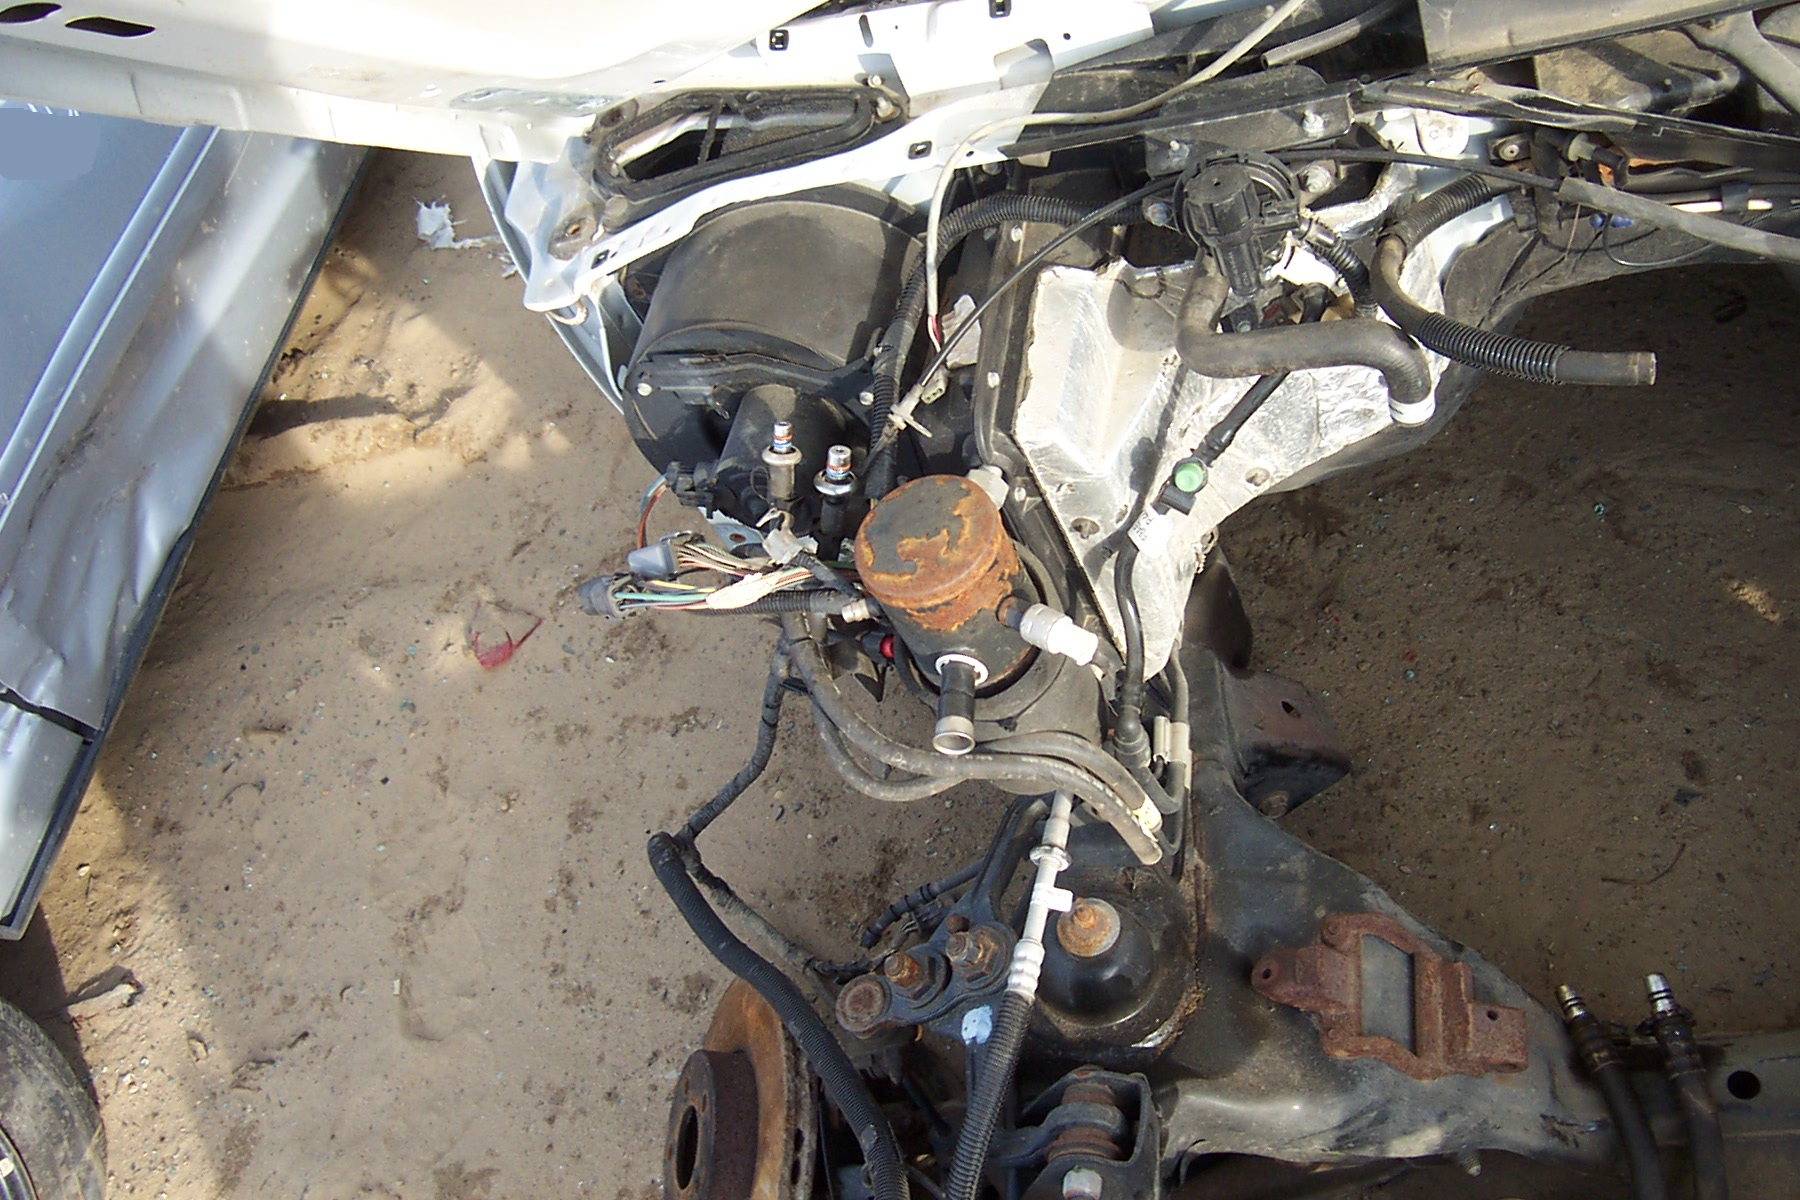
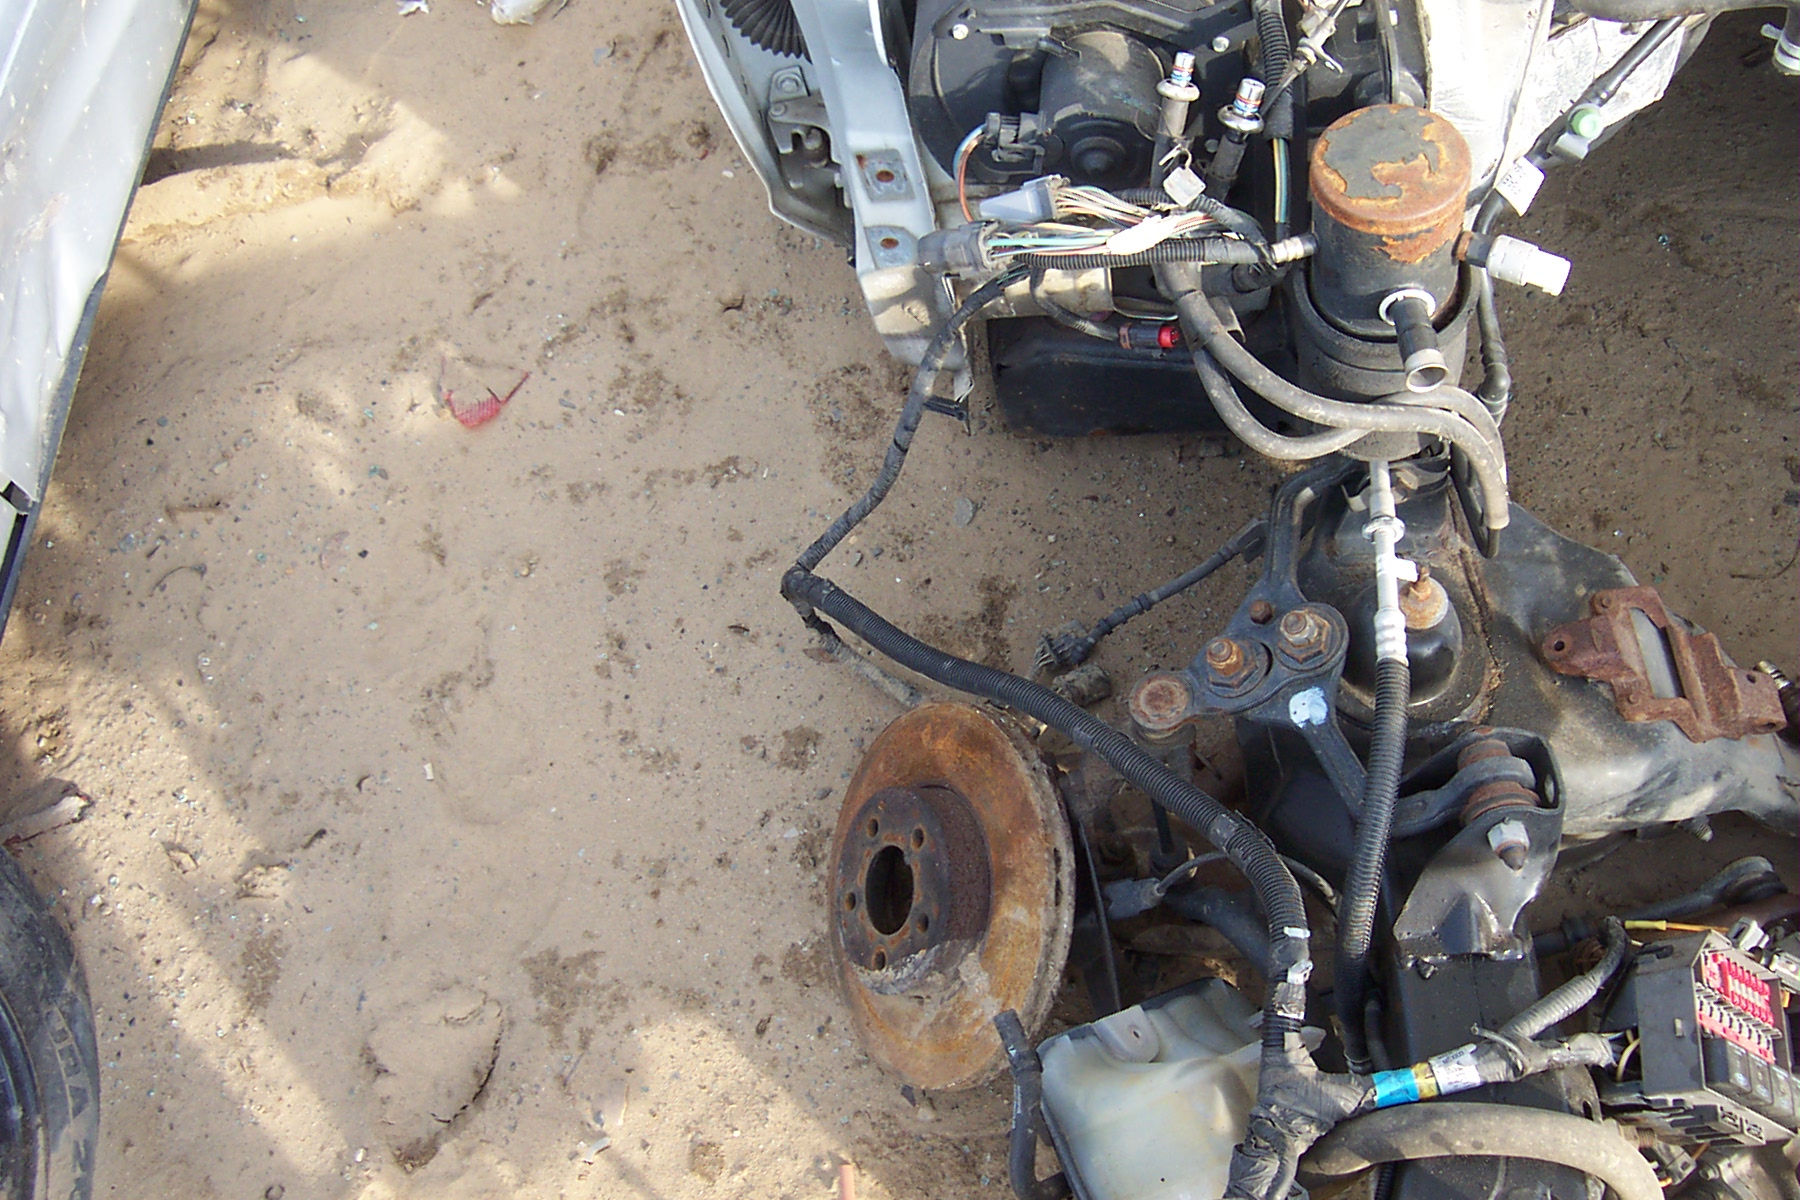
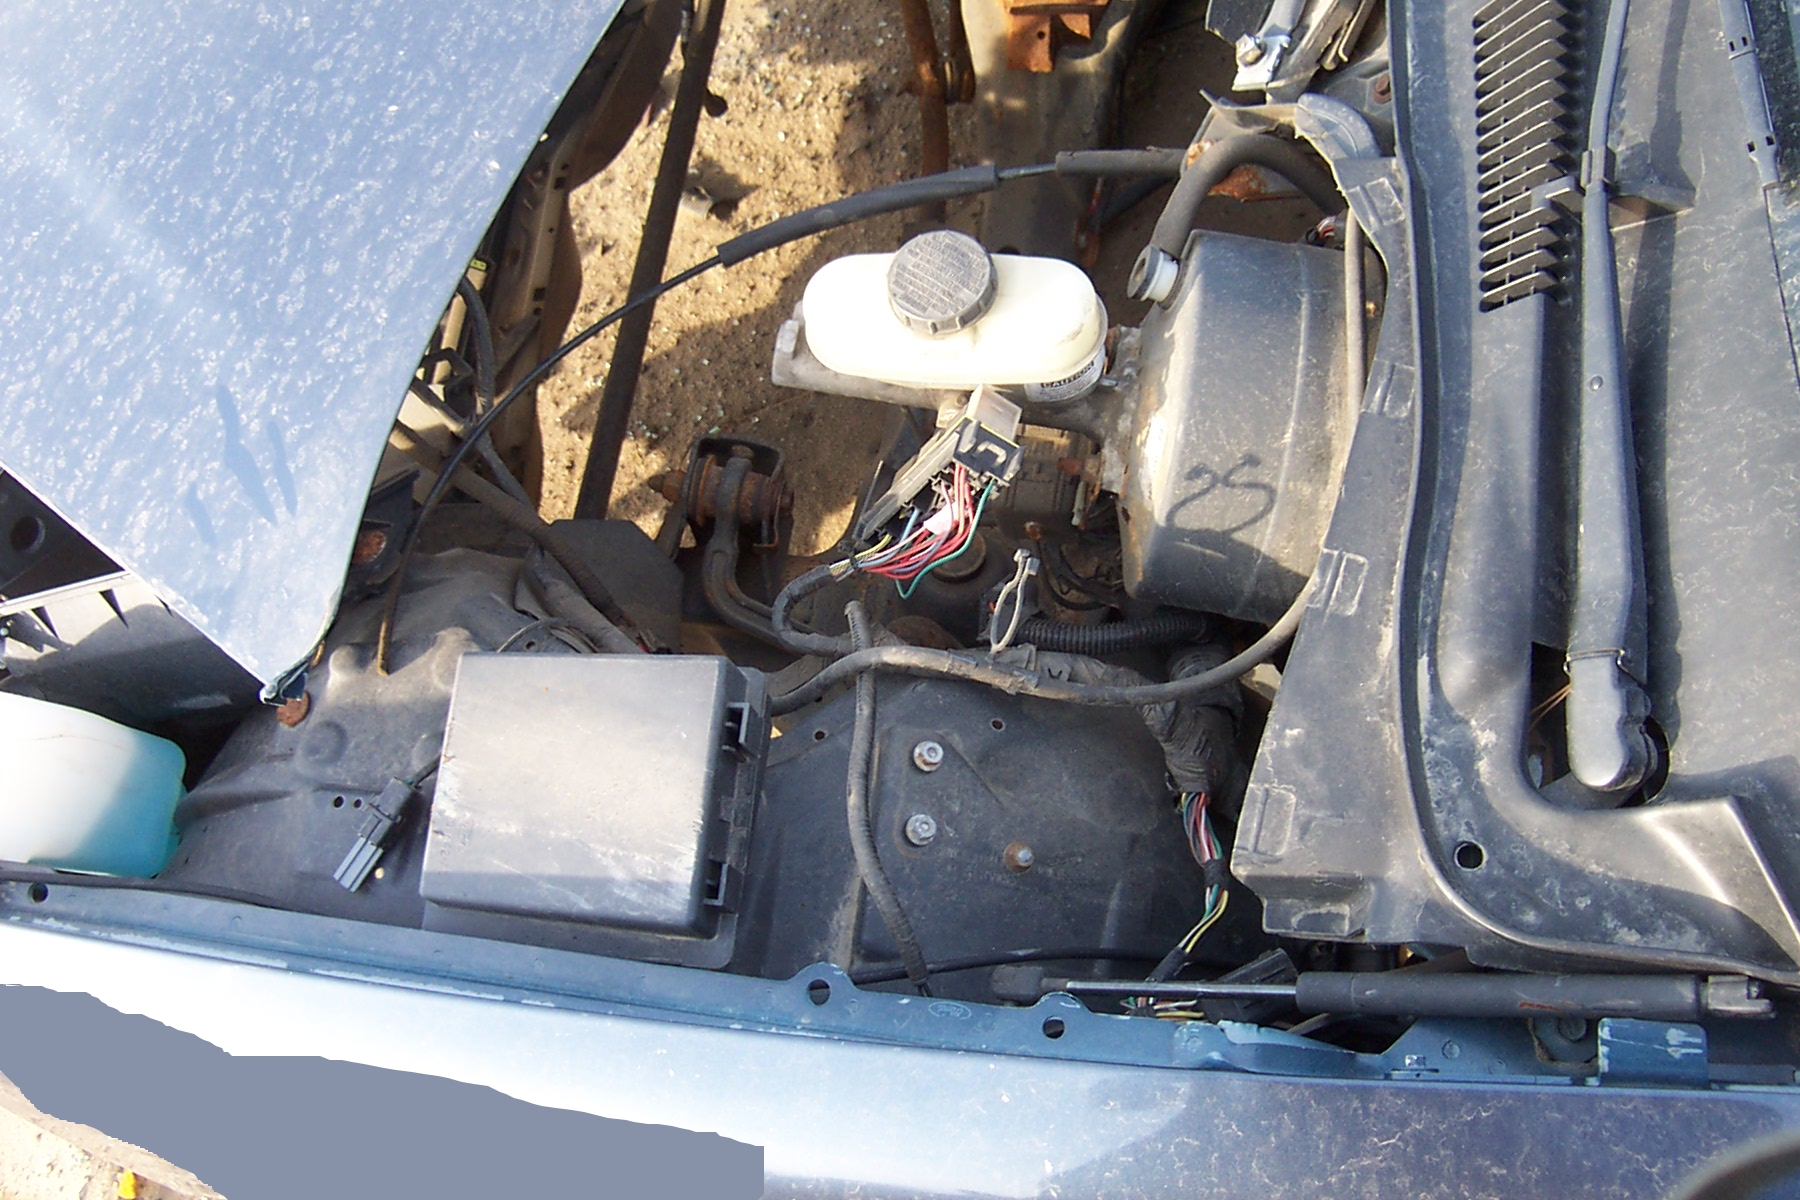
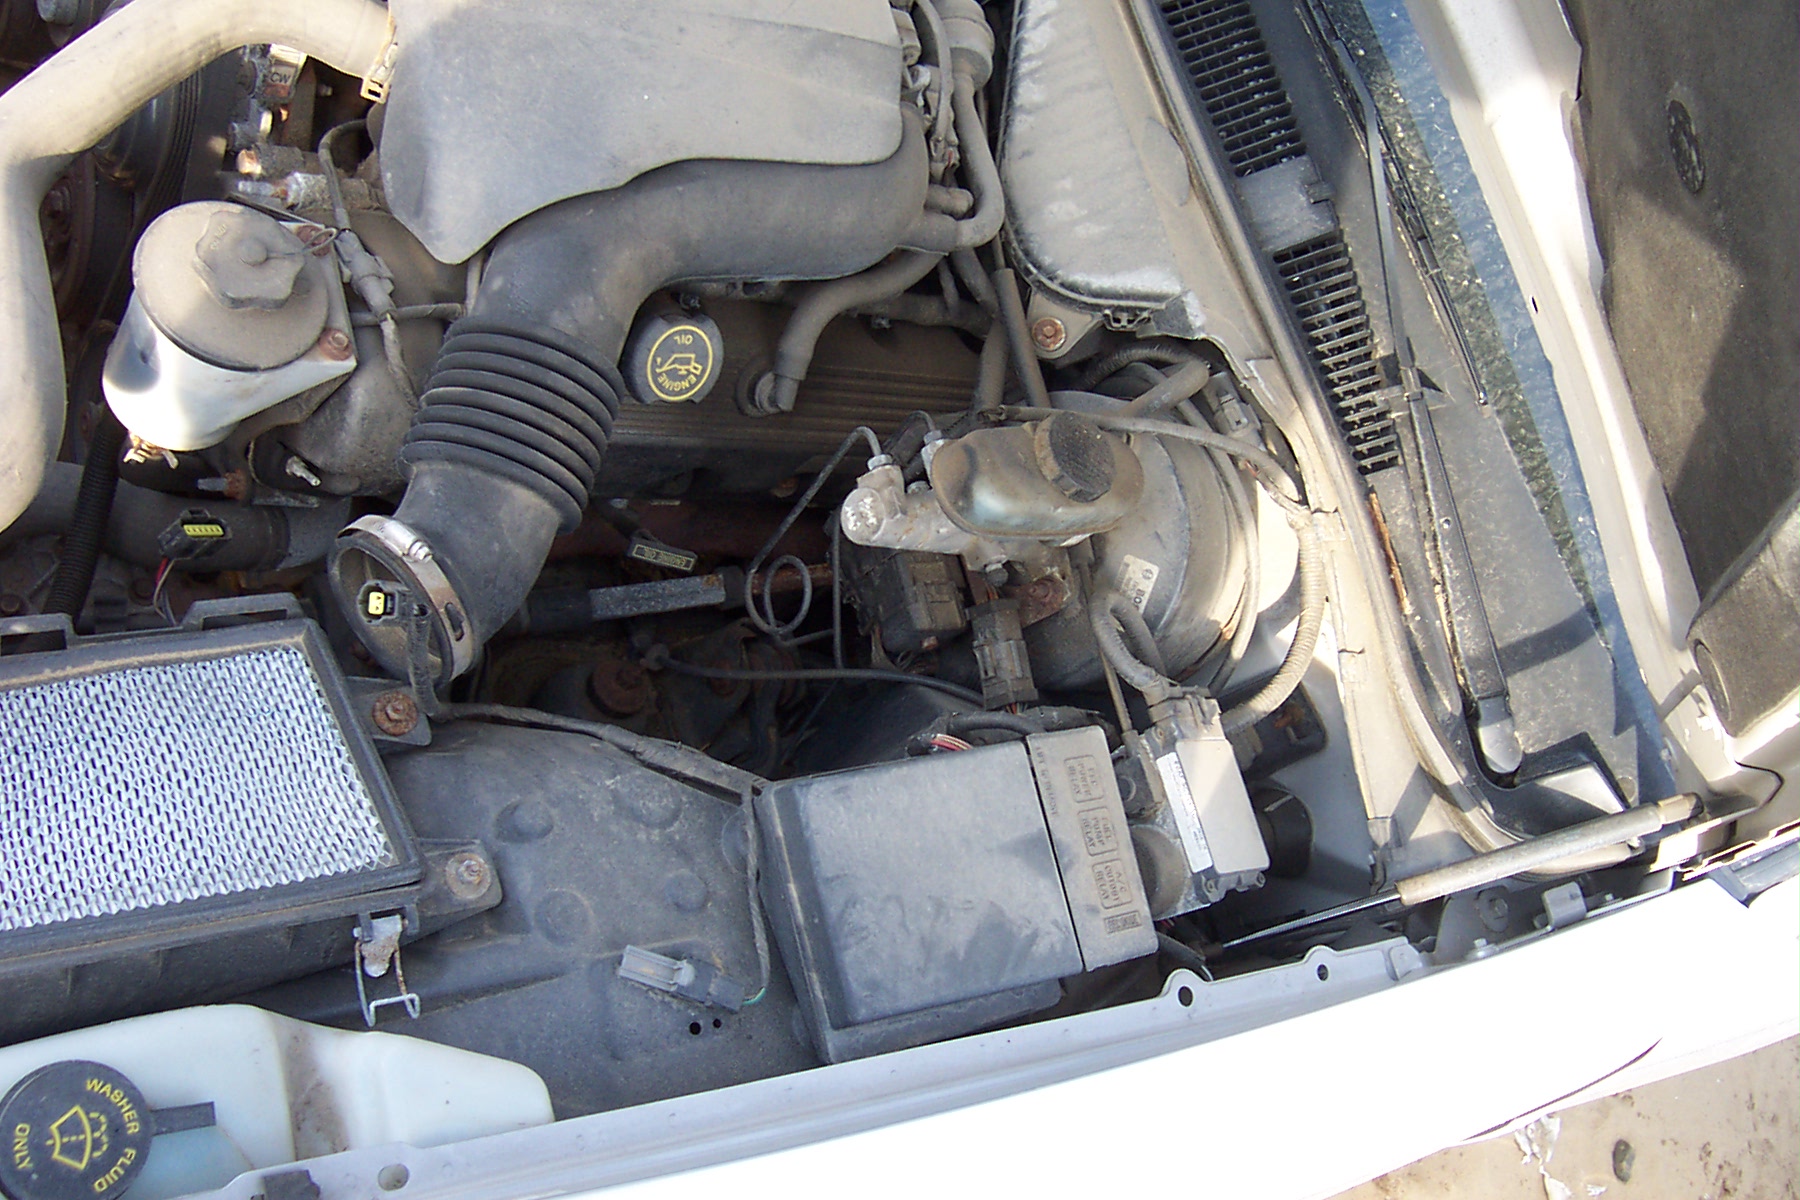
Crownvics manufacured from 2/16/98 until the end of the 2002 model year had
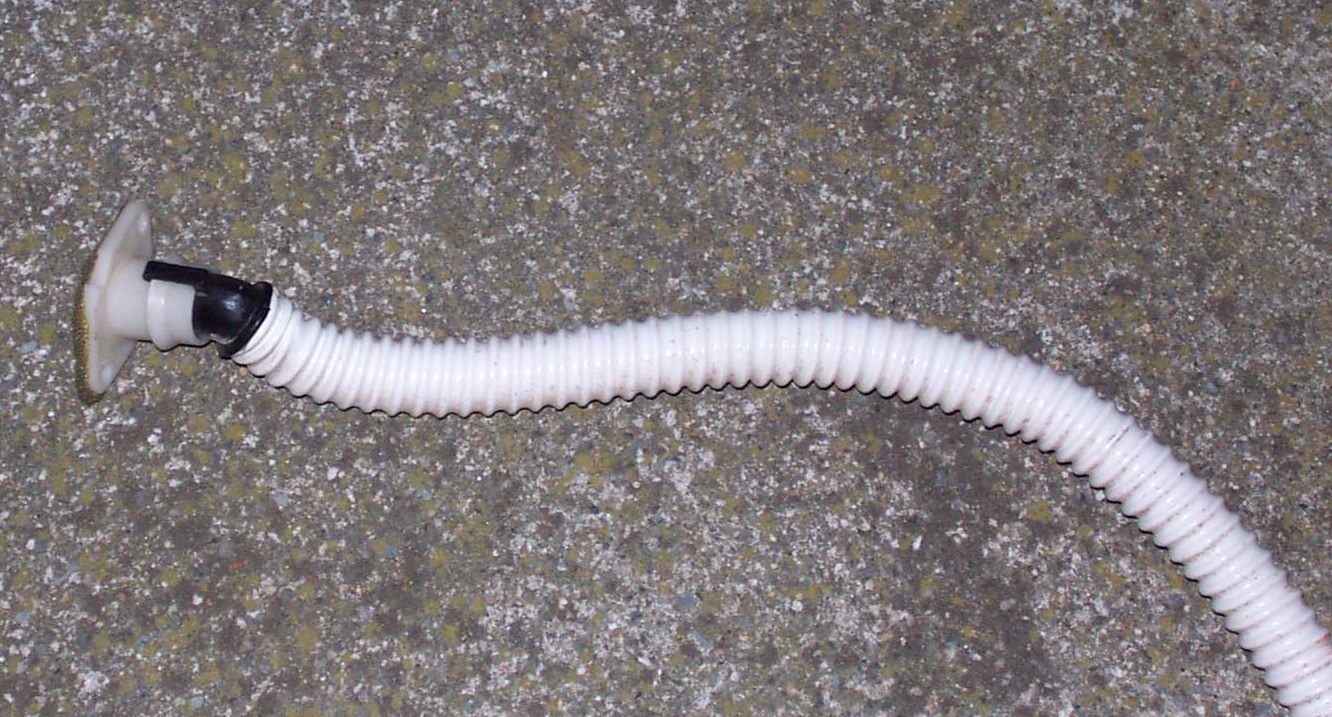
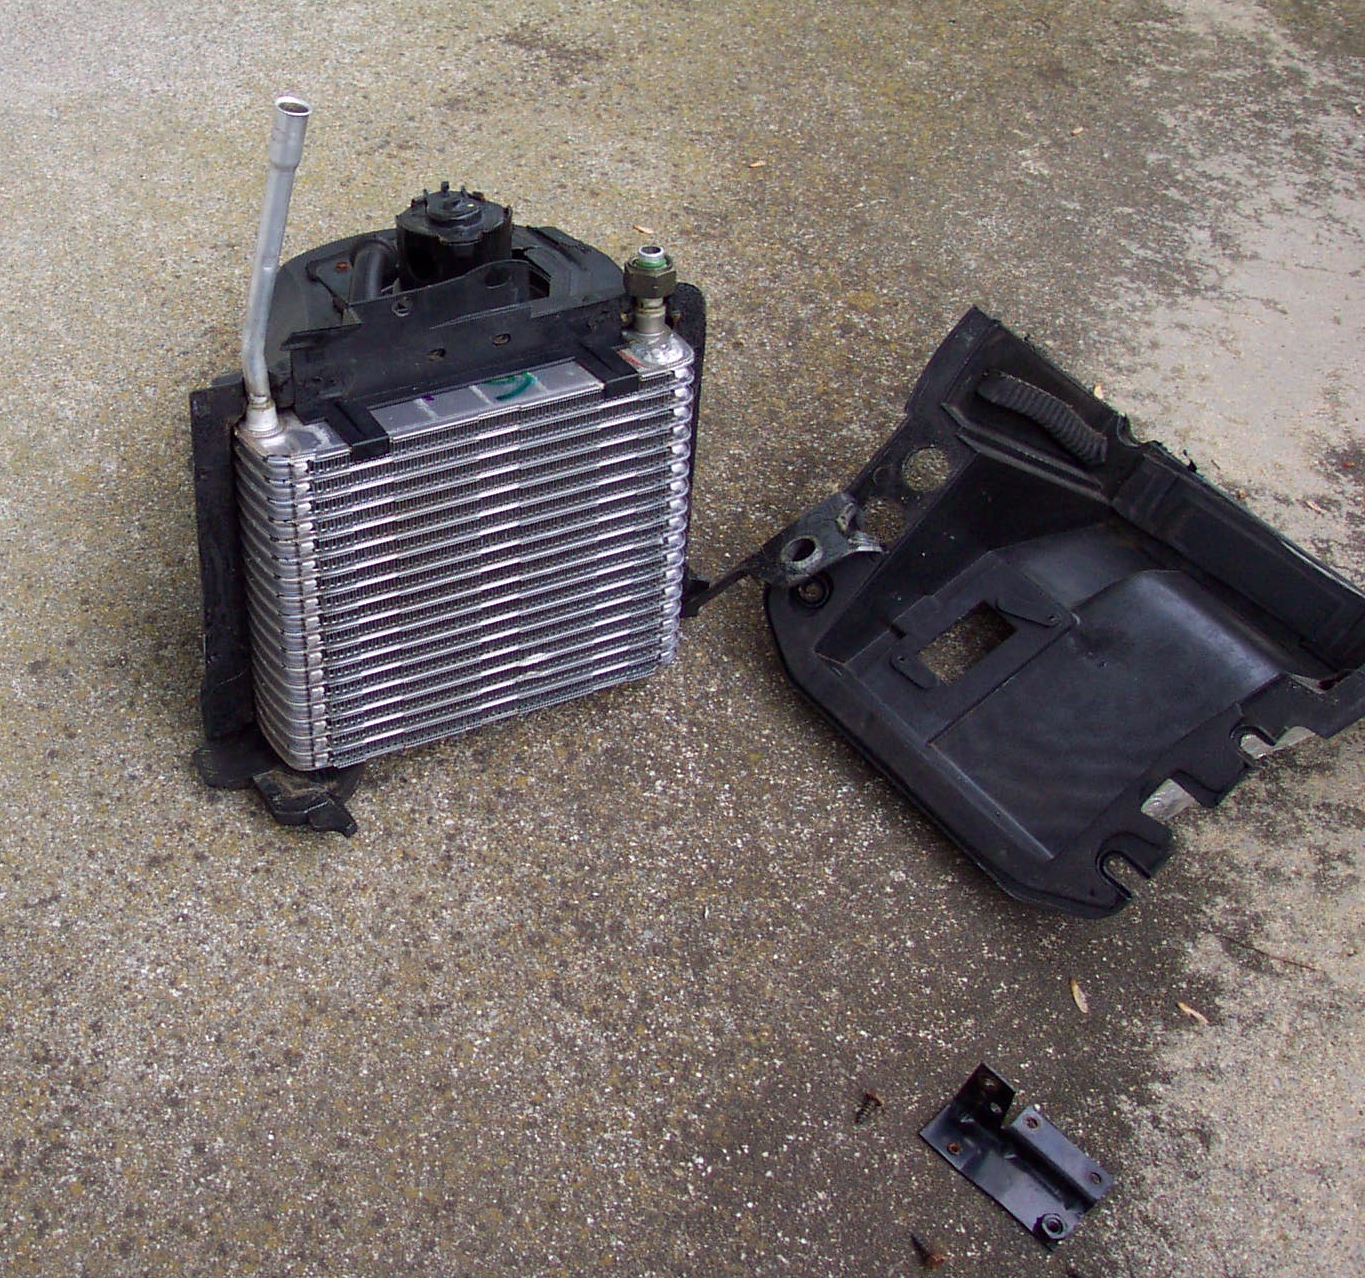
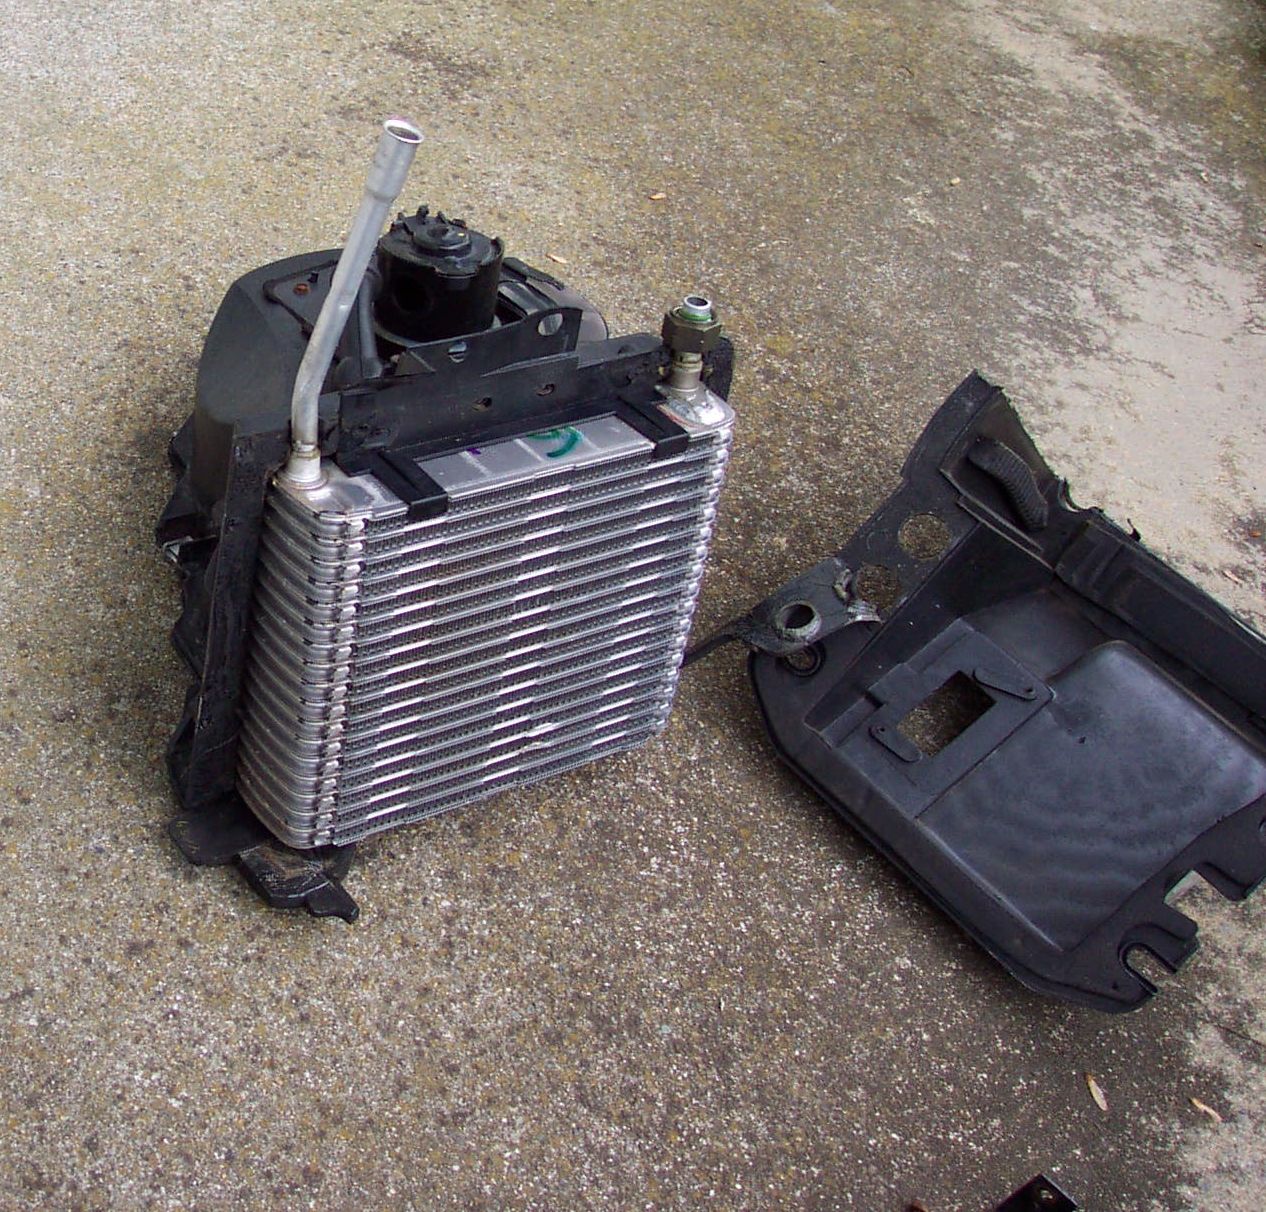
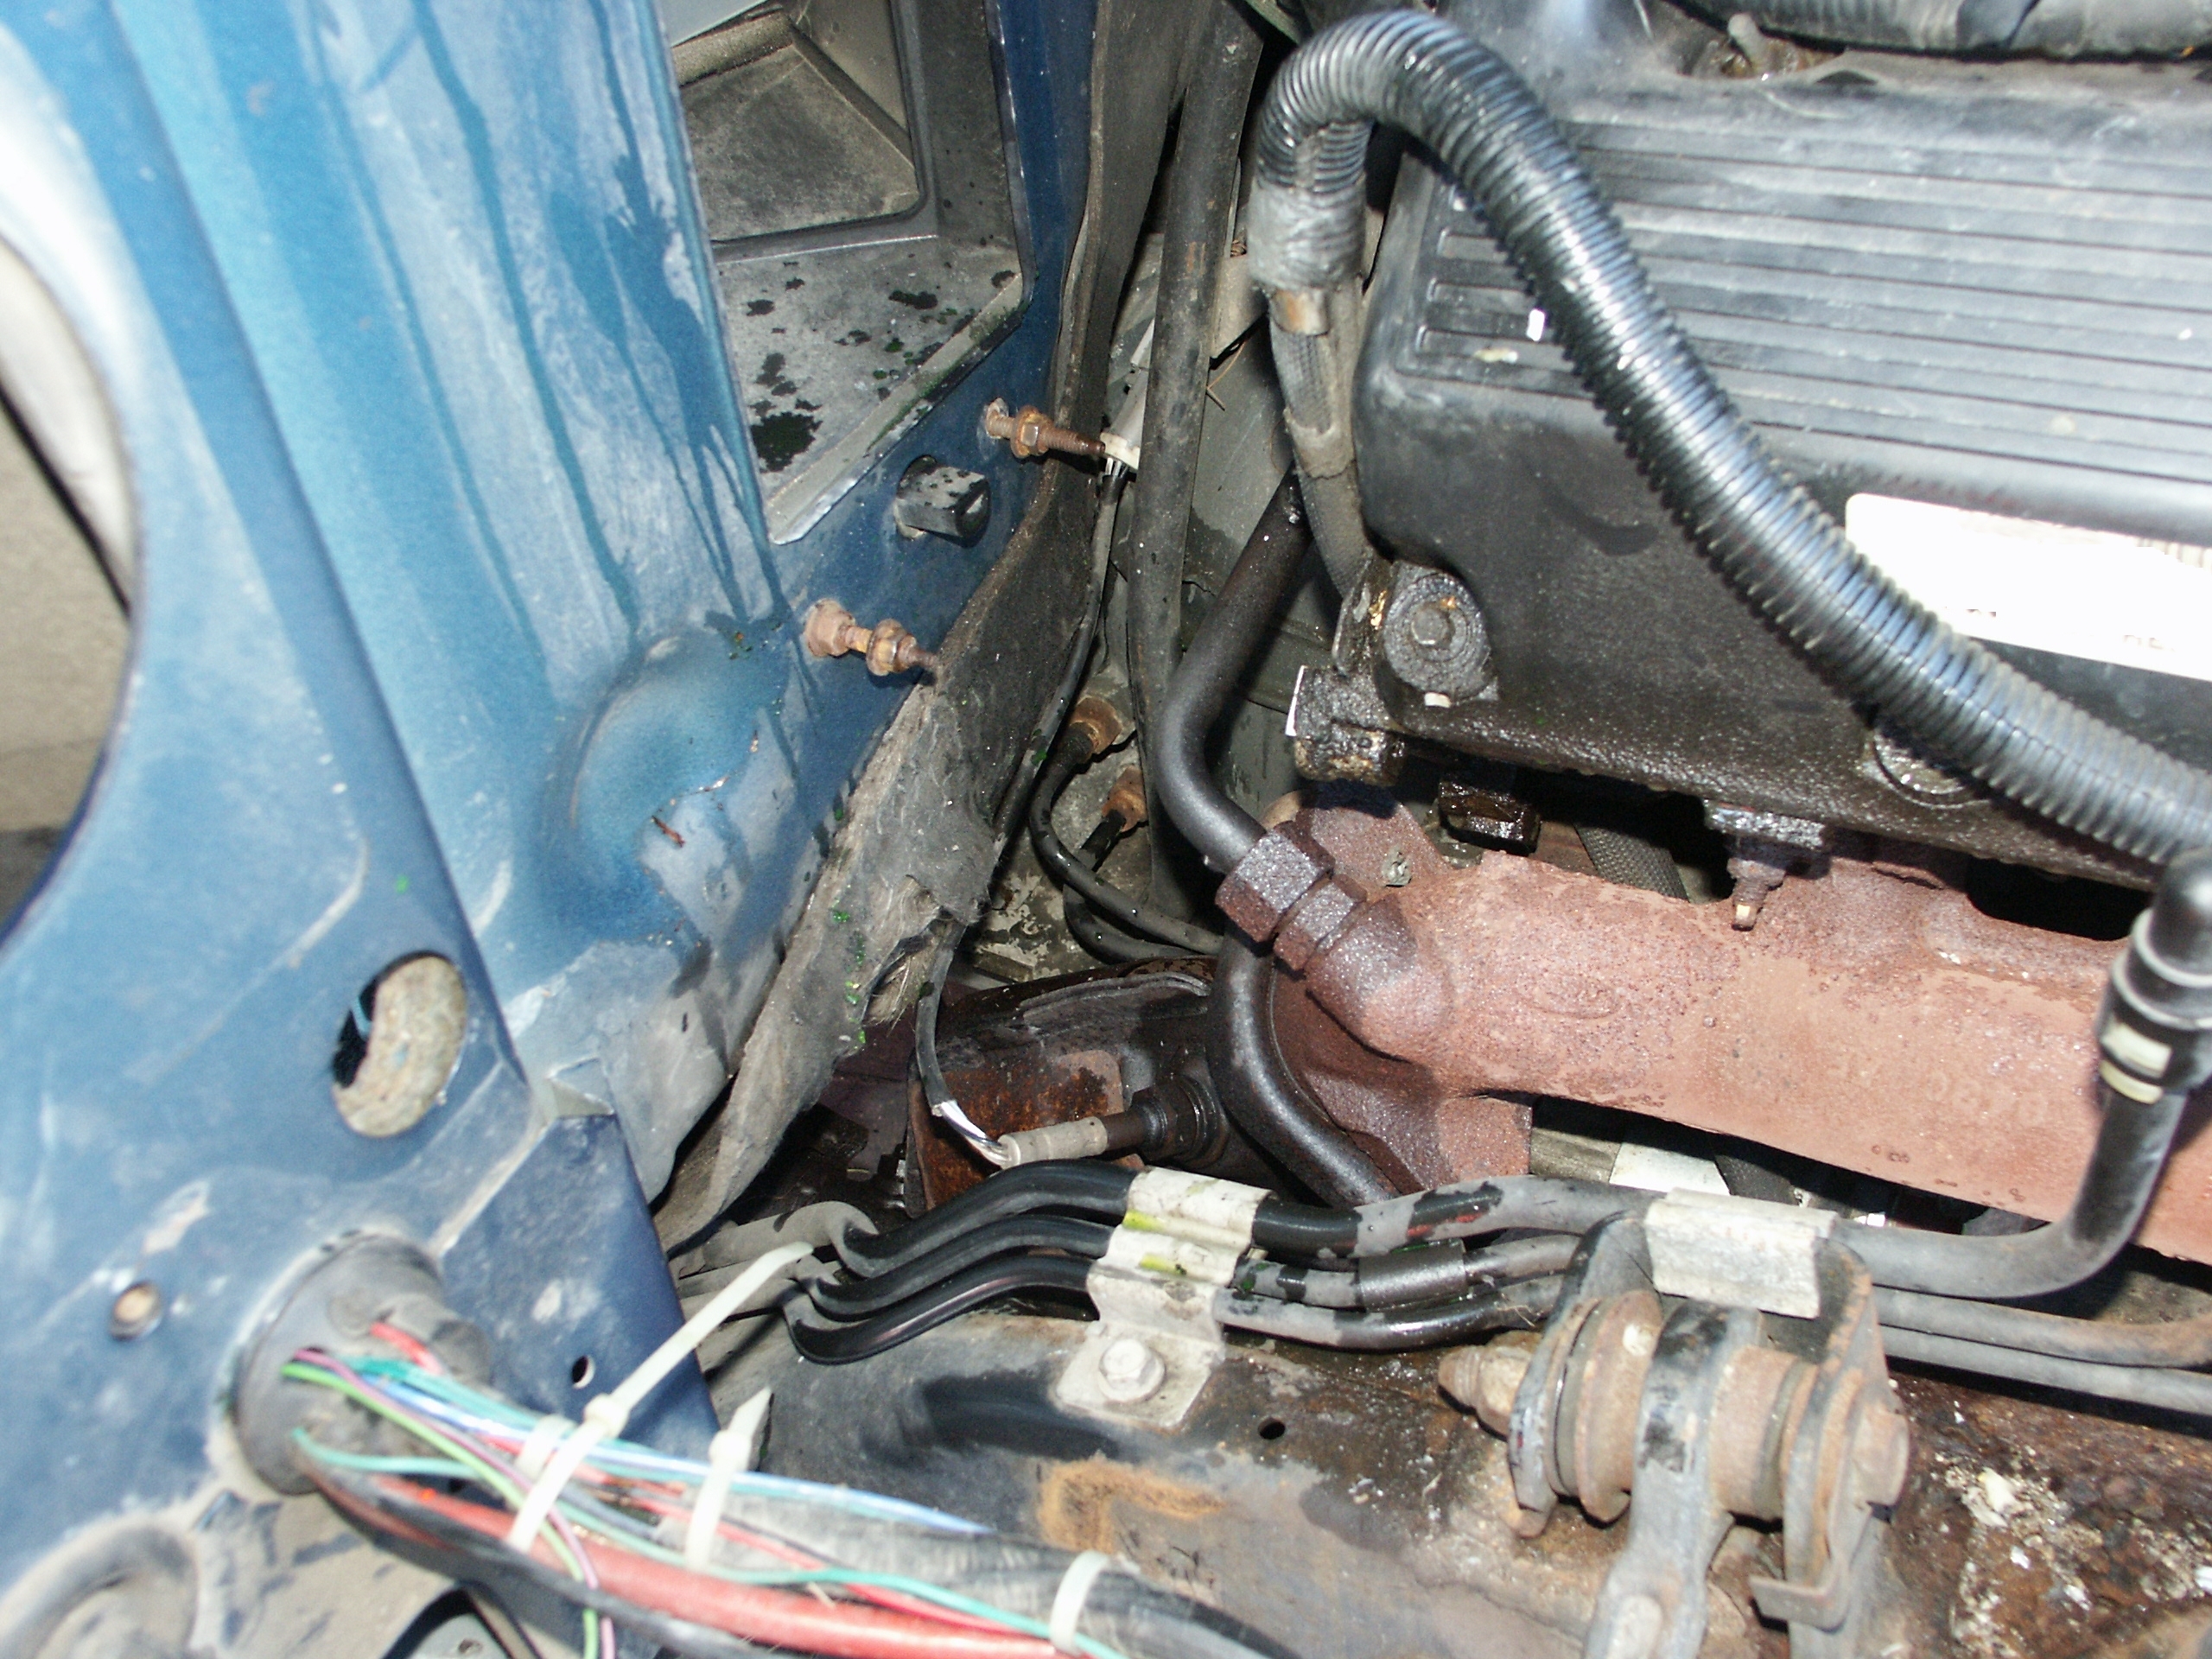
the cycling switch located on the accumulator. 1998 crown victorias manufactured before 2/16/98 did not have the a/c cycle switch port on the accumulator. On the early 1998 vehicles, the a/c cycle switch was located on the suction hose assembly near the accumulator junction. Click this link to view TSB 98-9-11 Click here to view a pictures of an early 1998 crown vics with the cycle switch located on the suction hose. |
(1998
only) (no "dimple" on bottom of accumulator) YF-2535 F8AZ-19C836-AA 1999-2002 YF-2571 XW7Z-19C836-AA 1999-2002 YF-2685 YW1Z-19C836-AA |
| From |
To |
Inlet Fitting |
Outlet Fitting |
Service Port Size |
Comments |
Ford Part Numbers |
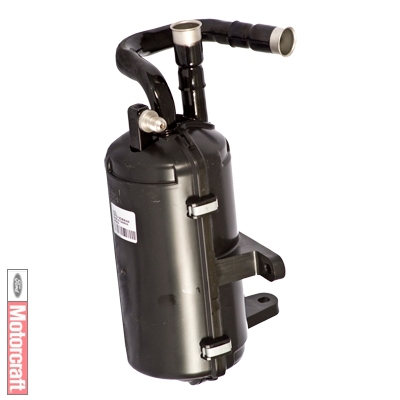
| 2003 |
2009 |
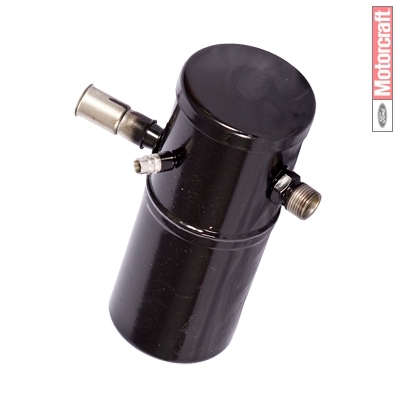
3/4" Springlock |
3/4" Springlock |
12mm Male (Cycling Switch) |
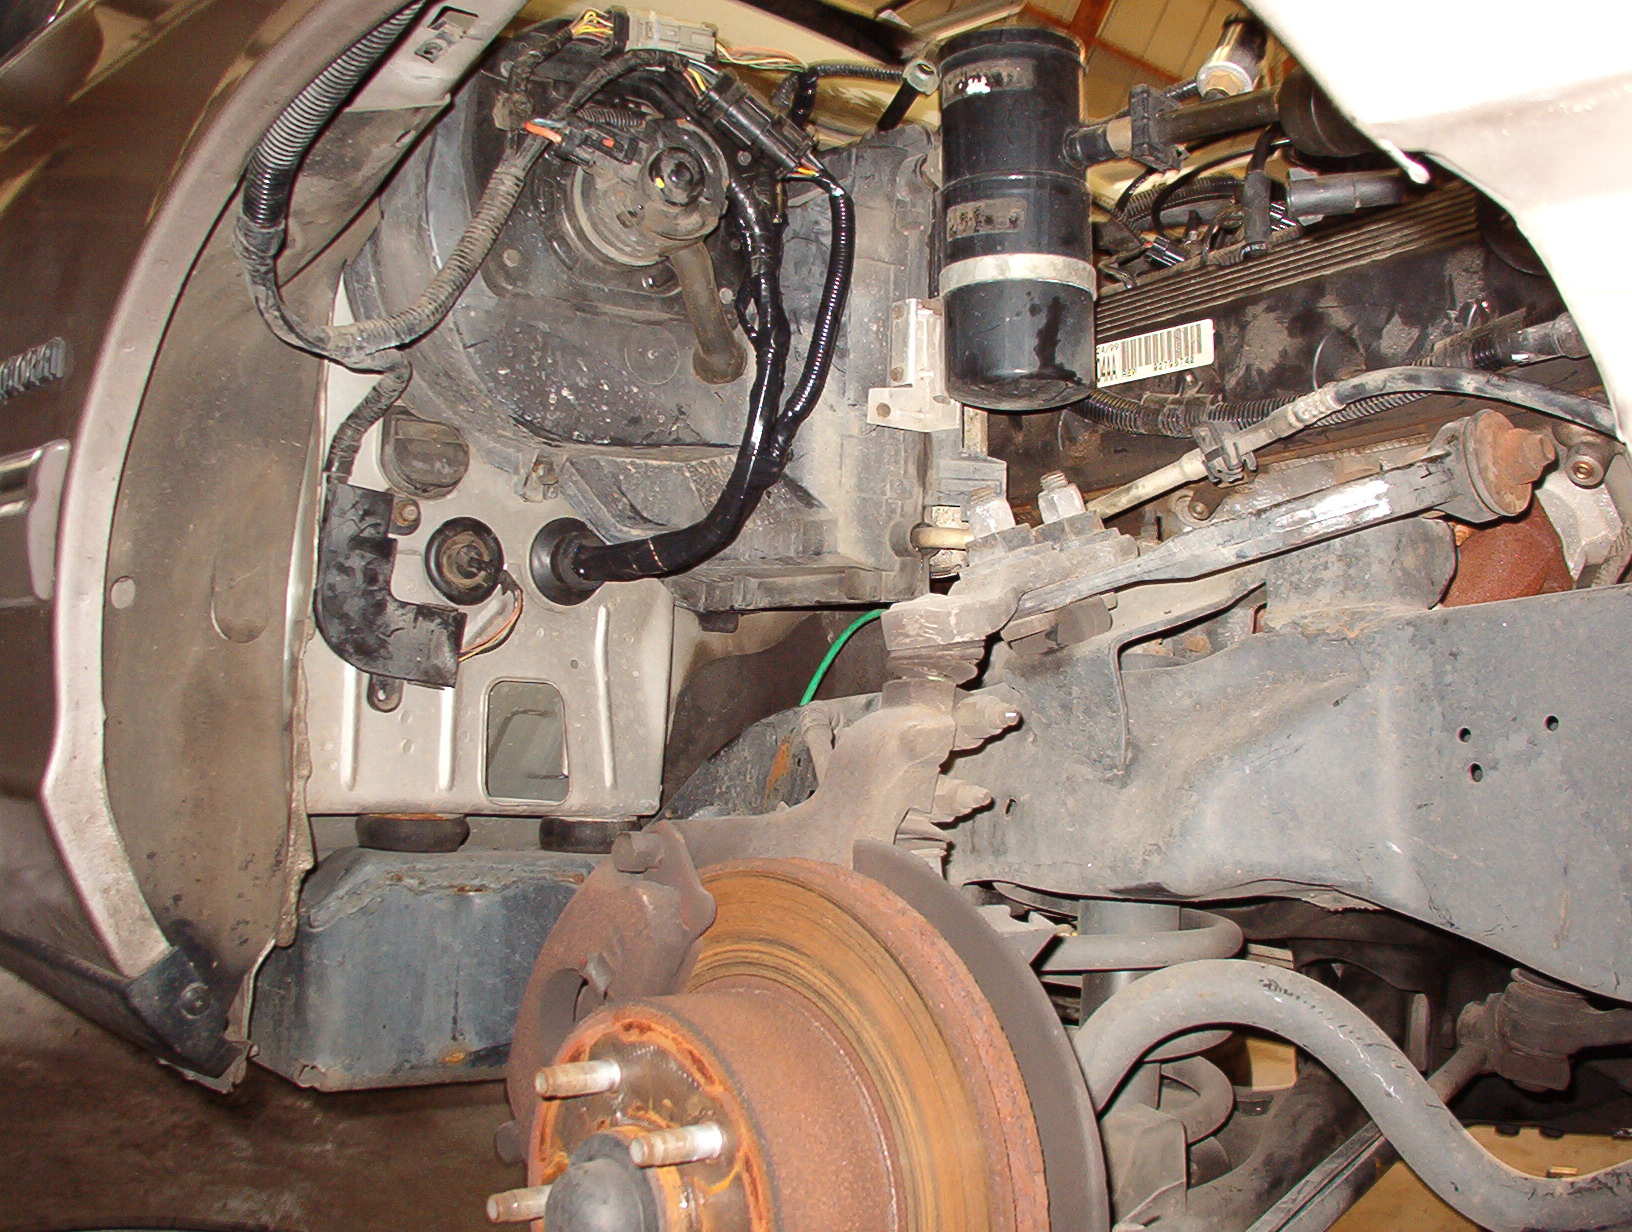
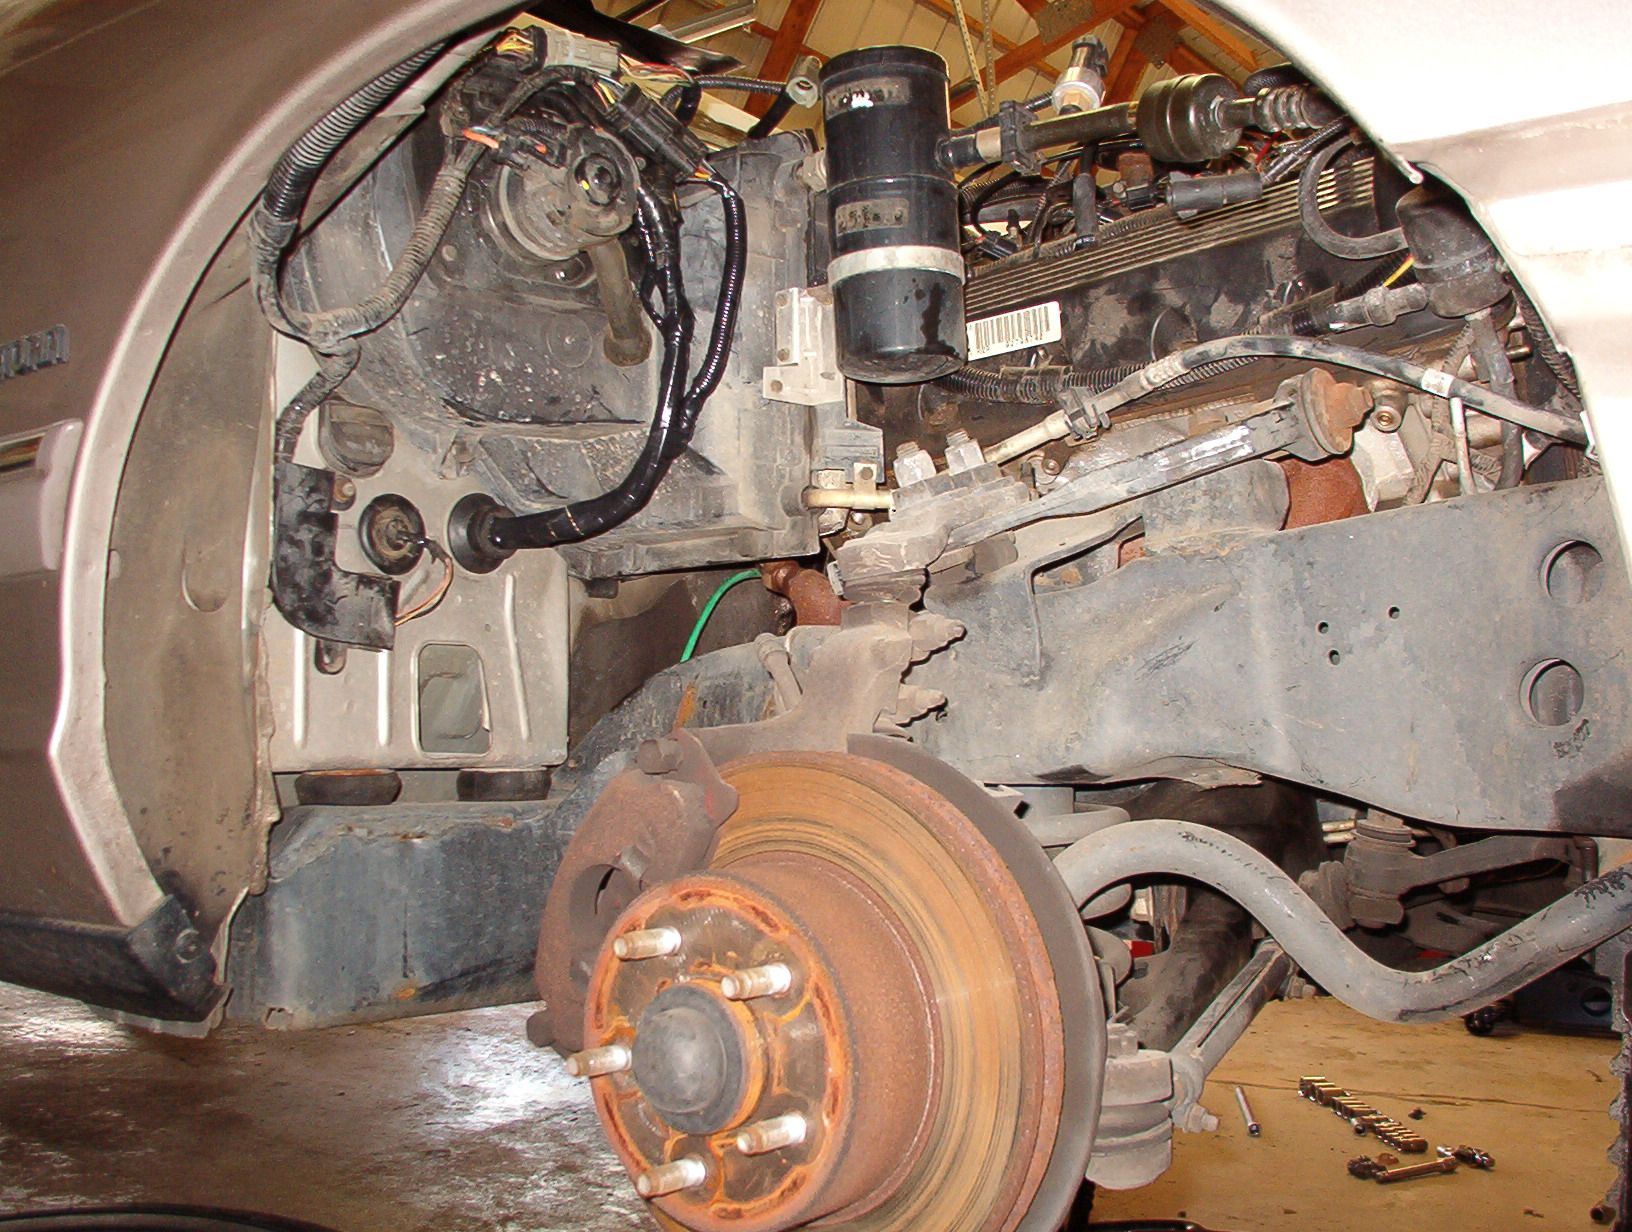
The accumulator on the 2003+
crownvics is located where the suspension idler arm used to be in prior
vehicles. This part is subject to a large amount of road-splash. In northern states where chloride salts are used during the winter to clear snow and ice, this part often develops leaks when the car gets older Make sure that you use the appropriate a/c cycle switch for the accumulator that you choose The ford motorcraft service accumulator part includes a new mounting bracket/thermal insulation cover. The aftermarket accumulators require re-use of your existing mounting bracket. |
3W7Z-19C836-AA YF-2883 3W7Z-19C836-CA YF-3098 4W1Z-19C836-BA YF-3197 6W7Z-19C836-AA YF-3243 6W7Z-19C836-A YF-3357 6W3Z-19C836-B |
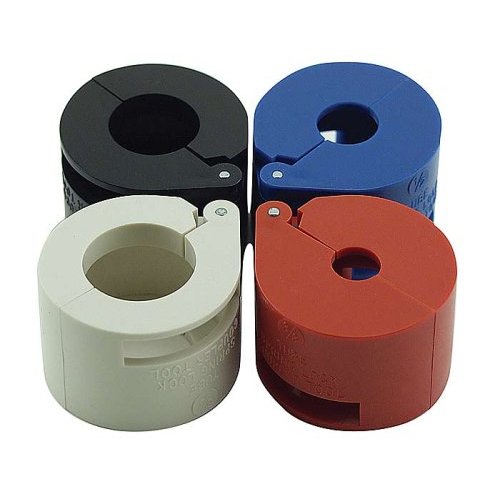
| #6 | (3/8") O-Rings, Coupling Garter Springs | Red |
| #8 |
(1/2") O-Rings, Coupling Garter Springs | Blue |
| #10 |
(5/8") O-Rings, Coupling Garter Springs | Black |
| #12 | (3/4") O-Rings, Coupling Garter Springs | Beige |
| Fluorescent refrigerant system dye is added to the refrigerant system at the factory to assist in refrigerant system leak diagnosis using a Rotunda-approved UV blacklight. It is not necessary to add additional dye to the refrigerant system before diagnosing leaks, even if a significant amount of refrigerant has been removed from the system. Replacement suction accumulators and receiver/driers are shipped with a fluorescent dye "wafer" included in the desiccant bag which will dissolve after approximately 30 minutes of continued A/C operation. It is not necessary to add dye after flushing or filtering the refrigerant system because a new suction accumulator or receiver/drier is installed as part of the flushing or filtering procedure. Additional refrigerant system dye should only be added if more than 50% of the refrigerant system lubricant capacity has been lost due to a fitting separation, hose rupture or other damage. |
| Ford Service Part Number |
Motorcraft Number |
Legacy Part Numbers |
Color |
Inner Diameter (Inches) |
Used In |
| F39Z-19D990-A | YG-320 | F09Z-19D990-A |
Brown |
.047 |
|
| F52Z-19D990-AB | YG-347 | F42Z-19D990-A F52Z-19D990-AA |
Green |
.052 |
|
| F5DZ-19D990-AB | YG-343 | E8UZ-19D990-A E8TZ-19D990-A F2DZ-19D990-A F5DZ-19D990-AA |
Orange |
.057 | 1992-2009 Crown Victoria |
| F5UZ-19D990-AB | YG-346 | E5UZ-19D990-AA E69Z-19D990-A F4UZ-19D990-A F5UZ-19D990-AA |
Red |
.062 | |
| F5XZ-19D990-AB | YG-345 | E0VY-19D990-A E1FZ-19D990-A F3XY-19D990-A F5XZ-19D990-AA |
Blue | .067 | 1980's "Box Body" Crown Victoria |
| XC4Z-19D990-AA | YG-380 | Black |
.072 |


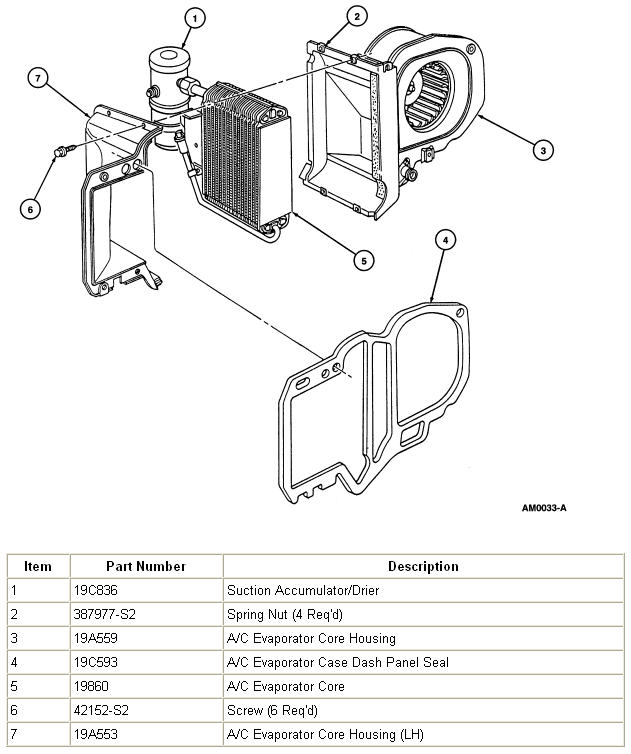
| Height |
Width |
Depth |
Inlet Fitting |
Outlet Fitting |
||
| 1980's |
1991 |
7-1/2" | 9-1/2" | 4" | #8 Female Springlock | #12 Female O-Ring (F.O.) |
| 1992 |
1997 |
8-1/4" |
8-1/2" |
3-5/8" |
#8 Female Springlock |
#10 Female O-Ring (F.O.) |
| 1998 |
2002 |
8-1/4" |
10-1/2" |
3-1/2" |
#8 Female Springlock |
#10 Female O-Ring (F.O.) |
| 2003 |
2009 |
8-1/8" |
10-1/2" |
3-1/2" |
#8 Female Springlock |
#12 Female Springlock |
| #6 | (3/8") O-Rings, Coupling Garter Springs | Red |
| #8 |
(1/2") O-Rings, Coupling Garter Springs | Blue |
| #10 |
(5/8") O-Rings, Coupling Garter Springs | Black |
| #12 | (3/4") O-Rings, Coupling Garter Springs | Beige |


