EATC Interior Temperature Sensor
Since the eatc setup is supposed to be able to maintain the interior
temperature at a user defined setting, it needs a sensor to tell it what
the current interior cabin temperature is.
But since air temperature varies throughout the vehicle with
small pockets of hot and cold air dispersed throughout, to get an
accurate temperature reading one will have to sample the air by either
pushing or pulling it across the sensor. In crown vics, the interior air
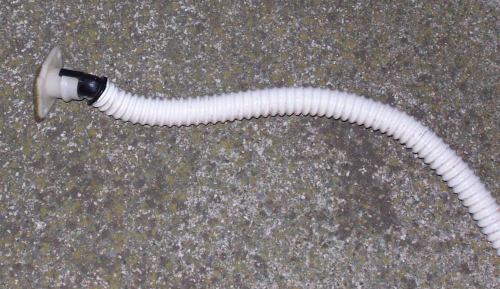
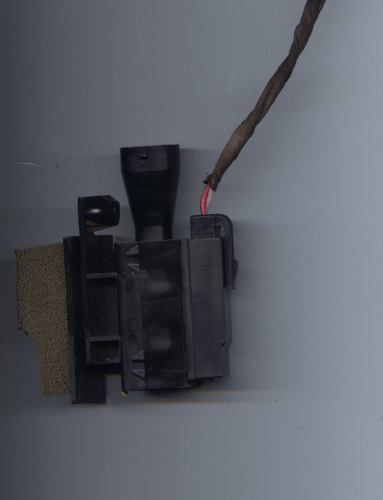
temperature is sampled by a sensor with three open ports on it. The
bottom port connects to a hose from the underhood evaporator housing which
forces air through a white hose. The white hose then connects to the sensor
and forces air out the port immediatetly across from the inlet. The port
on the front then vacuuums air in through it by the venturi effect.
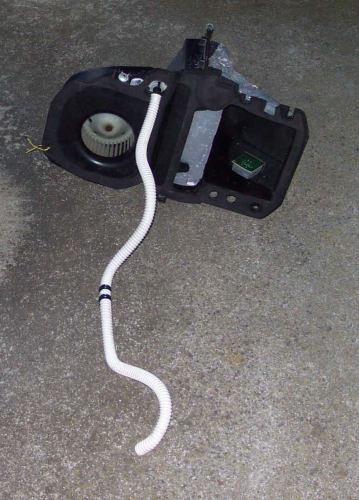
Below is a picture of the underhood evaporator housing with
it's hose attached. On the left, is the blower motor, in the middle
the evaporator, and on the right the blower motor speed controller.
When the blower motor wheel spins, it forces air through the hose. If
the hose becomes obstructed with debris such as dead insects or tree leaves,
the interior temperature readings will become inaccurate as a result.
And the other end of the hose is connected to the interior
temperature sensor.
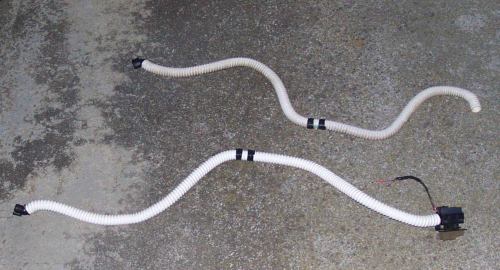
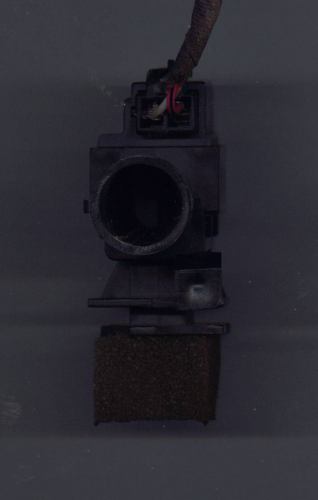
When air is forced in through the round port above, it flows
out through the rectangular port below.
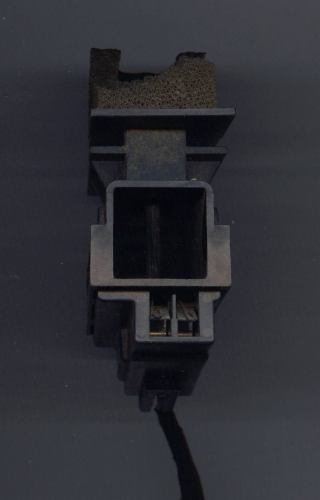
In the process of moving air through the sensor, interior
air is vacuumed in through the front port over a thermistor by the venturi
effect. The thermistor converts temperature data into an electrical signal
useable by the eatc control circuitry.
Conveniently, my police interceptor's dashboard already had
the cutout in it for the interior temperature sensor.
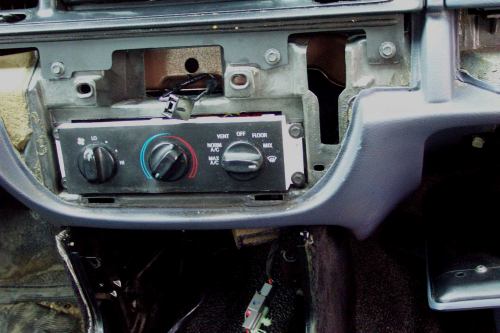
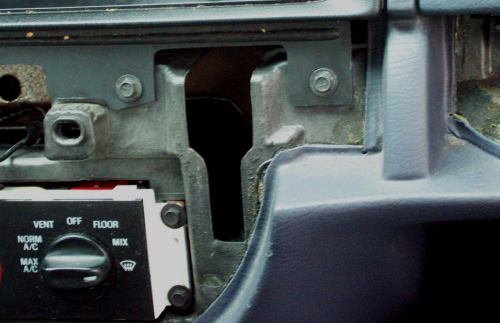
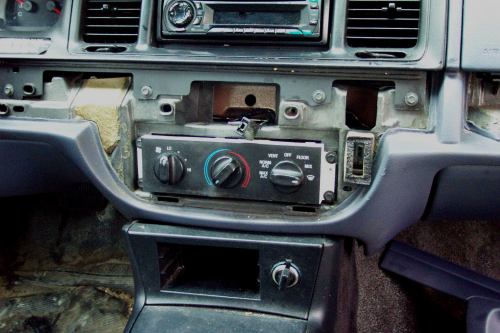
And with a little effort, the sensor slipped into the dashboard
cutout. The dashboard trim on my police interceptor which covers the
interior temperature sensor already had the cutouts in it to allow air
to flow to the sensor as well.
The hole was also drilled in the pre-drilled in the firewall
for the hose from the underhood evaporator housing. There was insulation
covering the hole, but it was pre-stamped with a circular cutout
so I was able to pull it out with my fingers and touch the cutout for
the underhood evaporator box where the temperature hose fitting would
be.
Like the pre-cut hole in the firewall, the manual a/c evaporator
housing had the mounting location for the evaporator hose fitting
on it. After pushing out the insulation with my finger, I could now
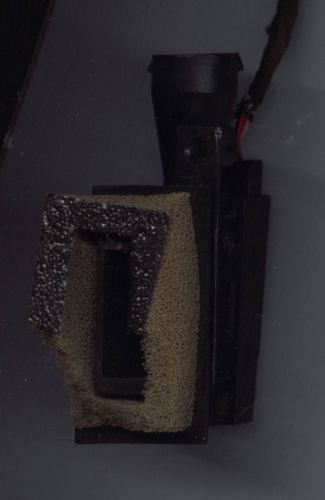
see the blower motor wheel. Courtesy of a wrecked police cruiser with
a shattered evaporator housing, below are some pictures of the portion
of the housing in question.
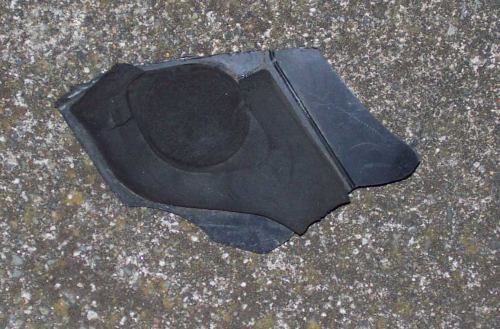
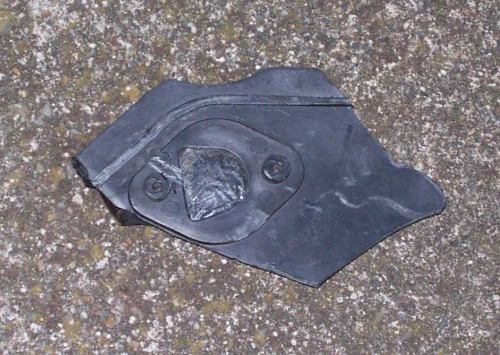
I had purchased an entire evaporator housing assembly from
a wrecked eatc equipped crown vic that was involved in a rear impact,
but later decided that I was going to modify my current manual evaporator
housing instead. First step was to remove the passengers side fender
liner, next was to remove all the fasteners that held the evaporator
housing to the firewall and finally remove the hoses from the heater
core. Now I could push the evaporator housing a little bit away from the
firewall and install the needed fitting. This was easier said than done
though as I couldn't visually see the insulating foam that I was scraping
away with my finger and maneuvering a wrench to secure the 8mm fasteners
in place was very difficult.
The a/c flex hoses that connect to the evaporator did flex
and allow me push the evaporator a little bit away from the firewall.
But now i'm getting refrigerant oil residue & yellowish-green tracer
dye on the junction of the lower evaporator and the flex hose. Perhaps,
the o-rings on the quick connect fitting started to leak solely because
the car is 5 years old, but my suspicion is that jostling around the evaporator
contributed to their early demise. In retrospect, it probably would have
been easier to discharge the refrigerant from the a/c system and install
the junkyard evaporator assembly onto my car.
