


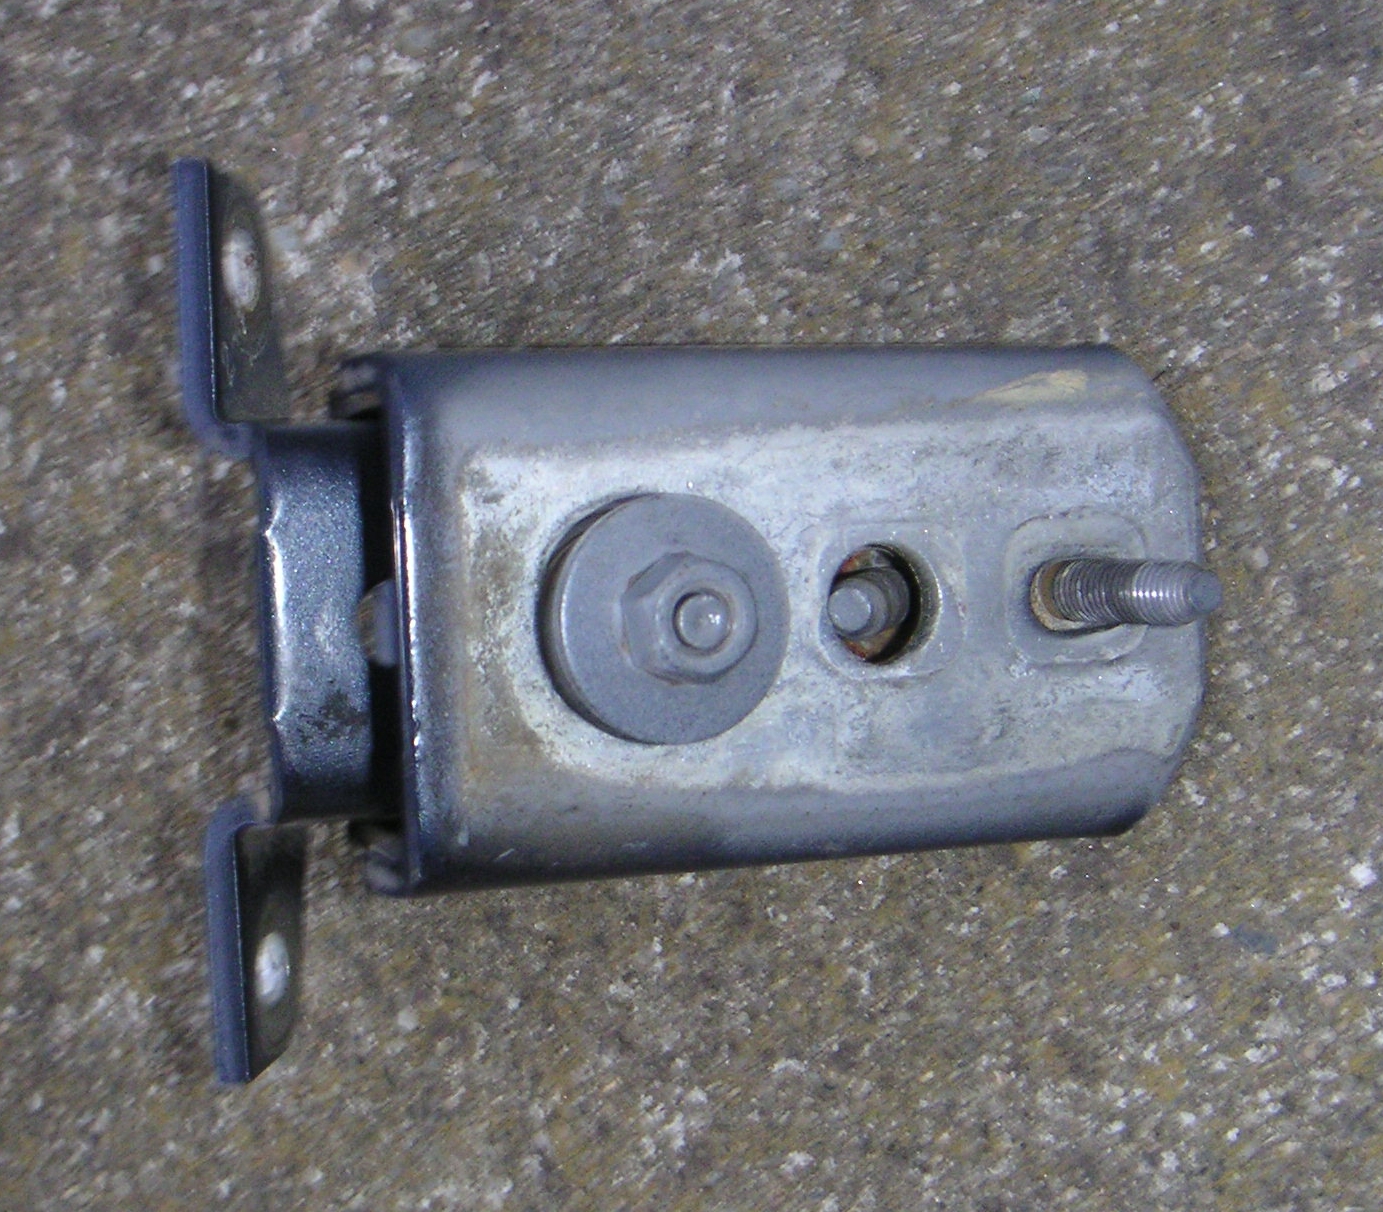
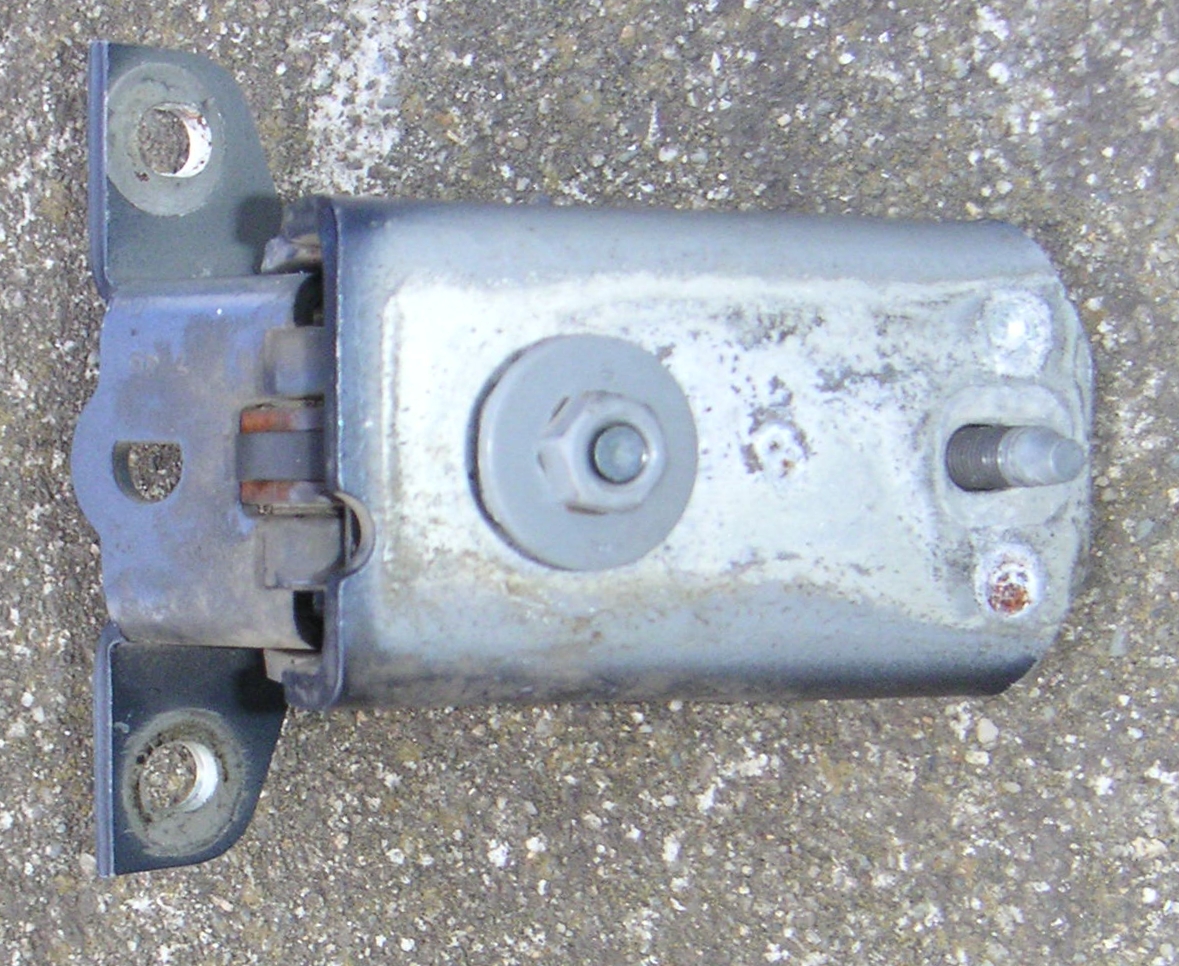
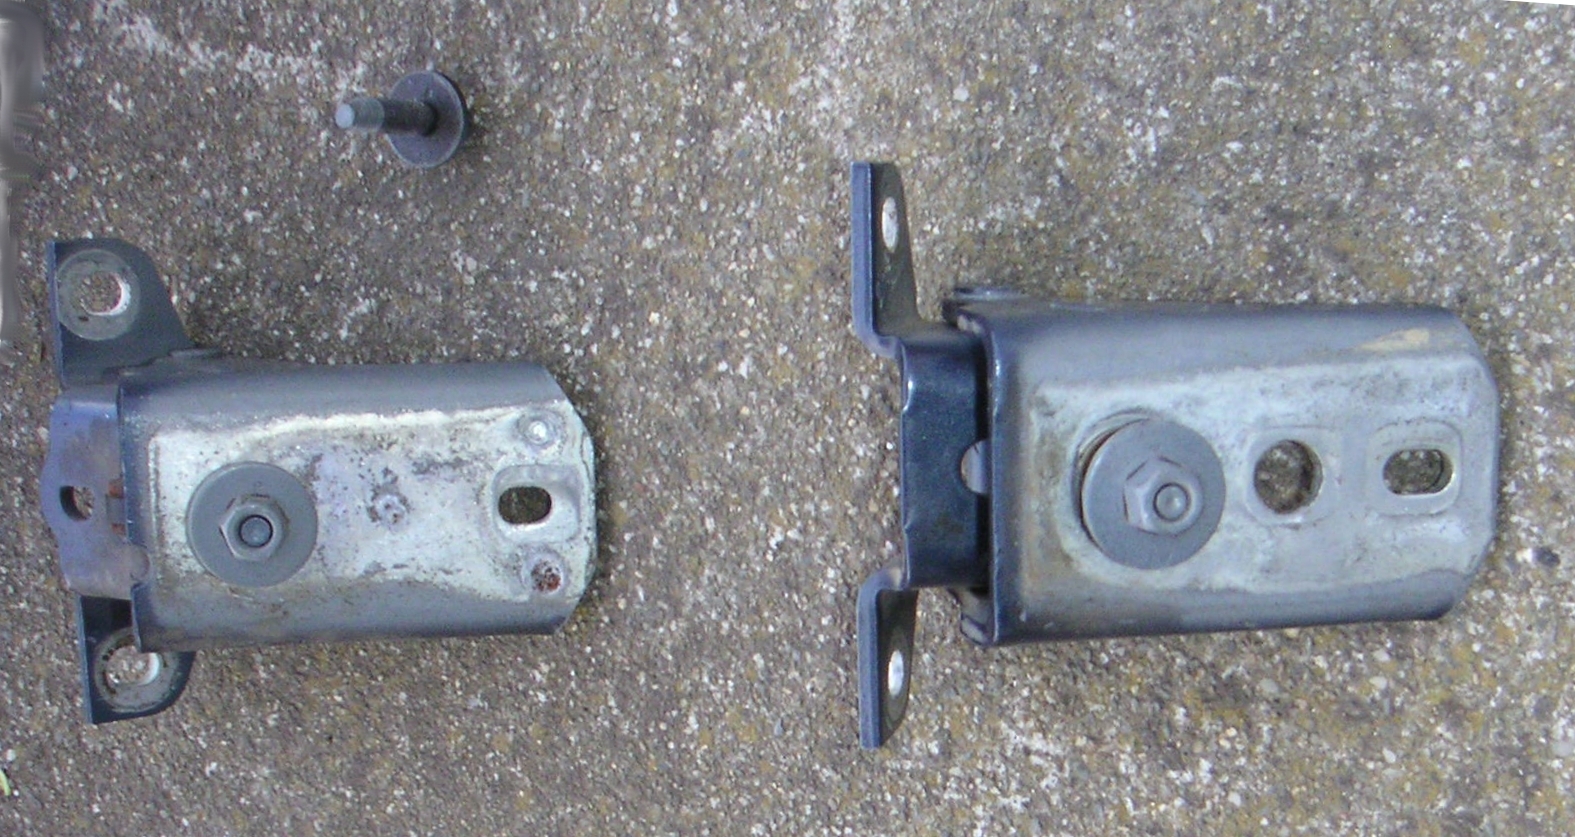


| Part Number |
Comments |
Legacy Part Numbers |
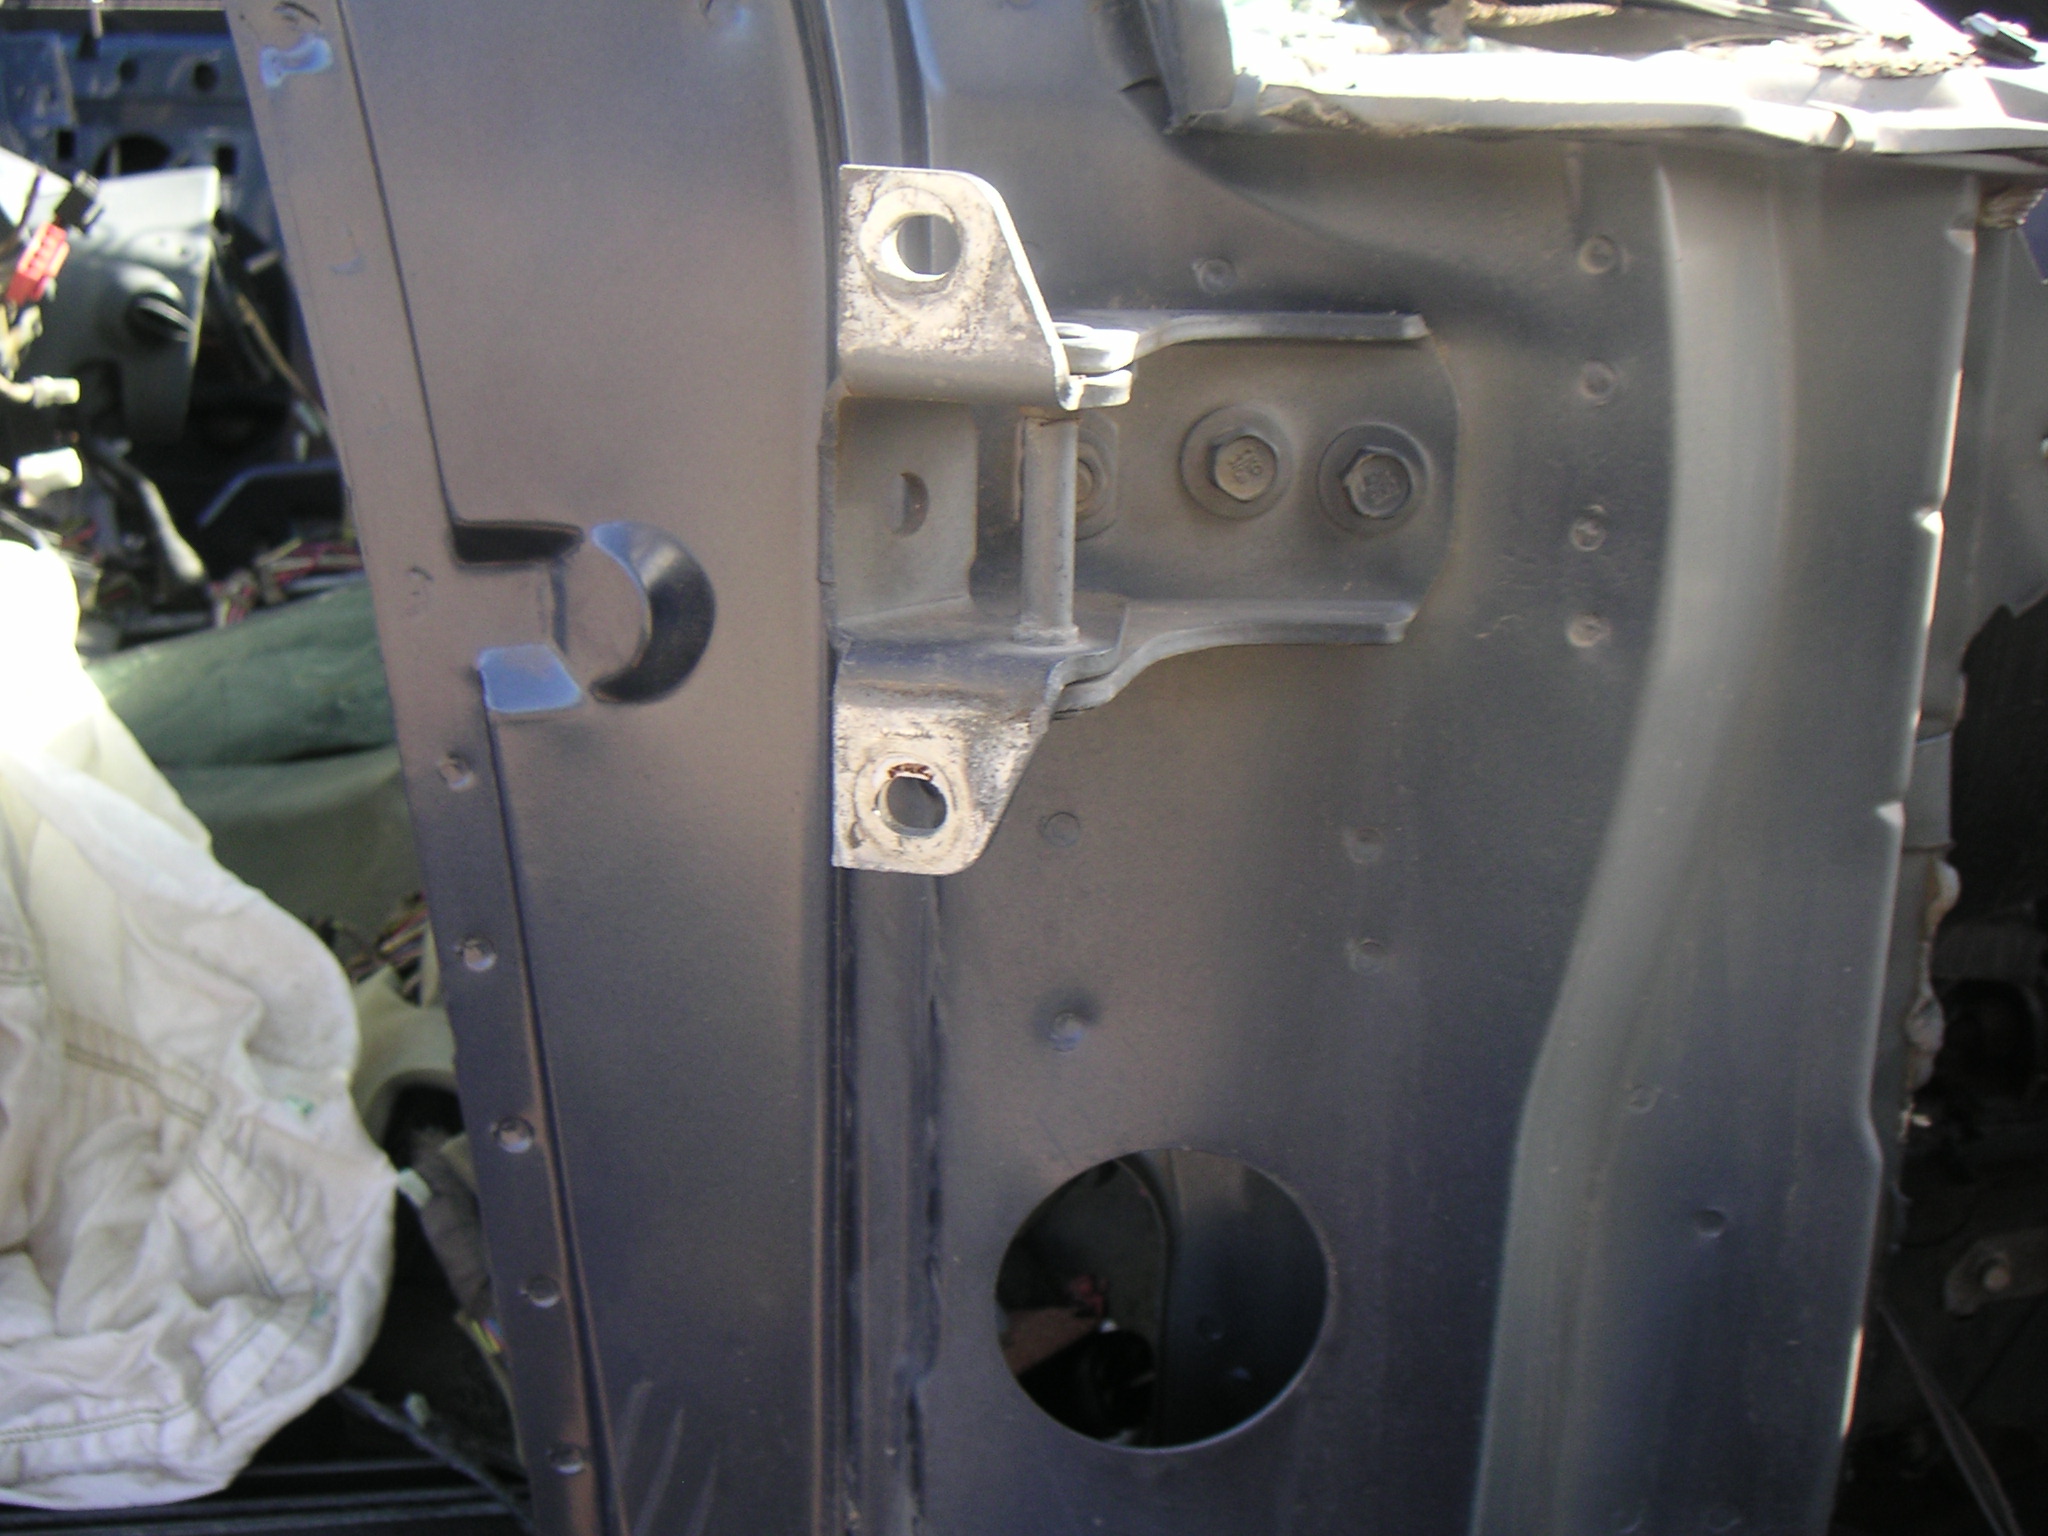
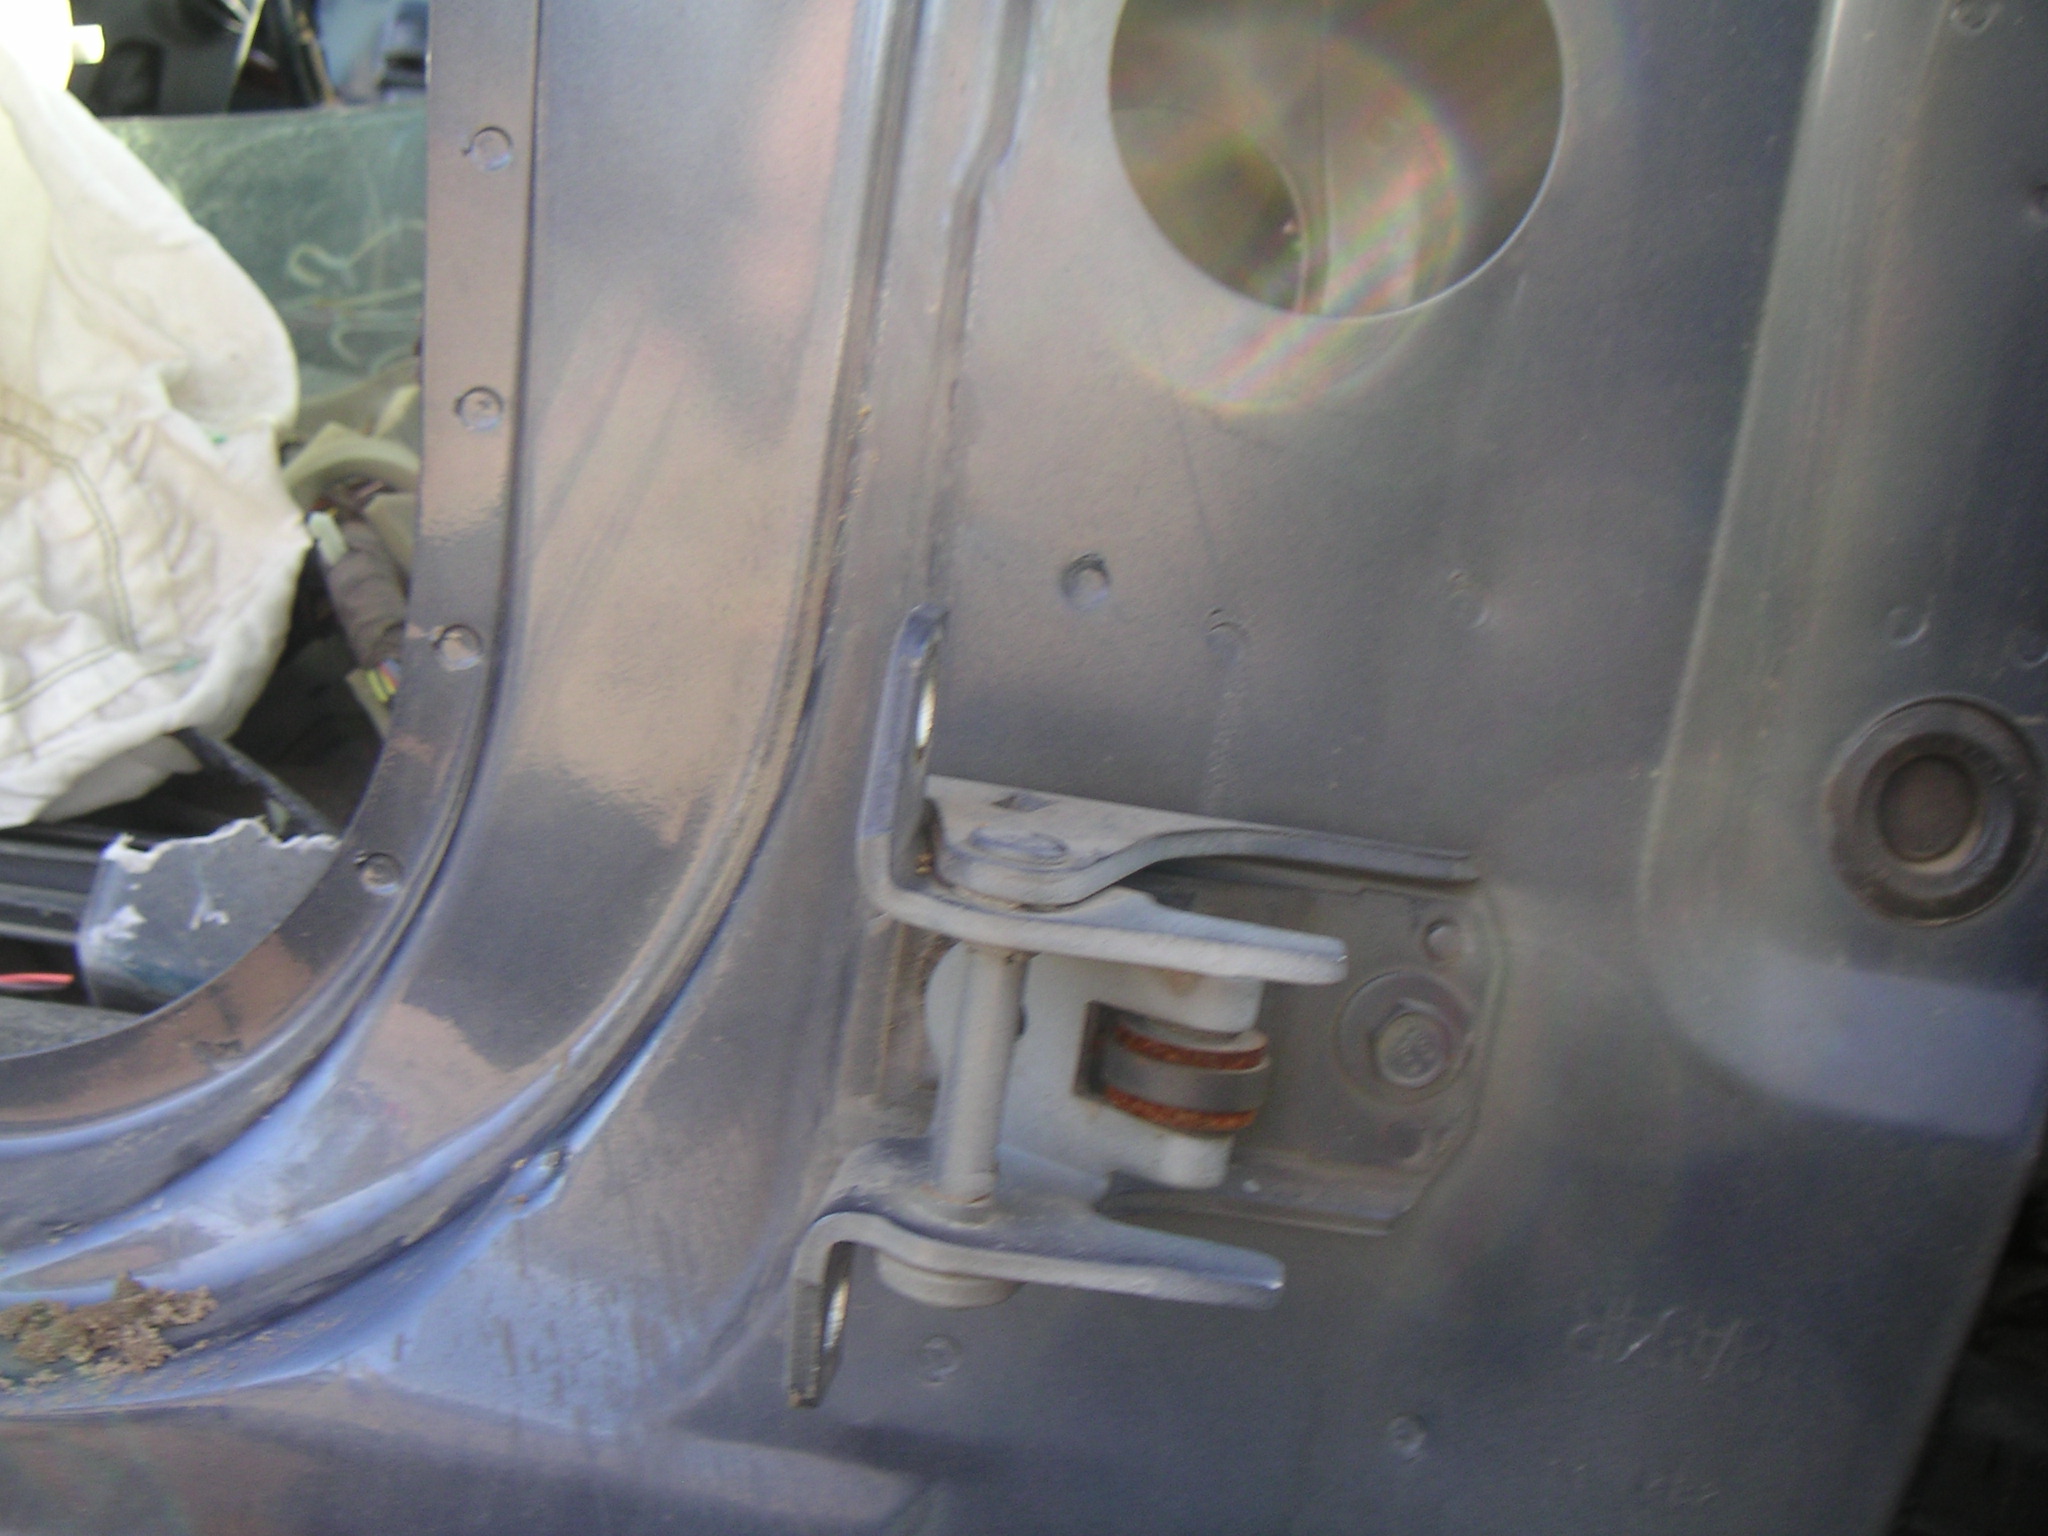
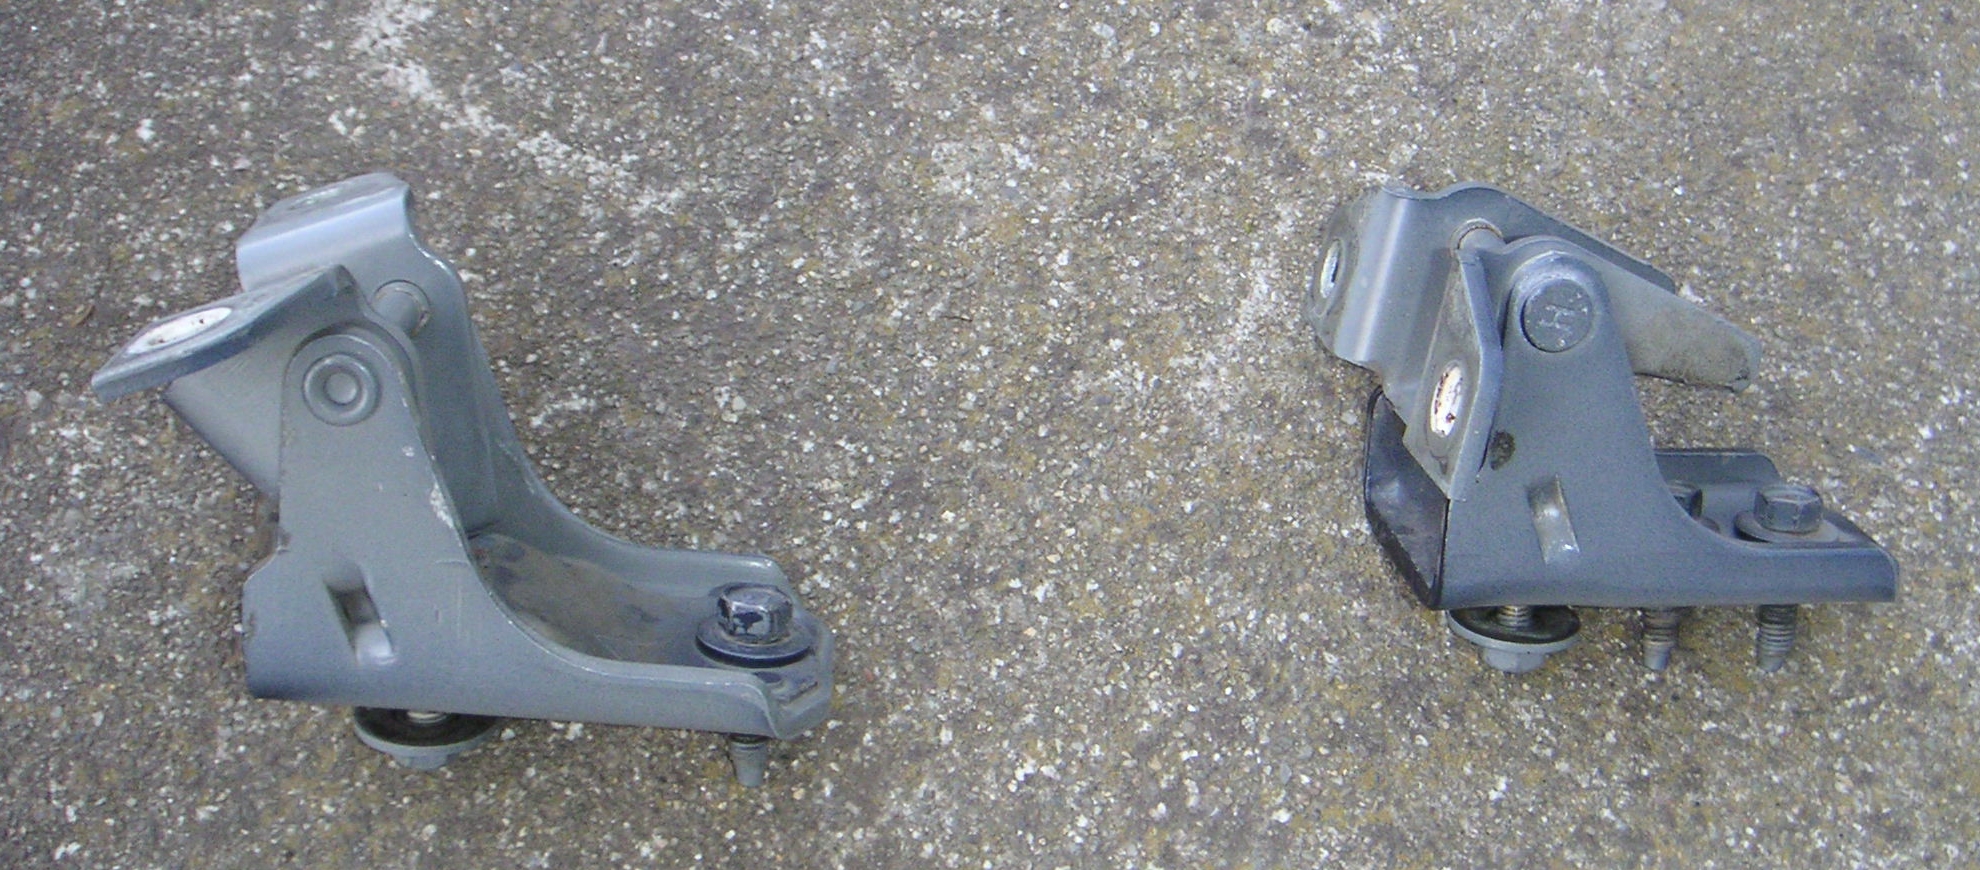
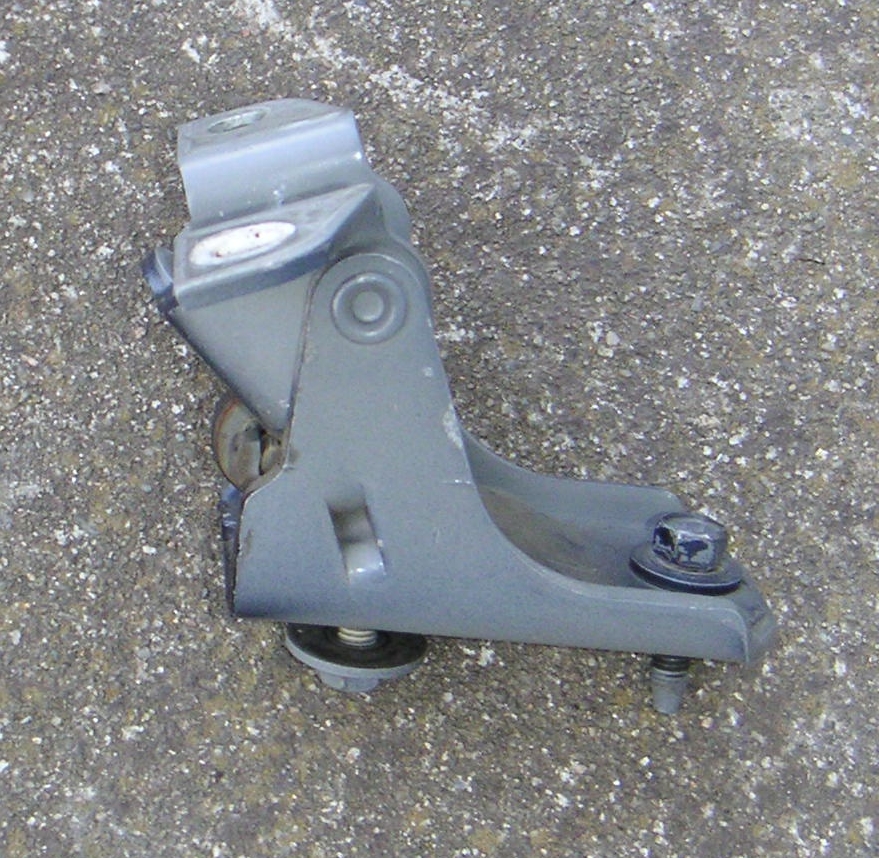
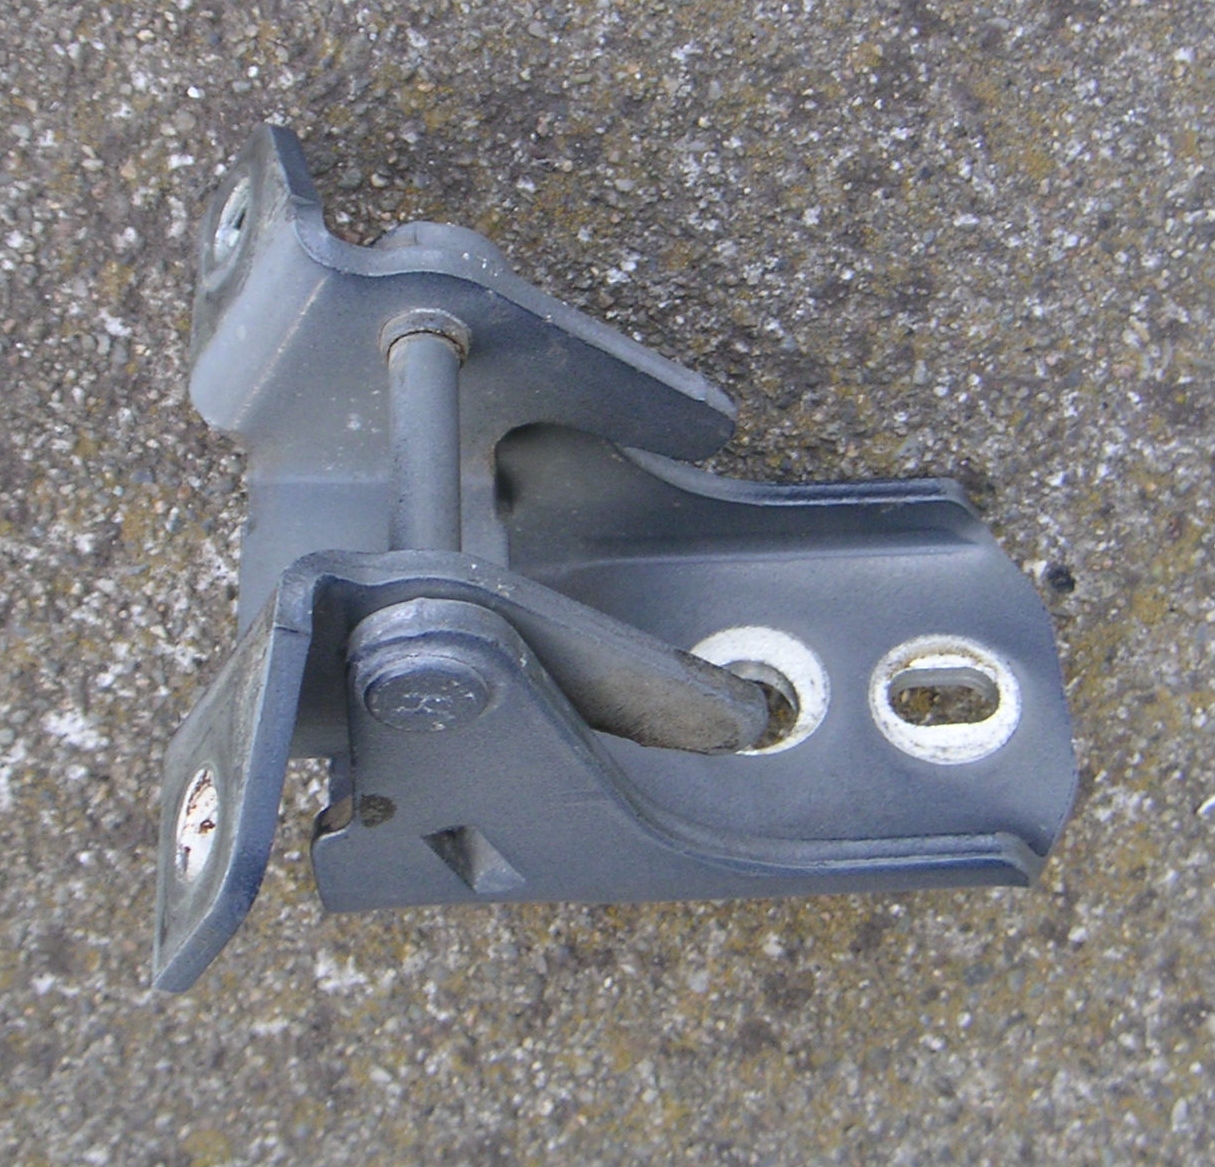
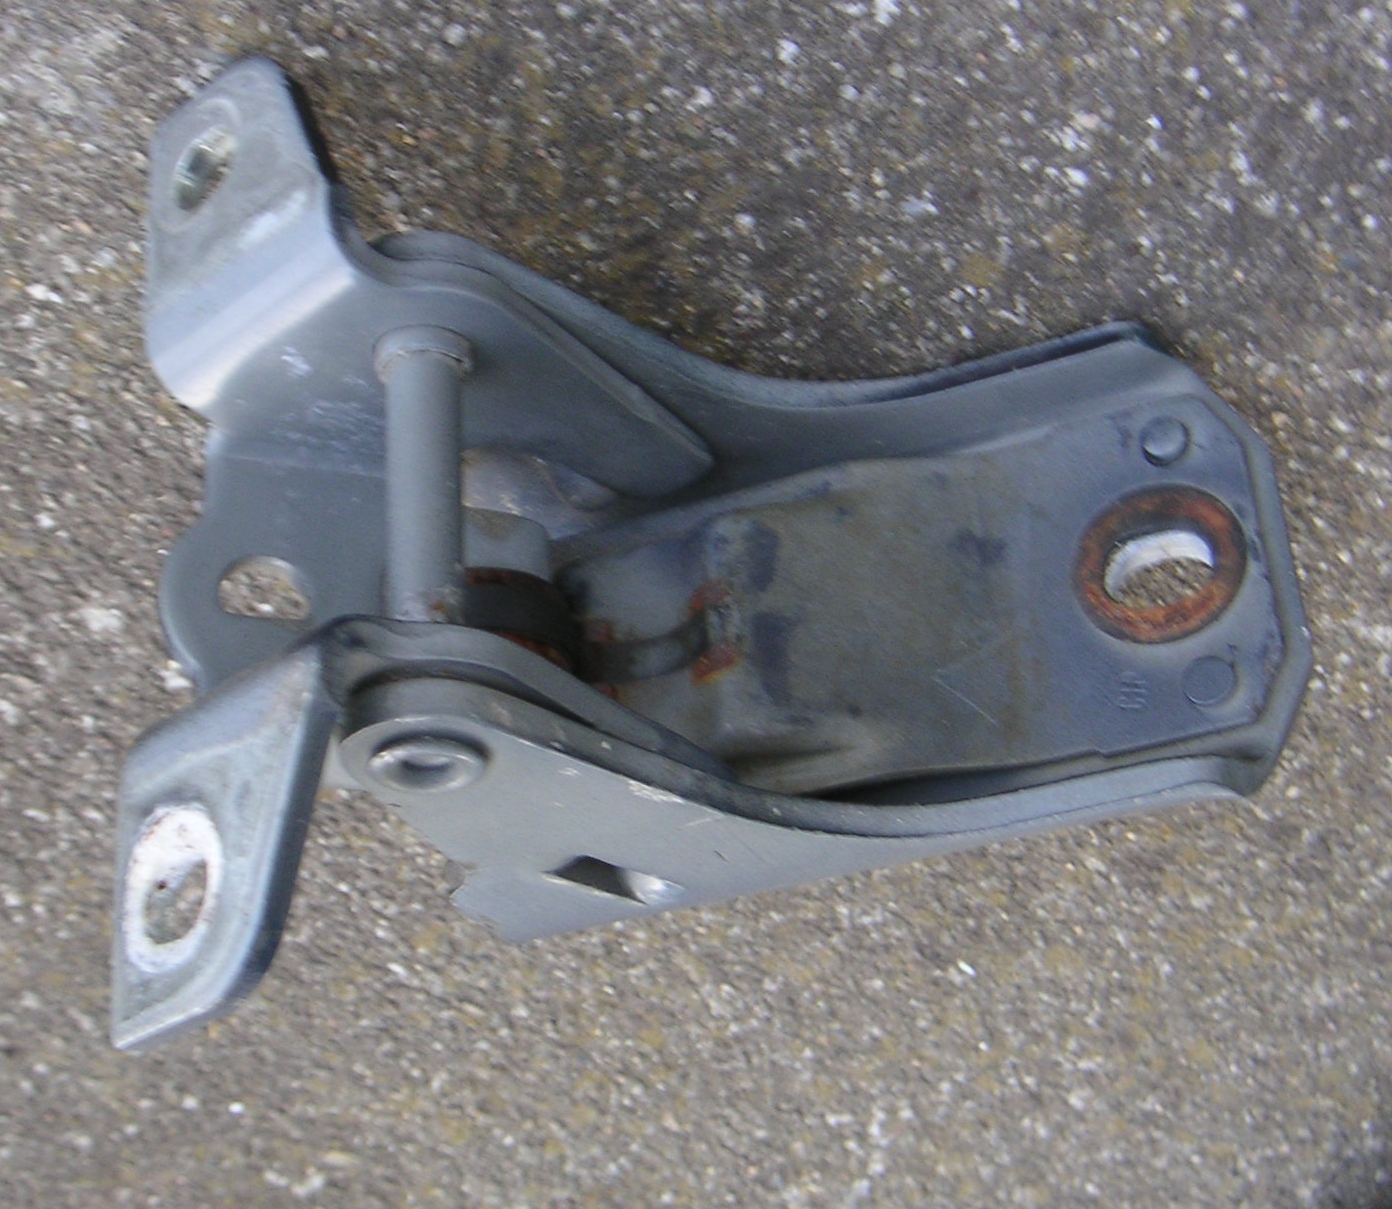
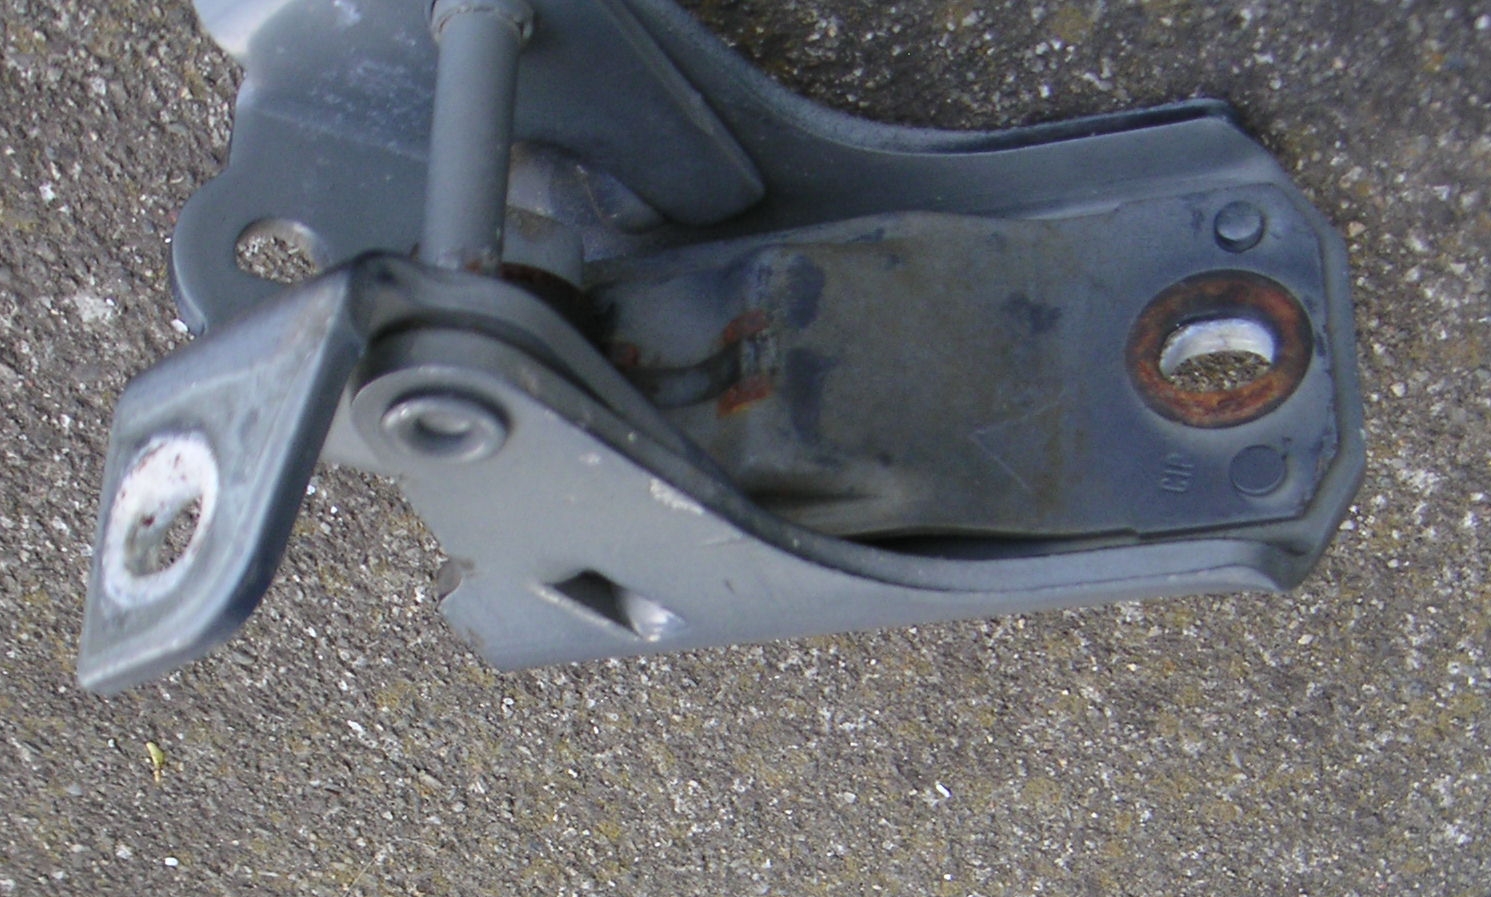
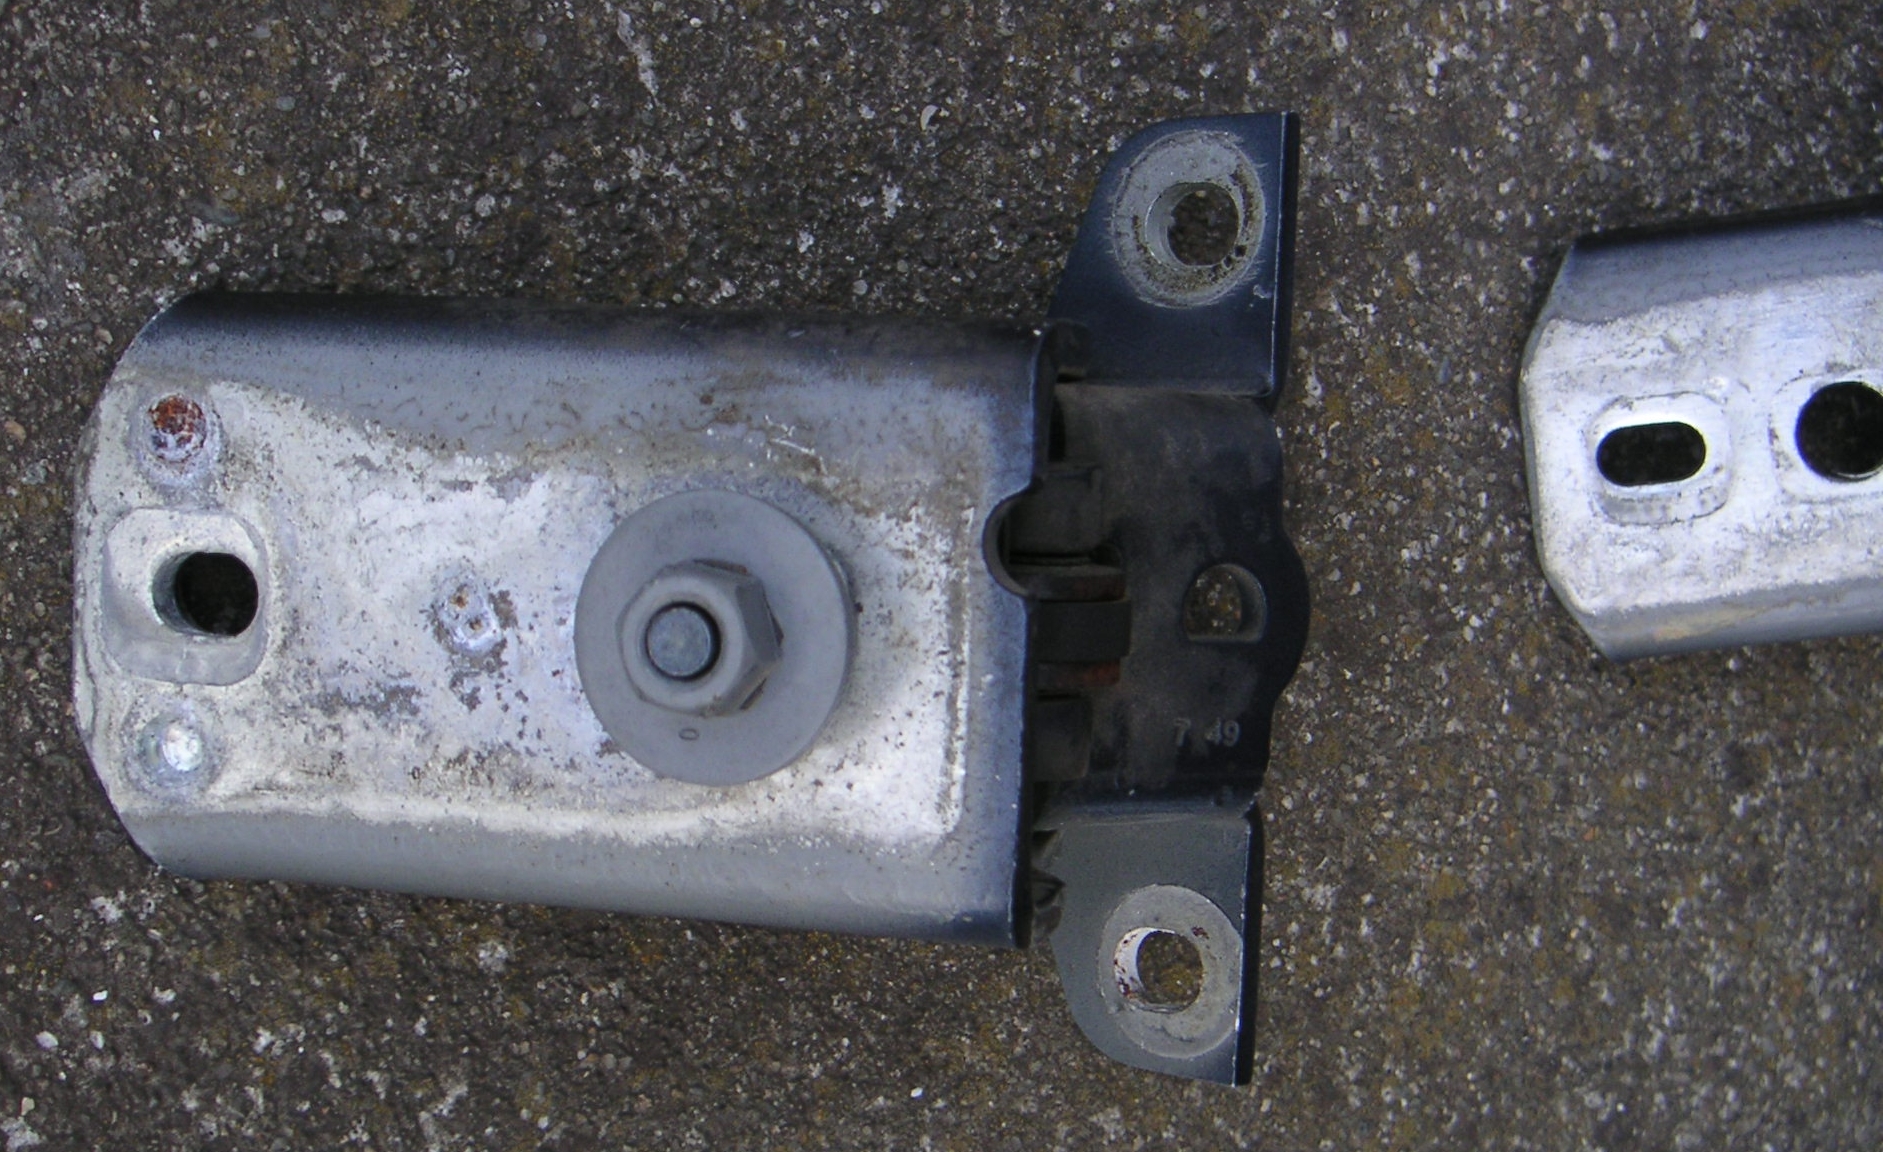
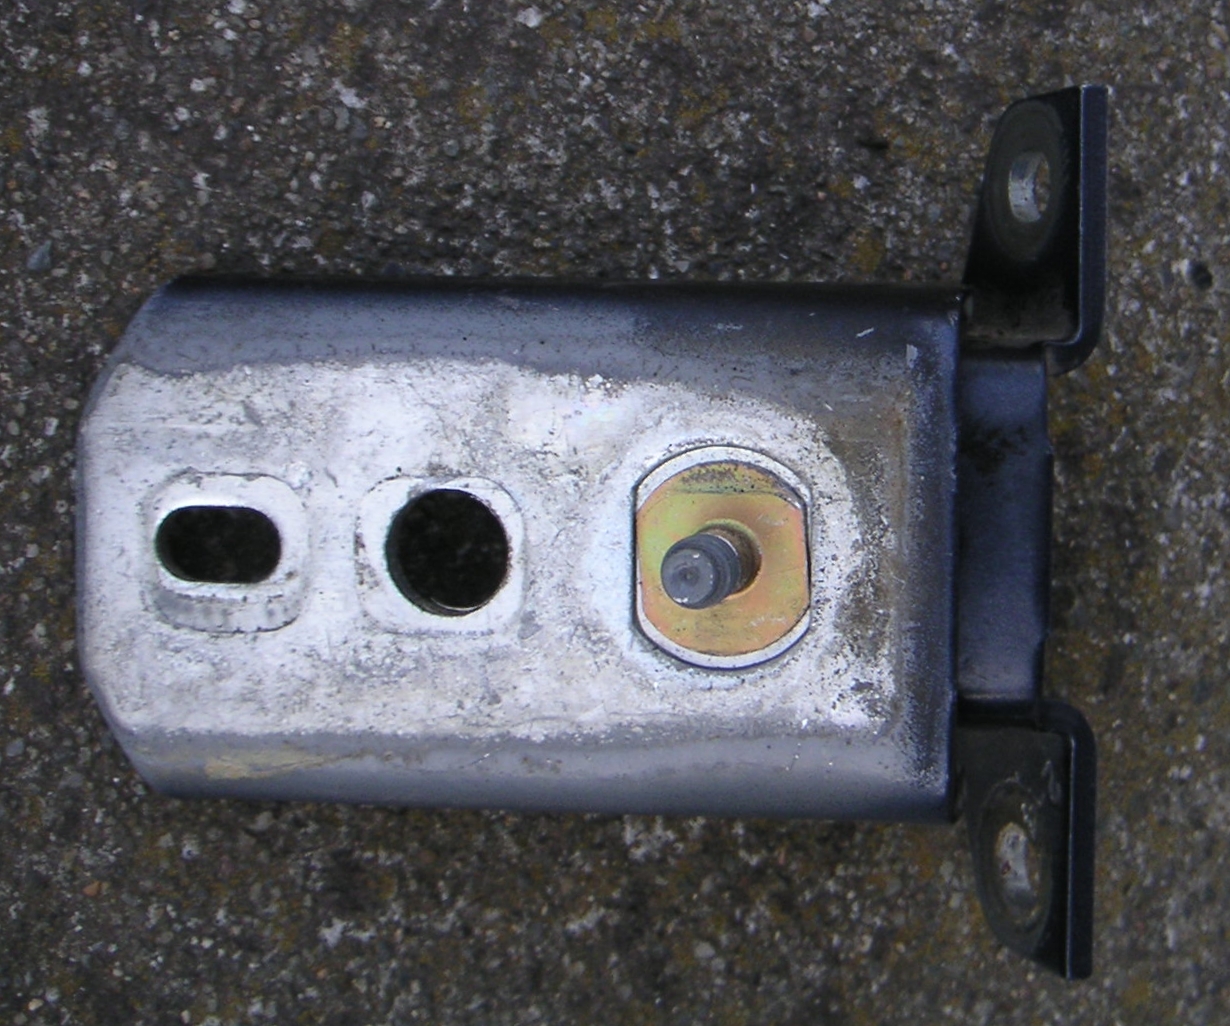
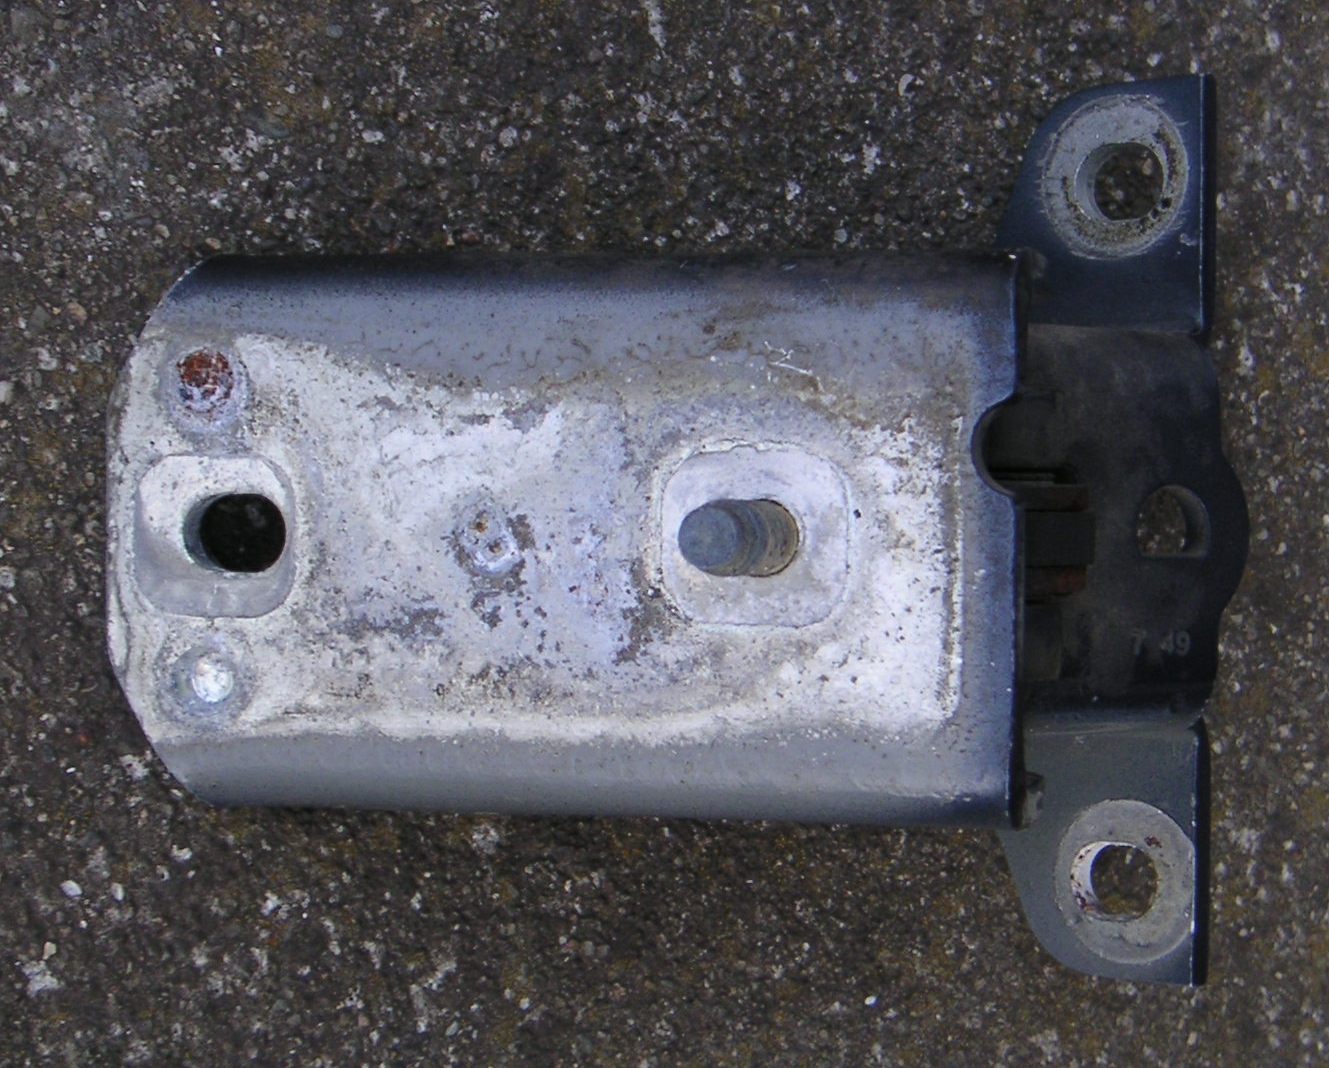
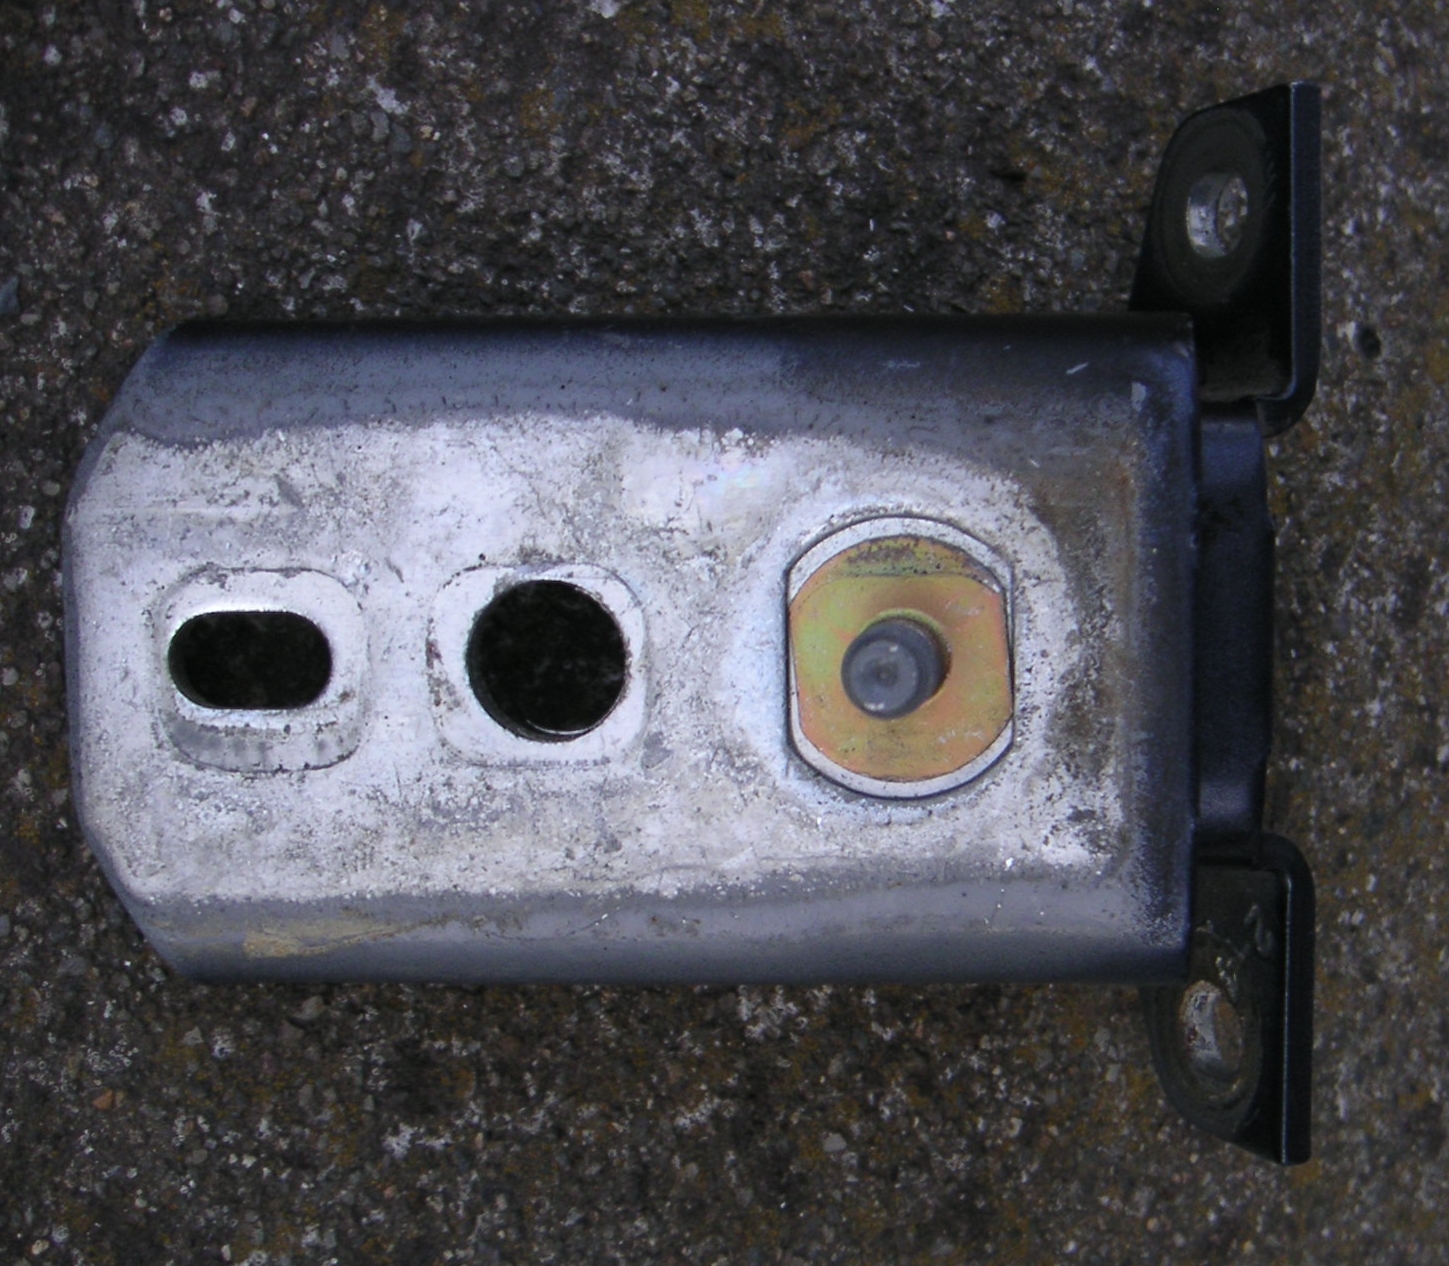
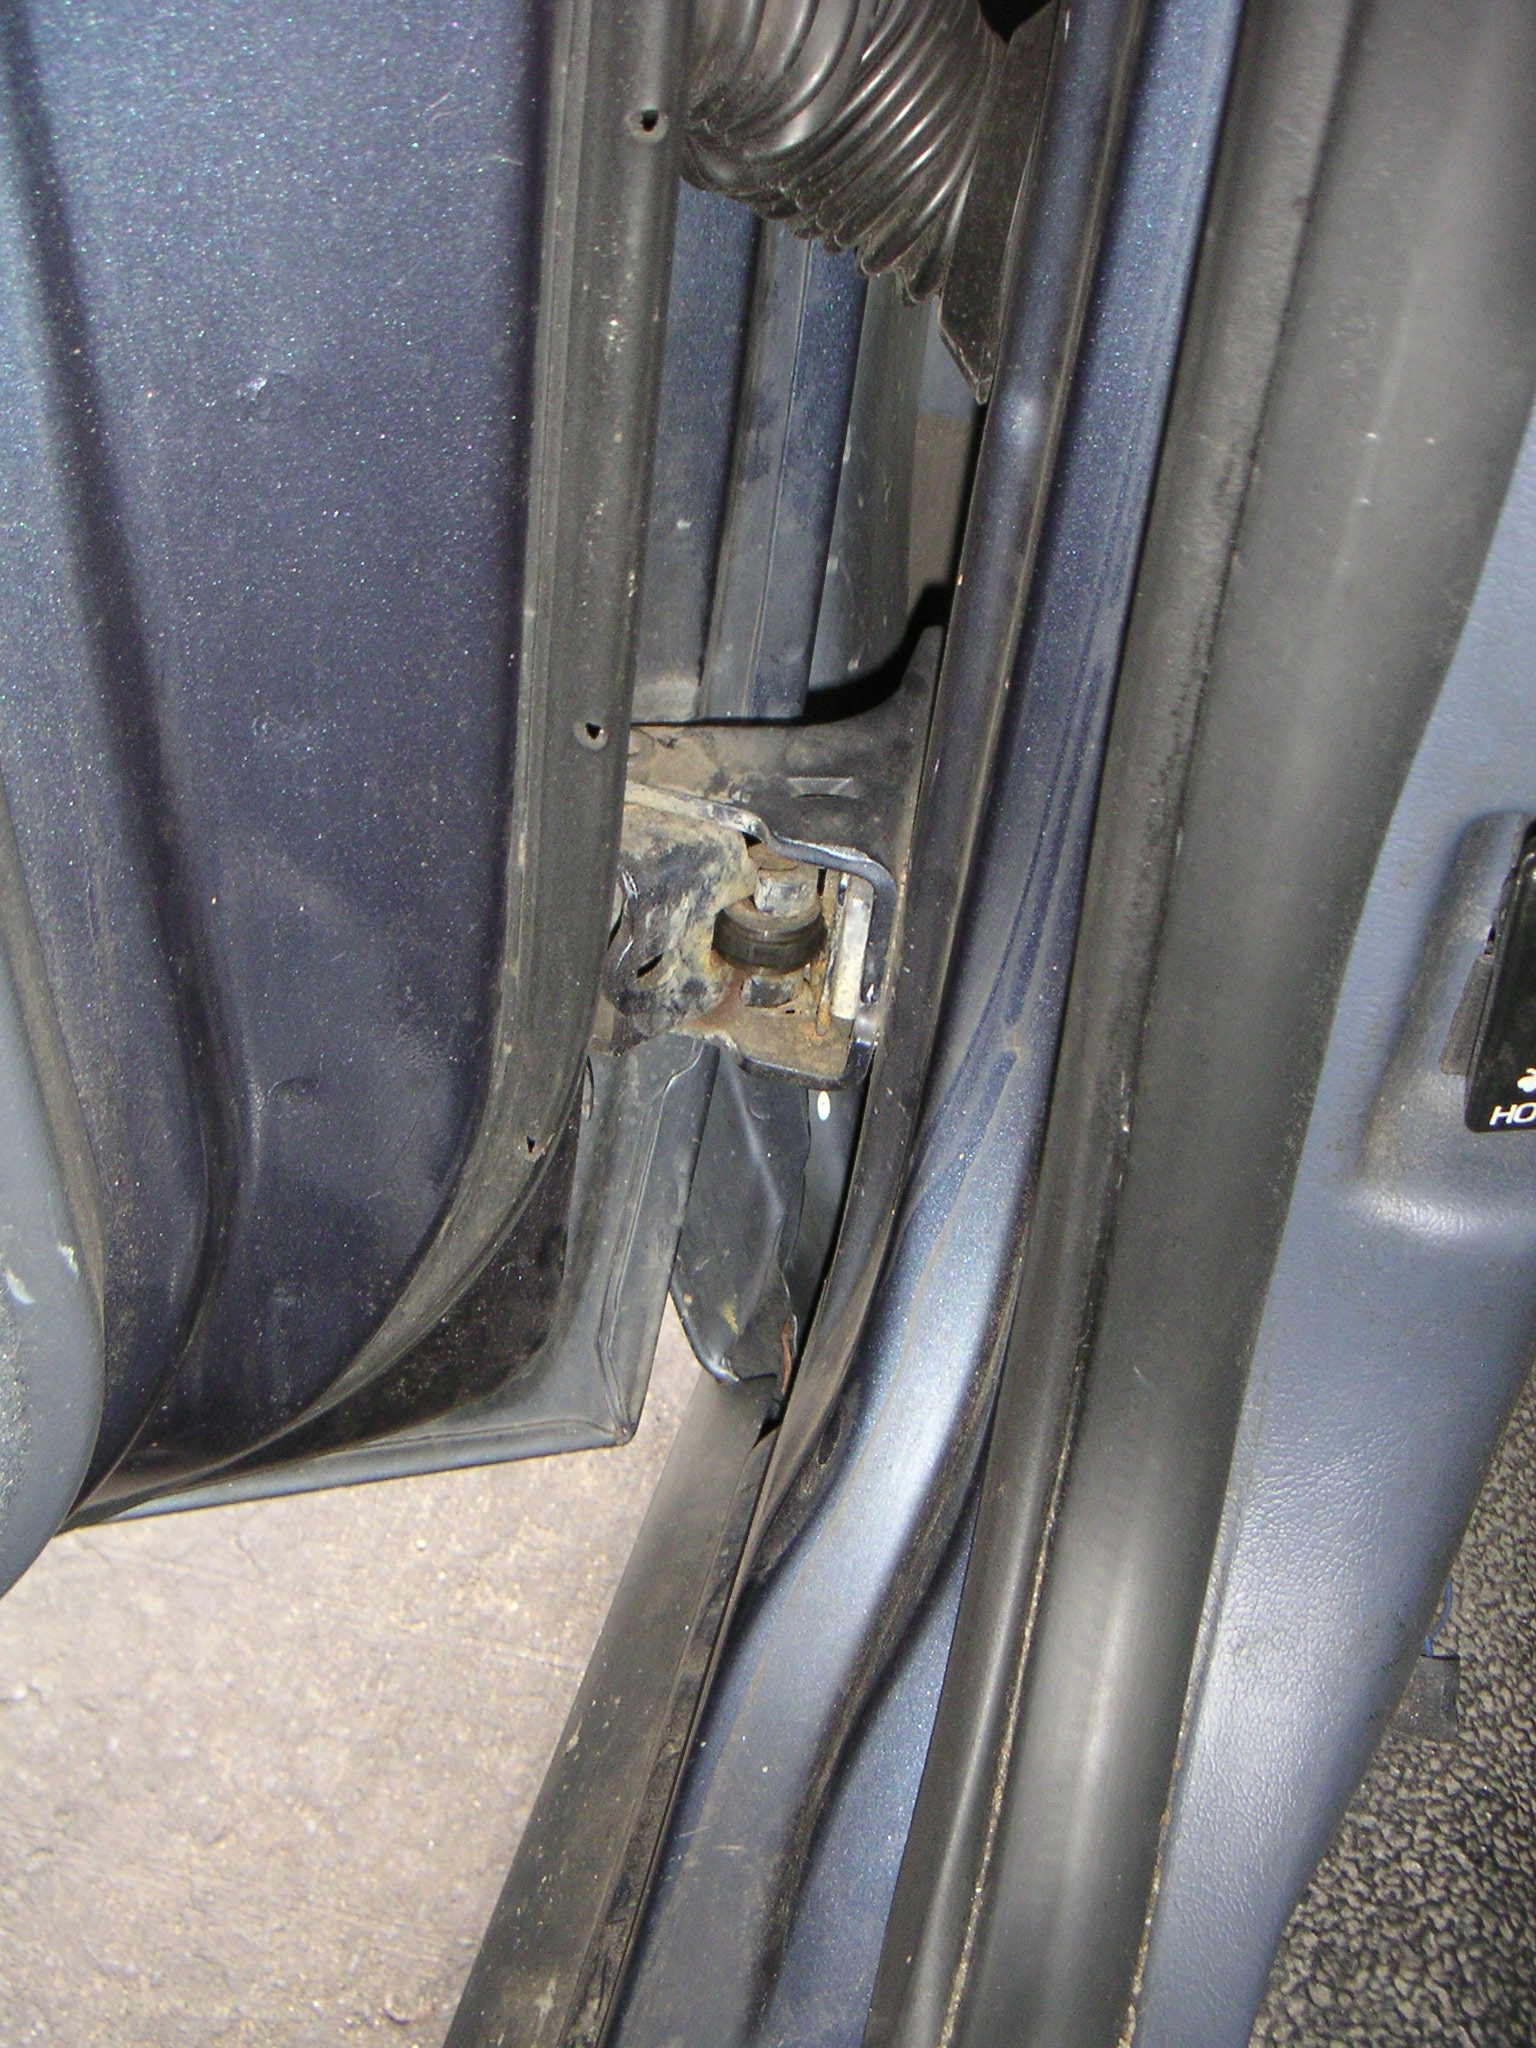
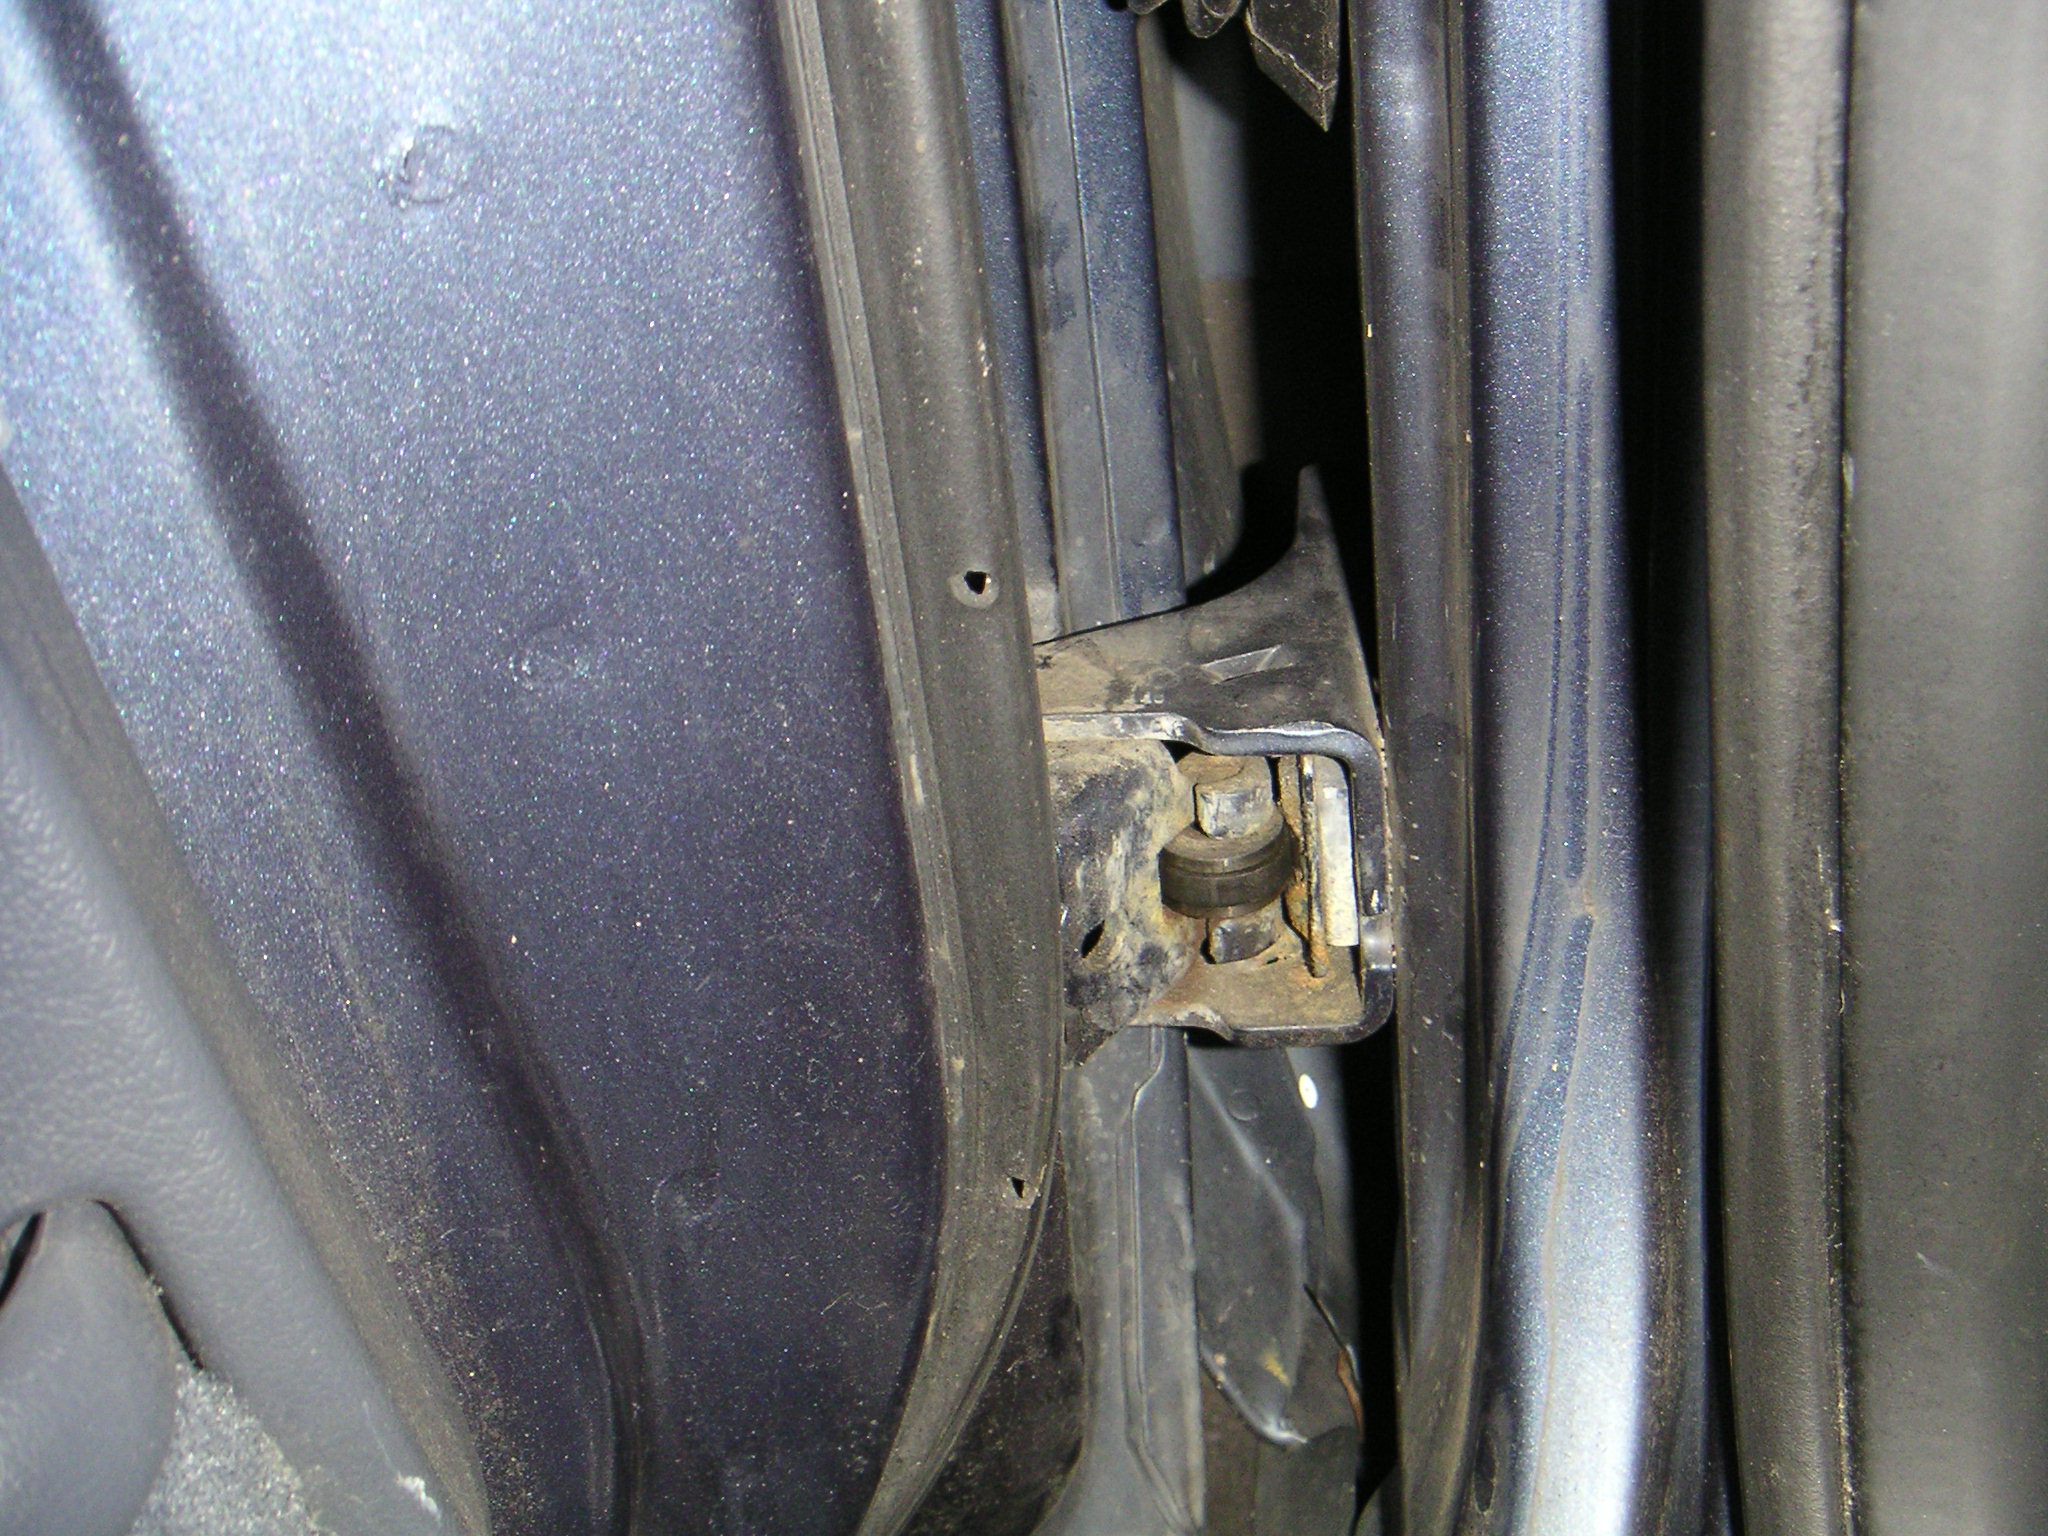
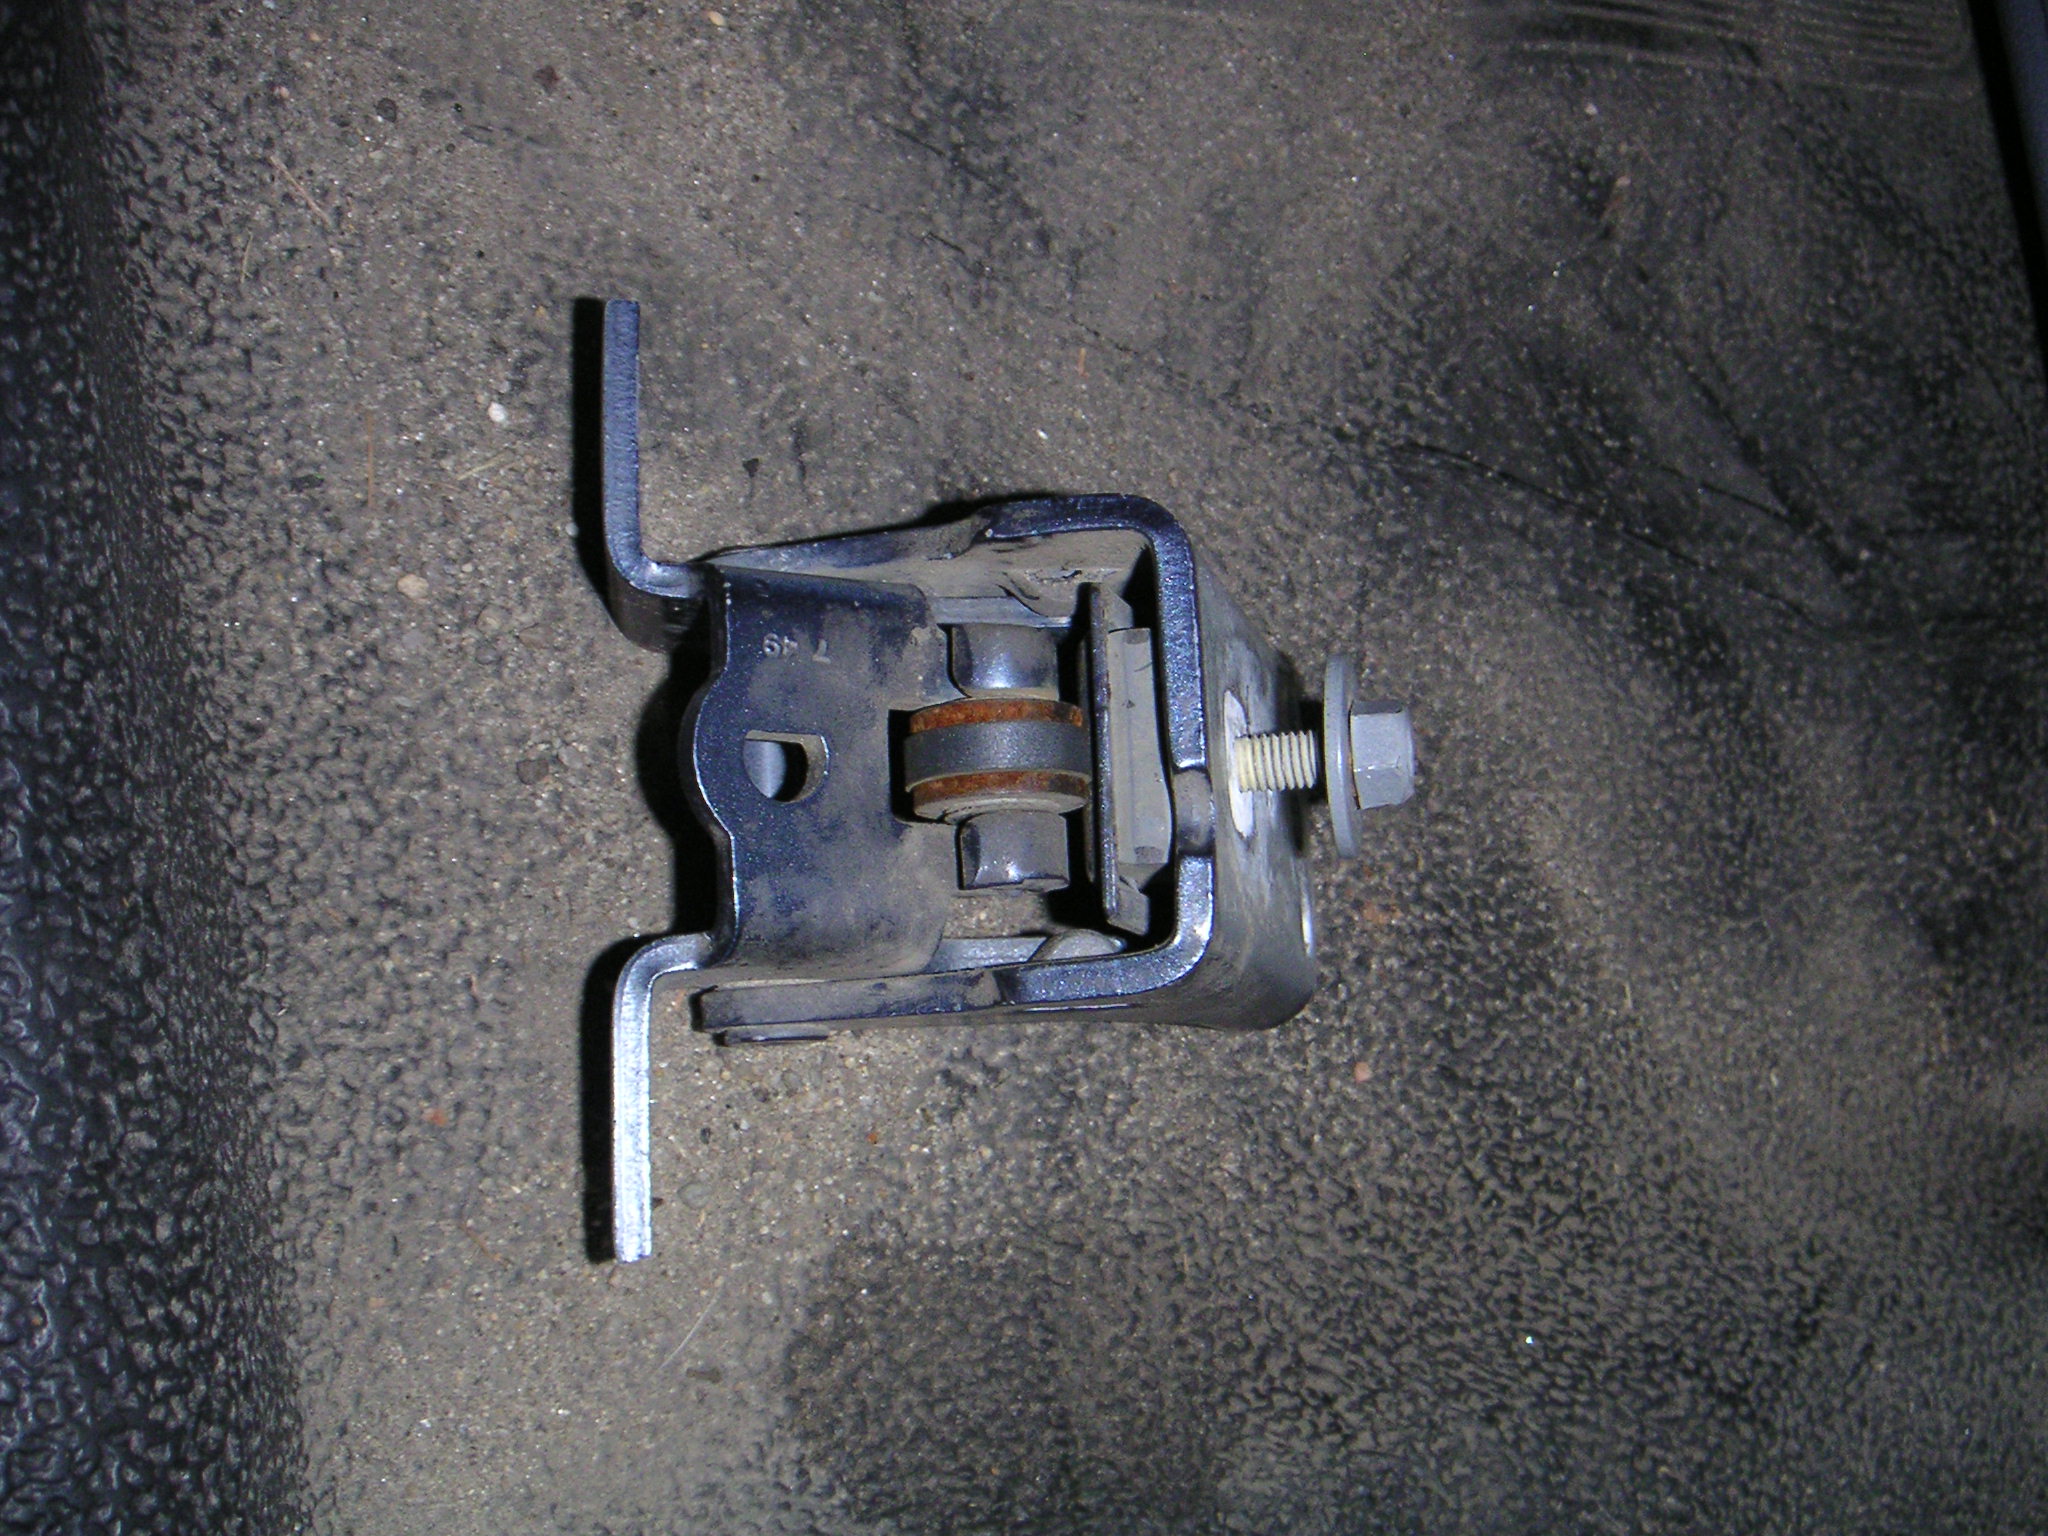
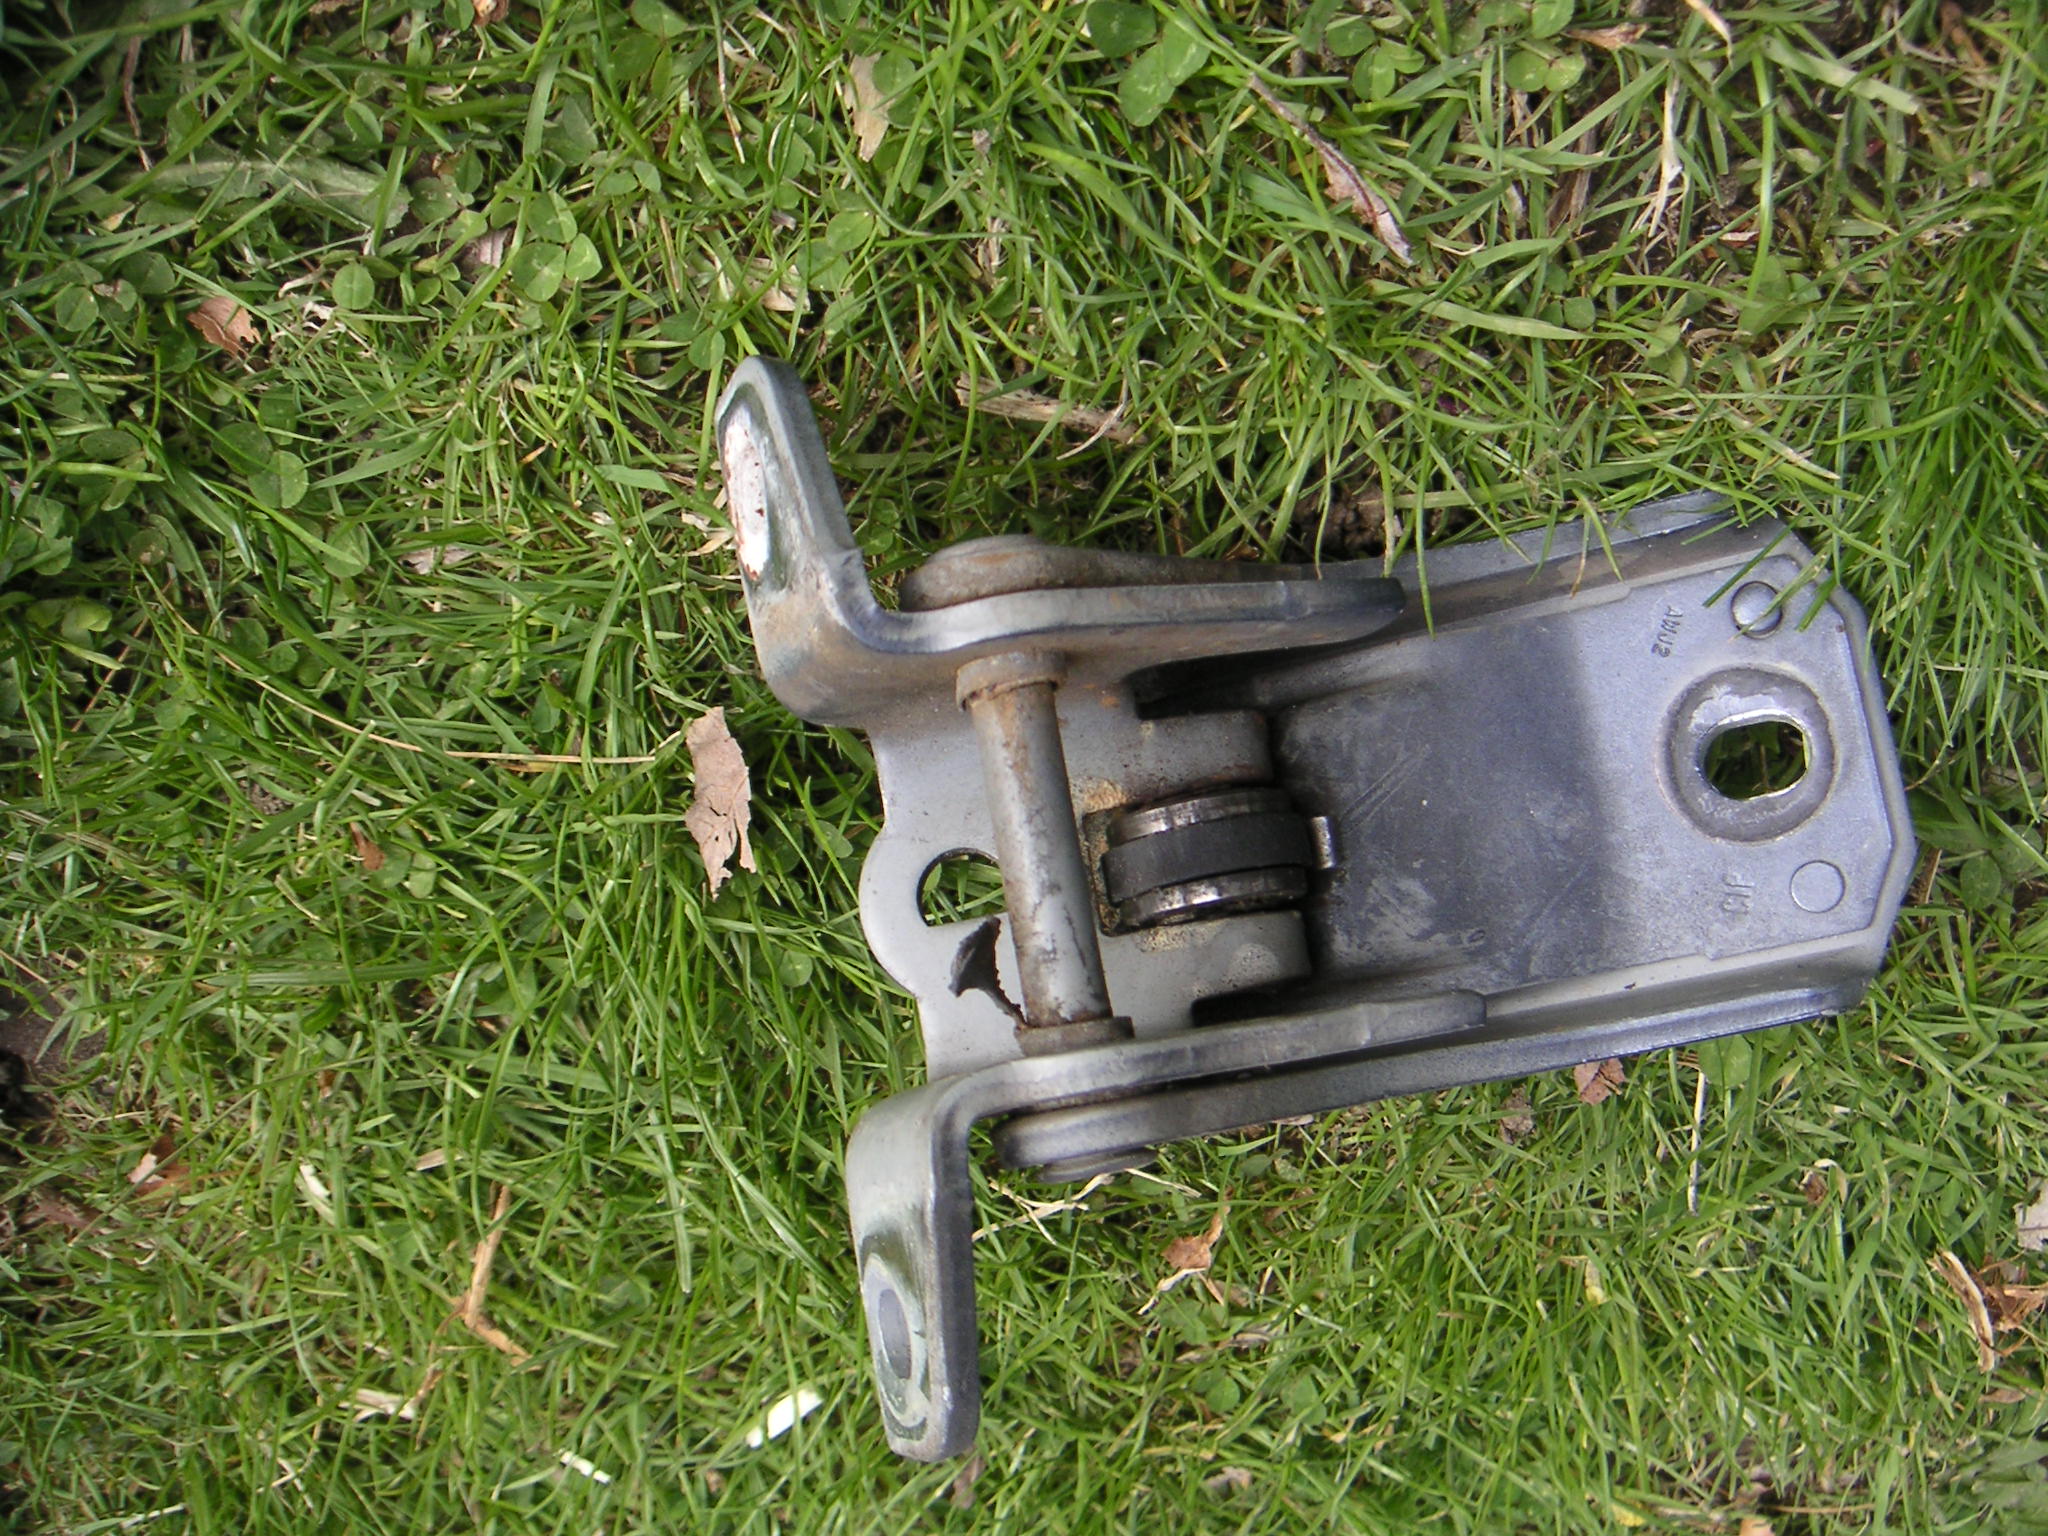
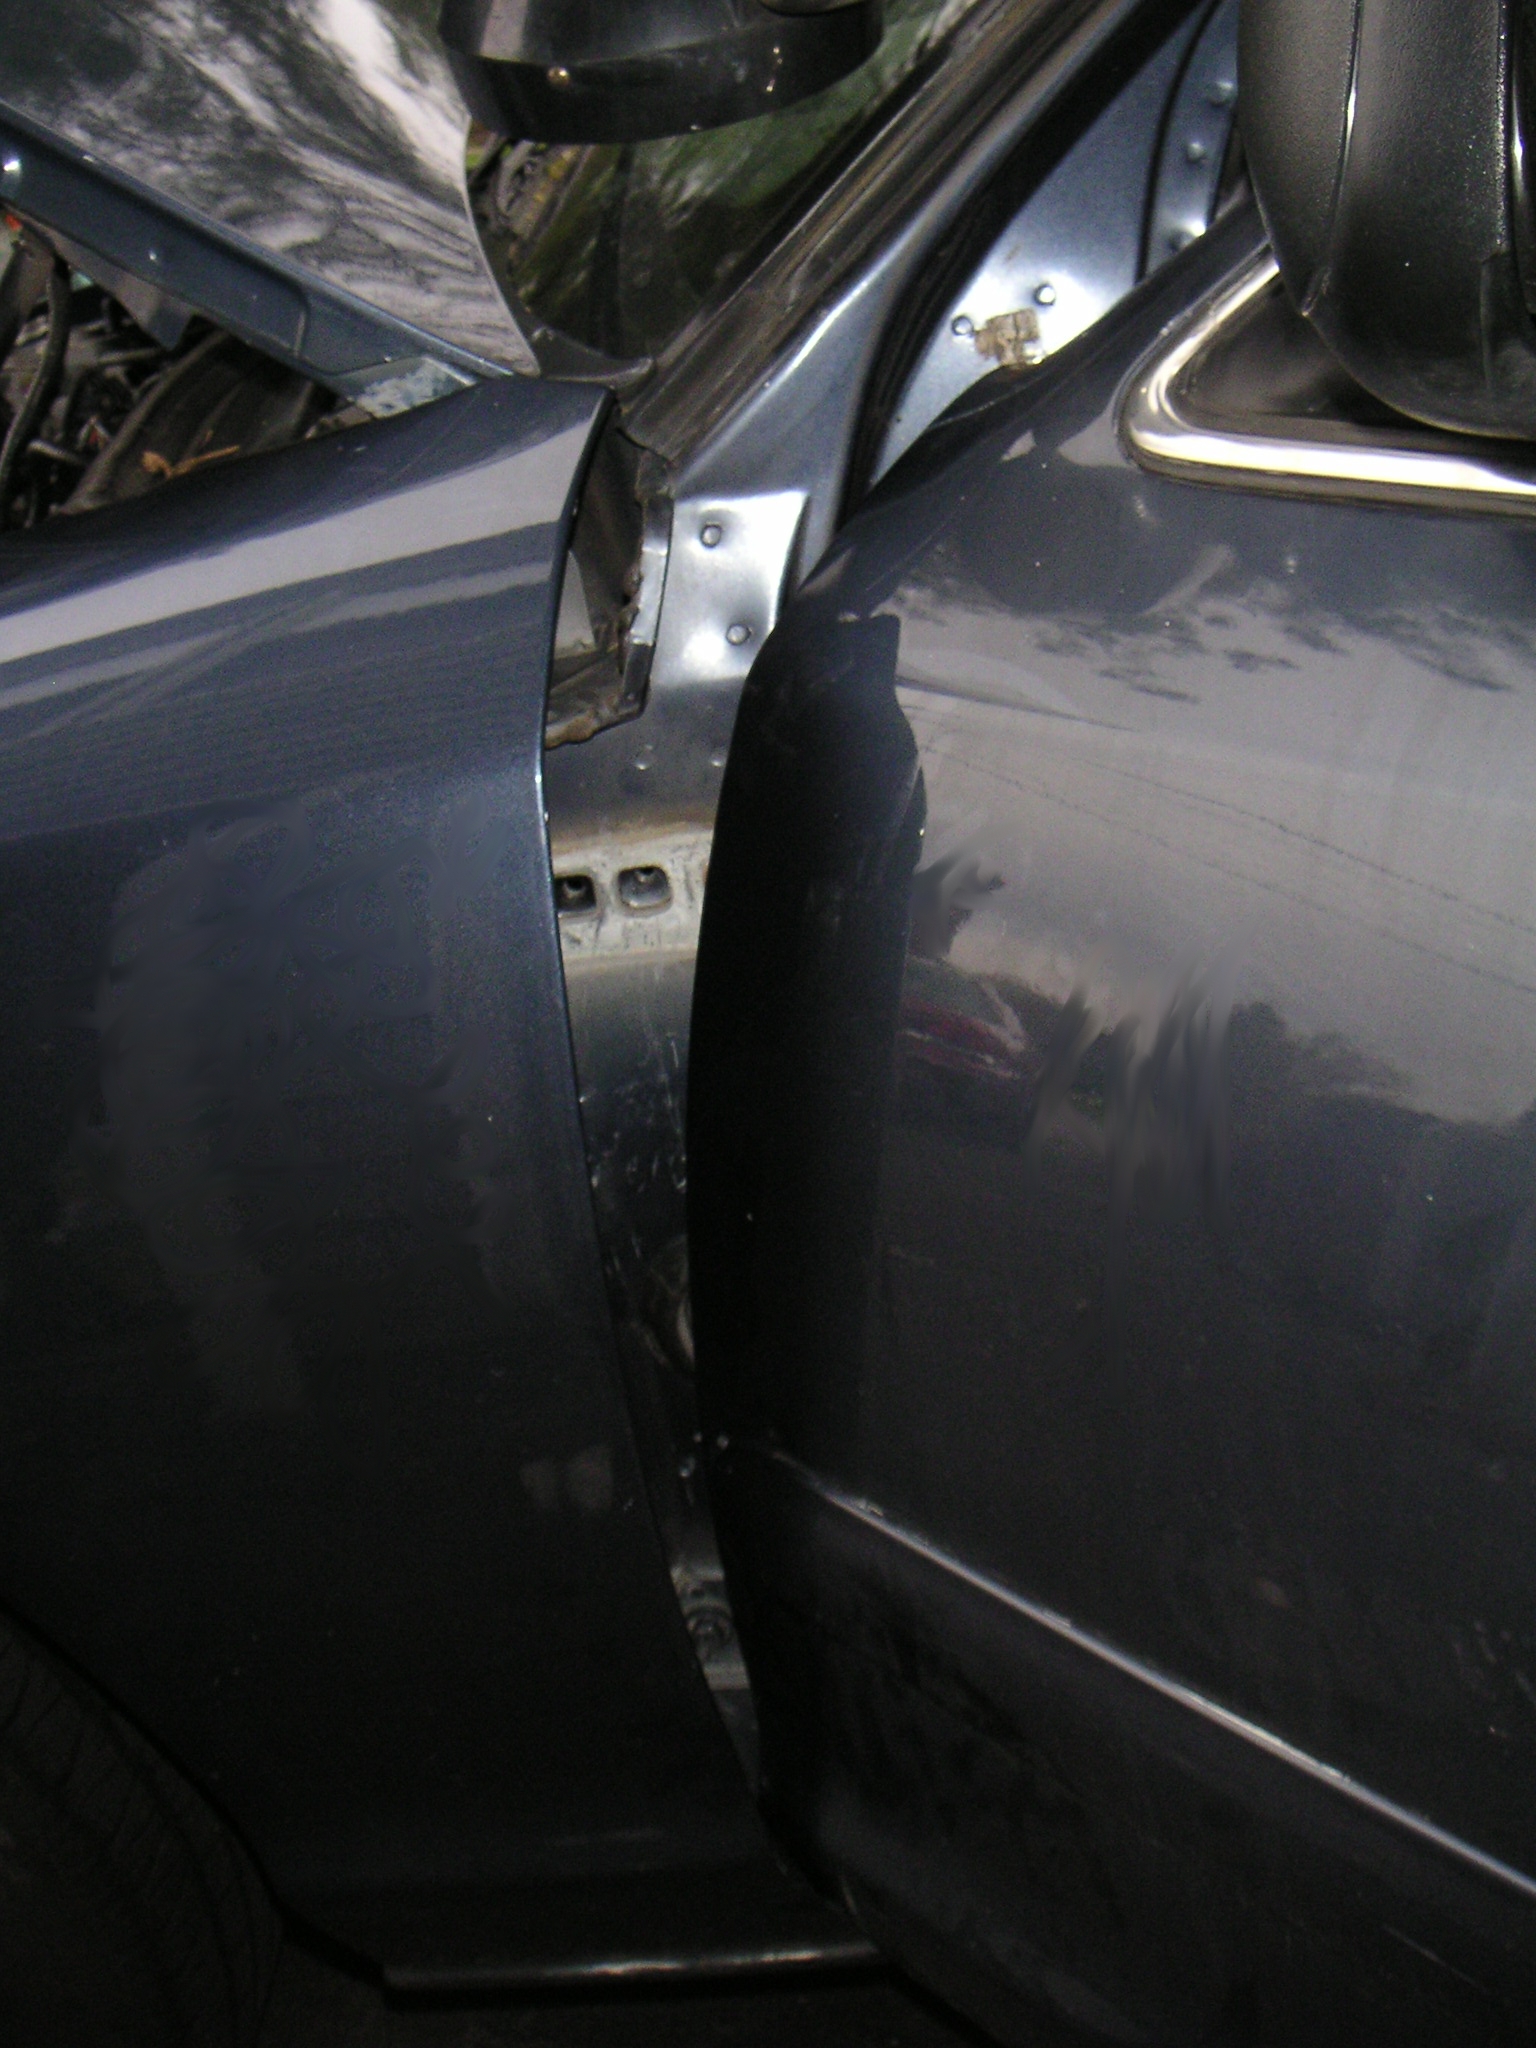
| 6W1Z-5422800-A |
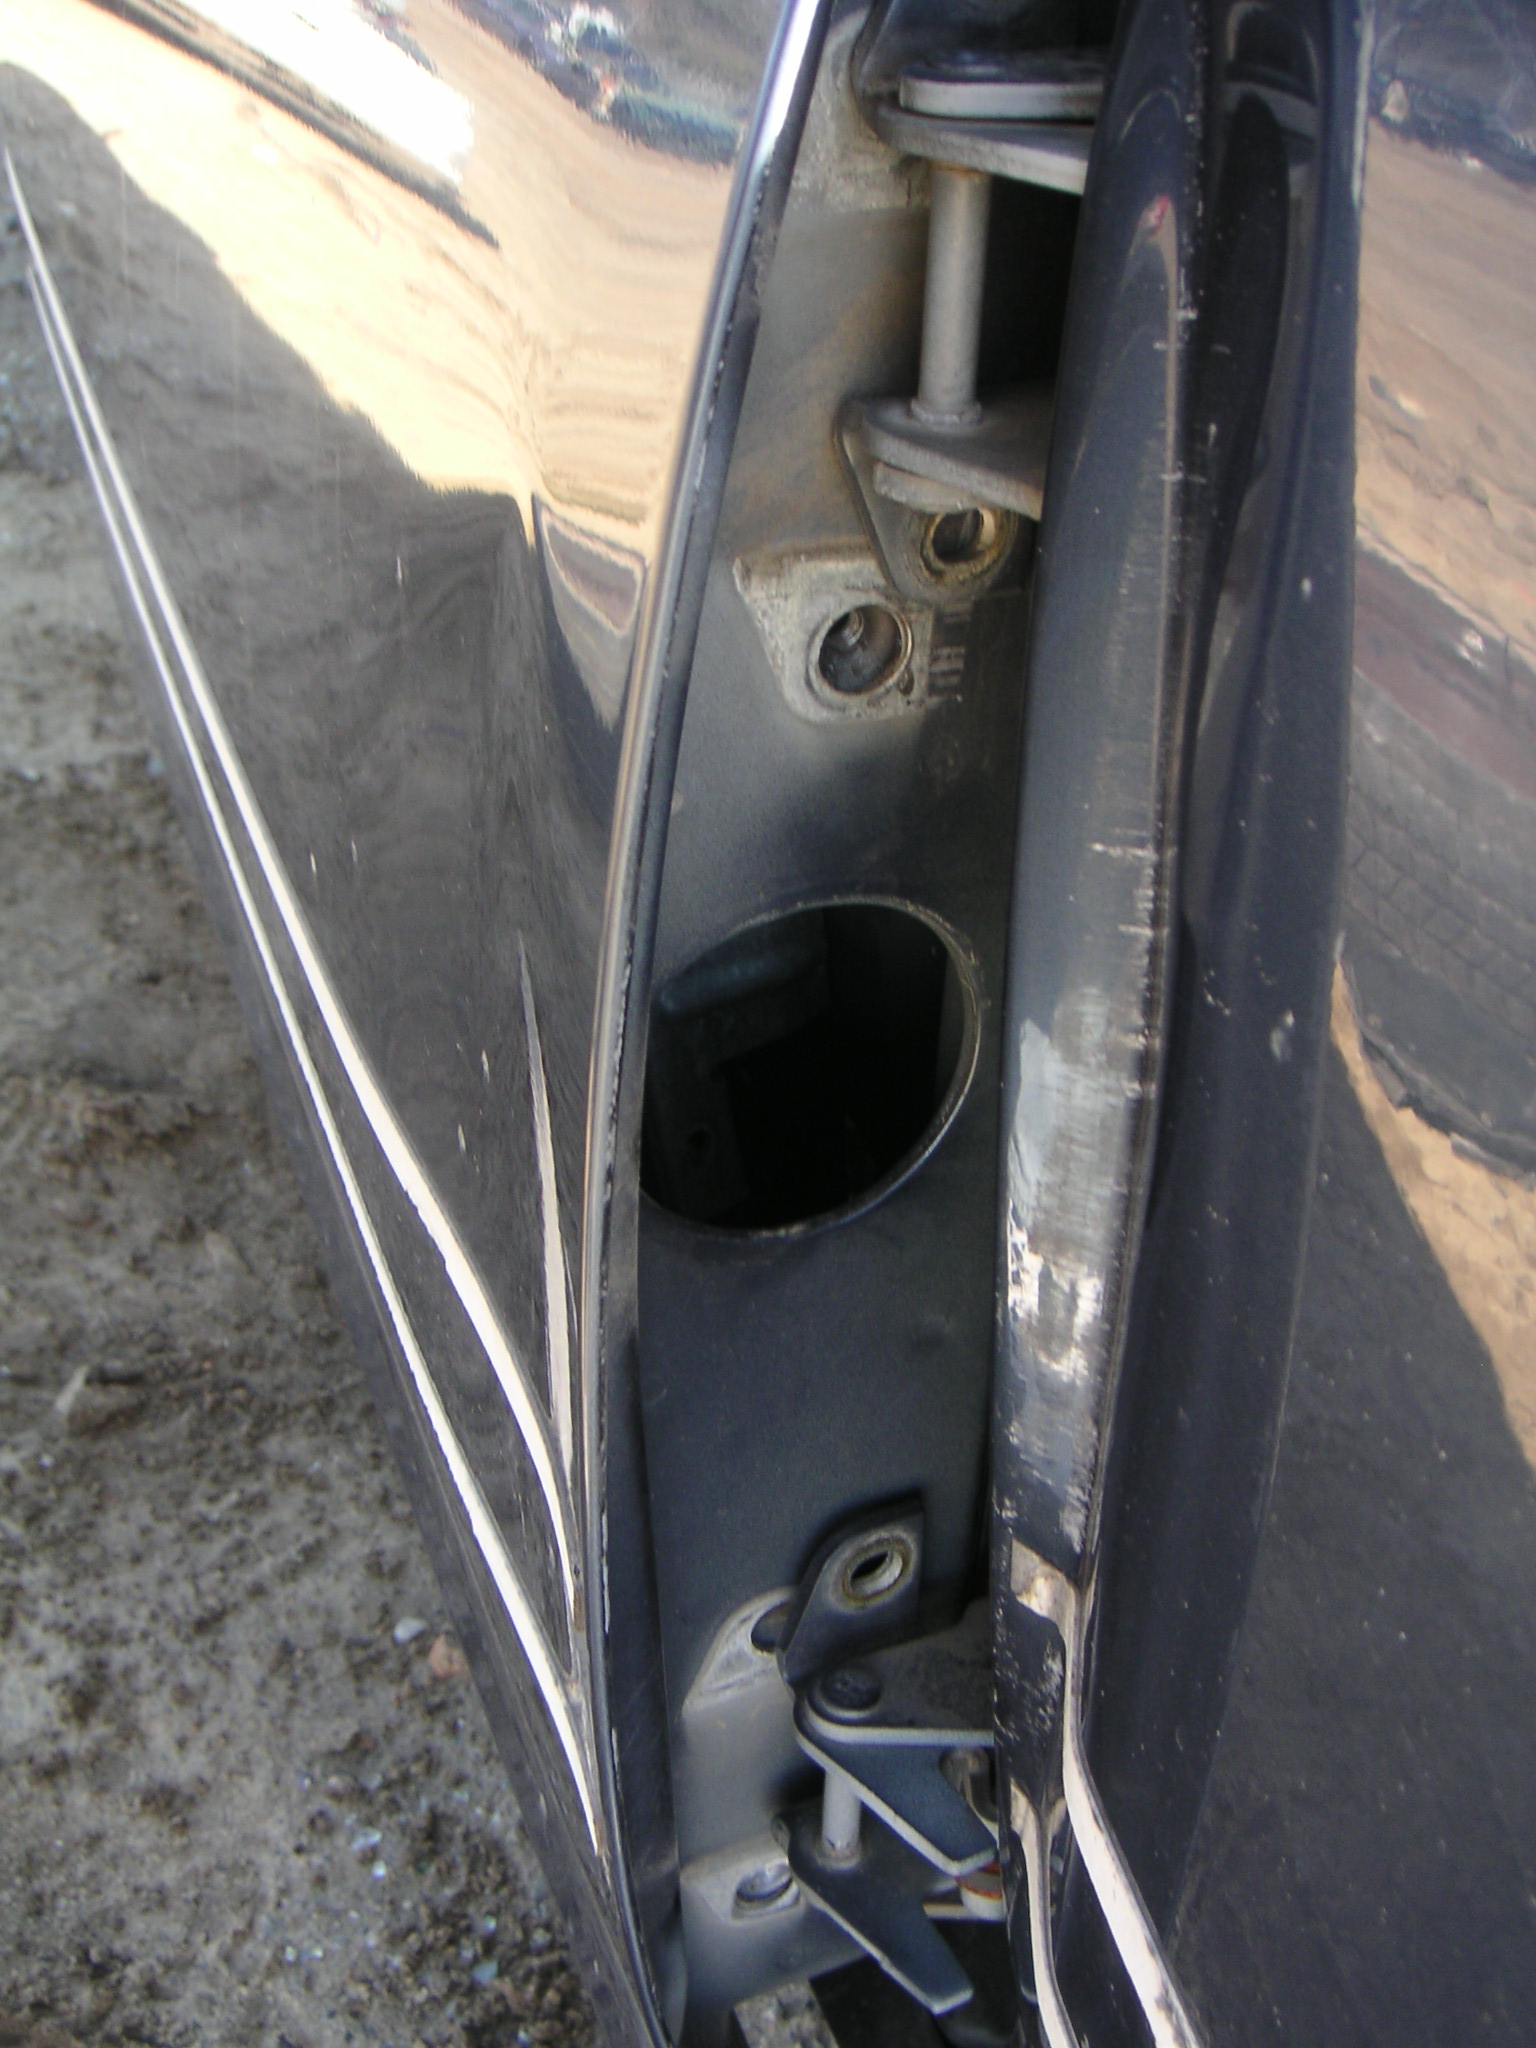
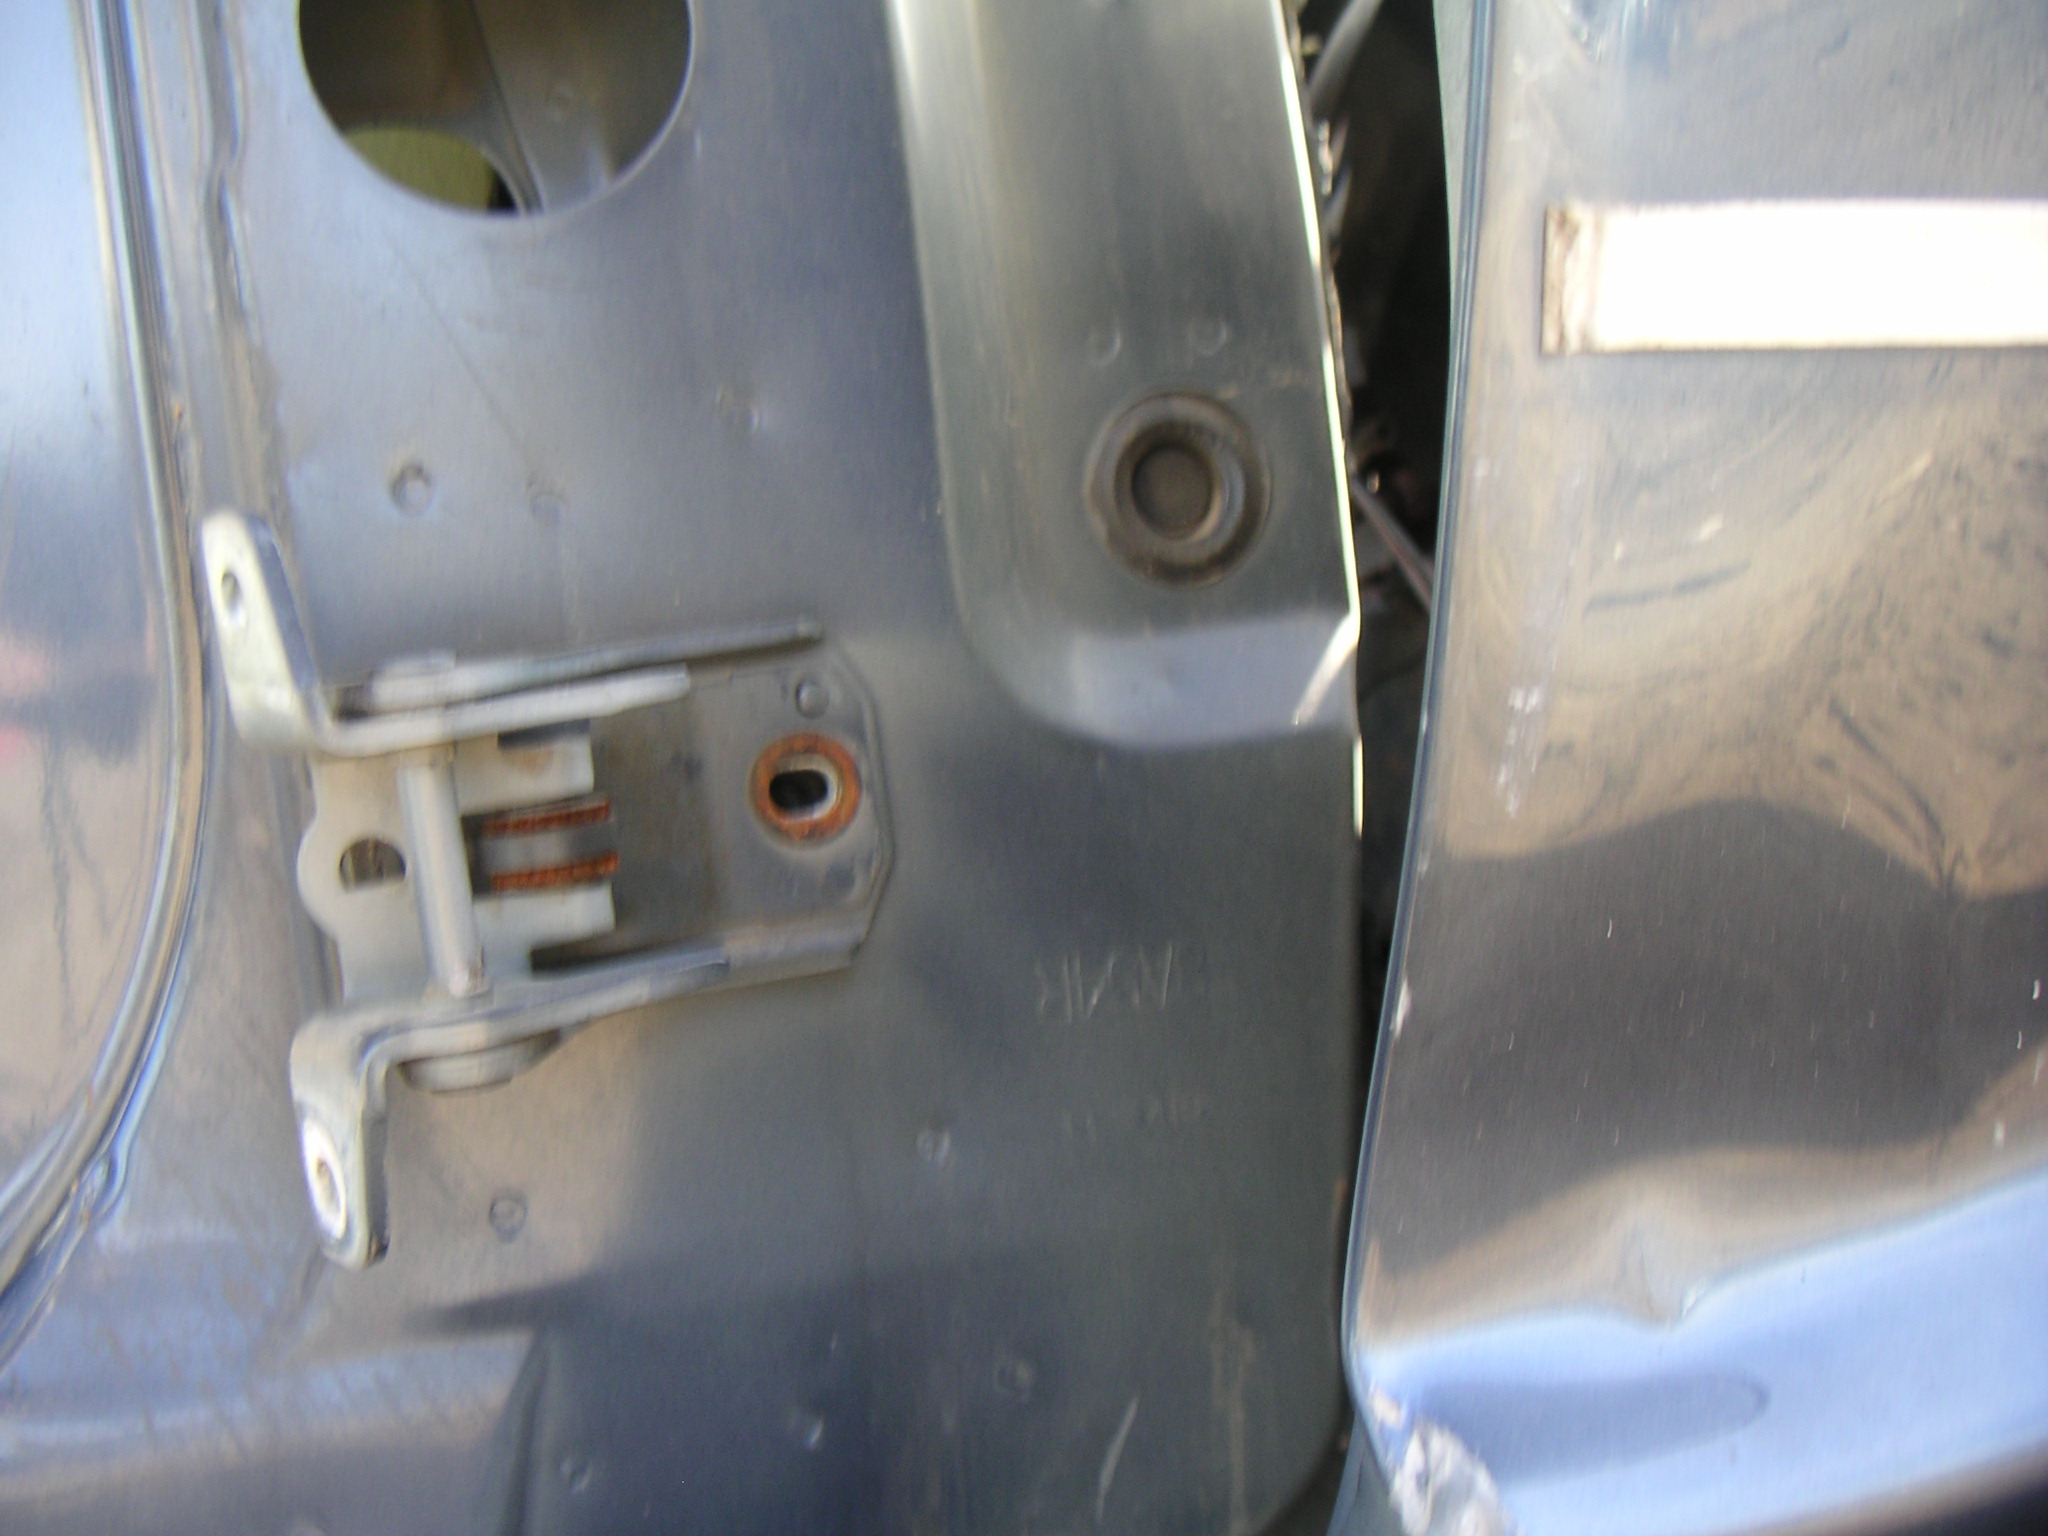
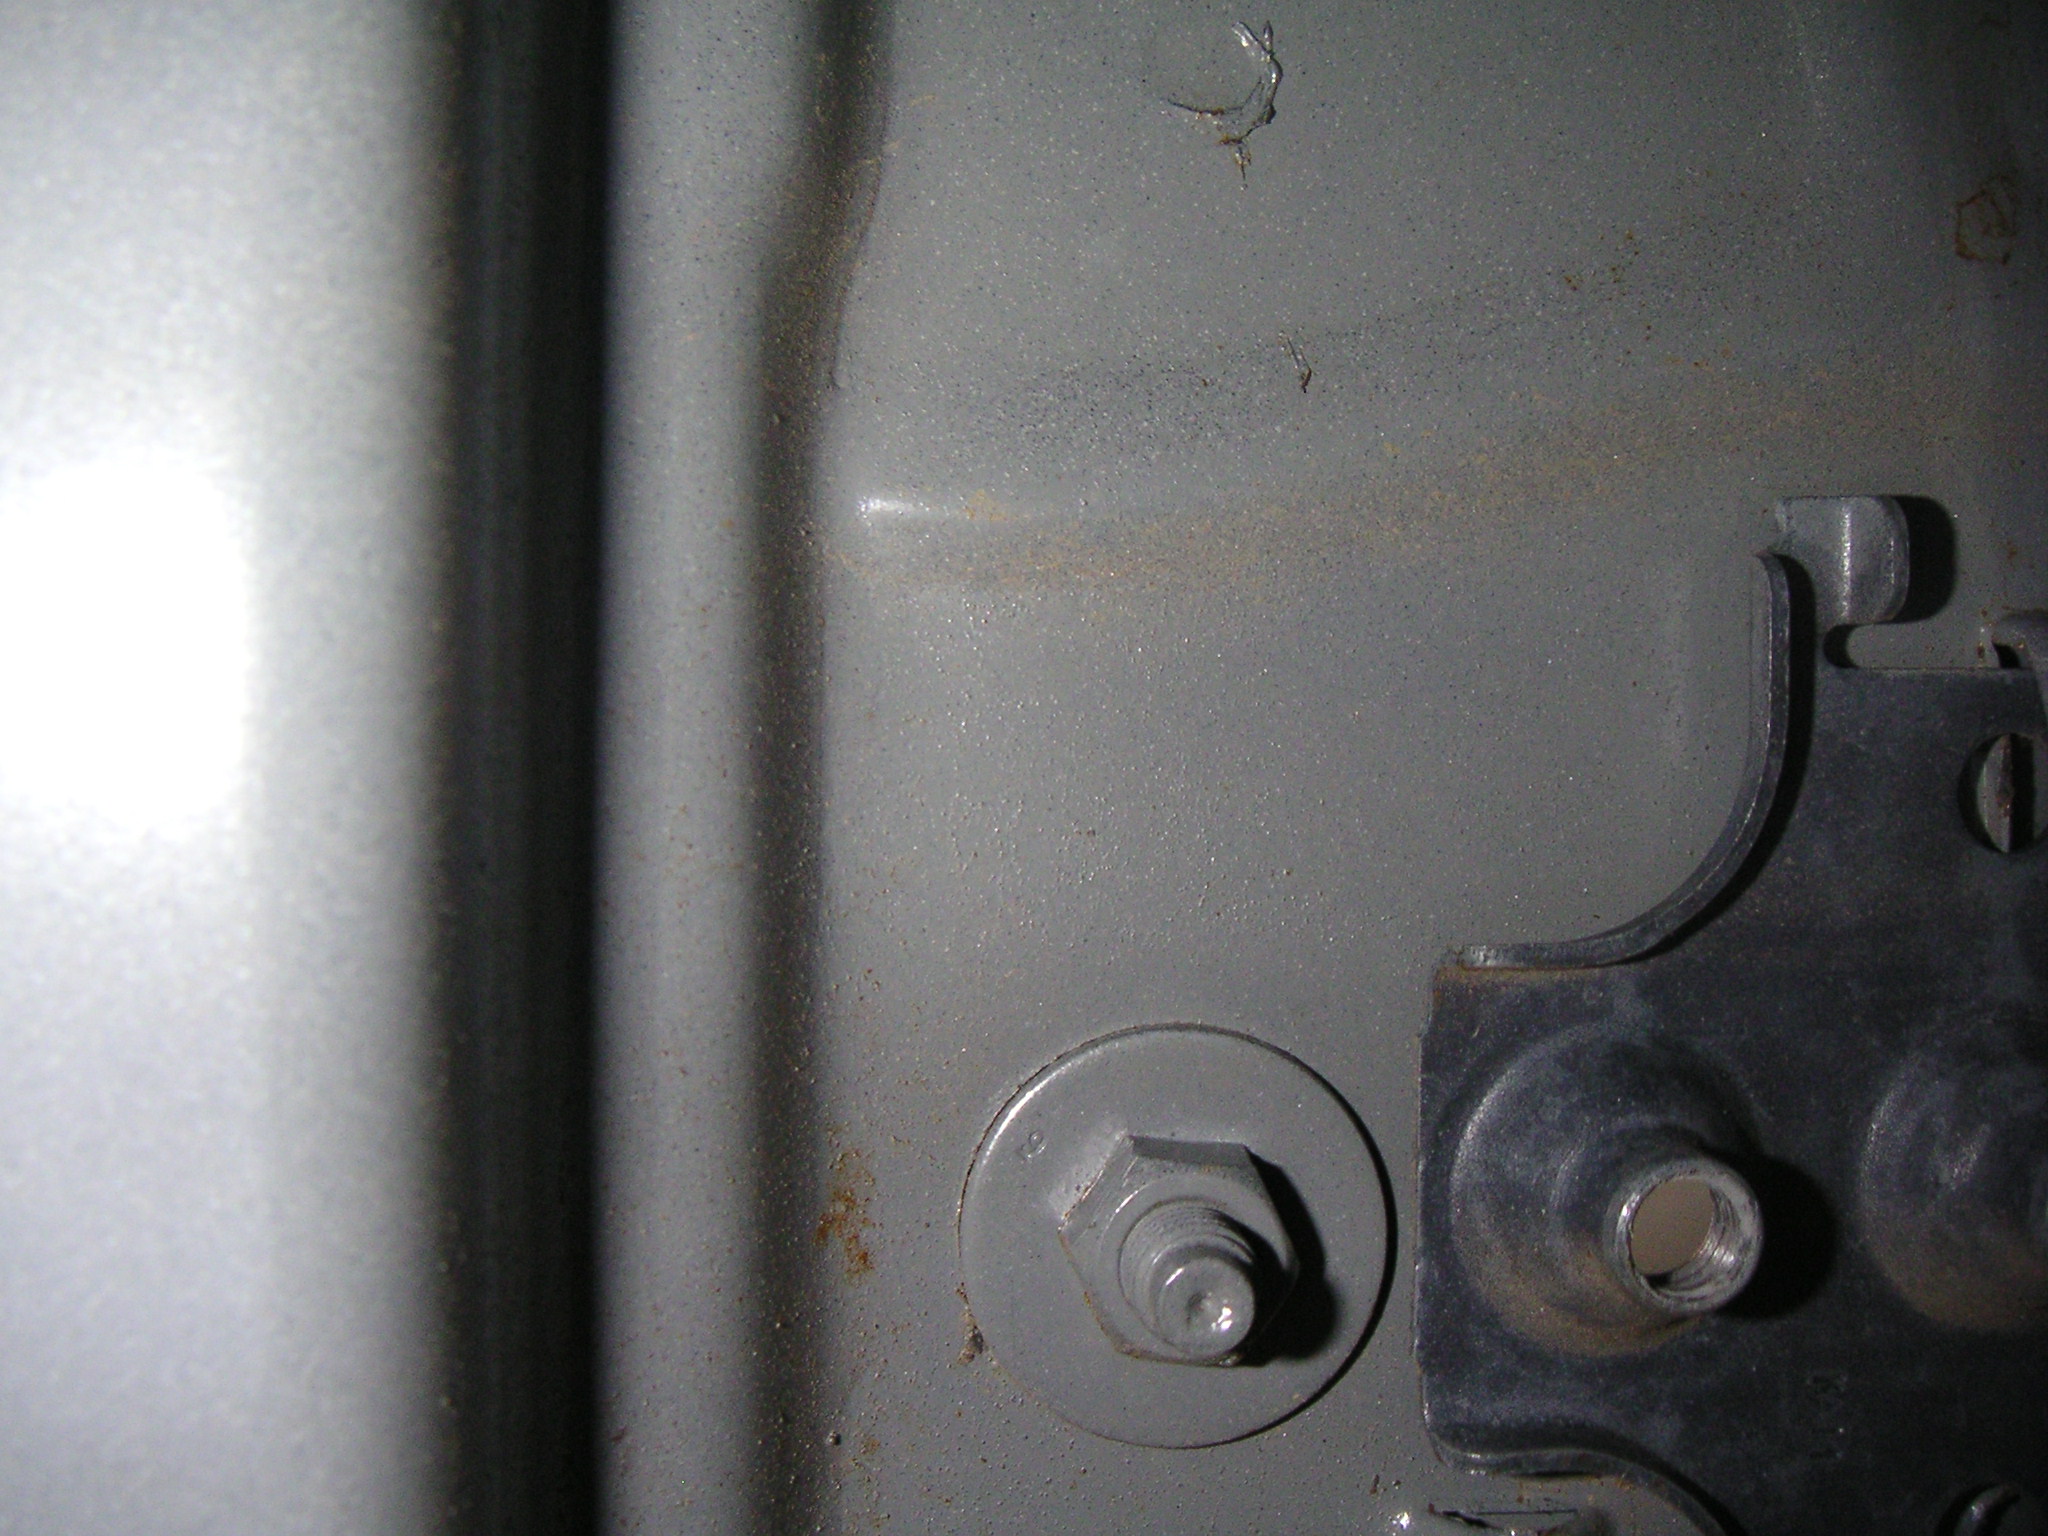
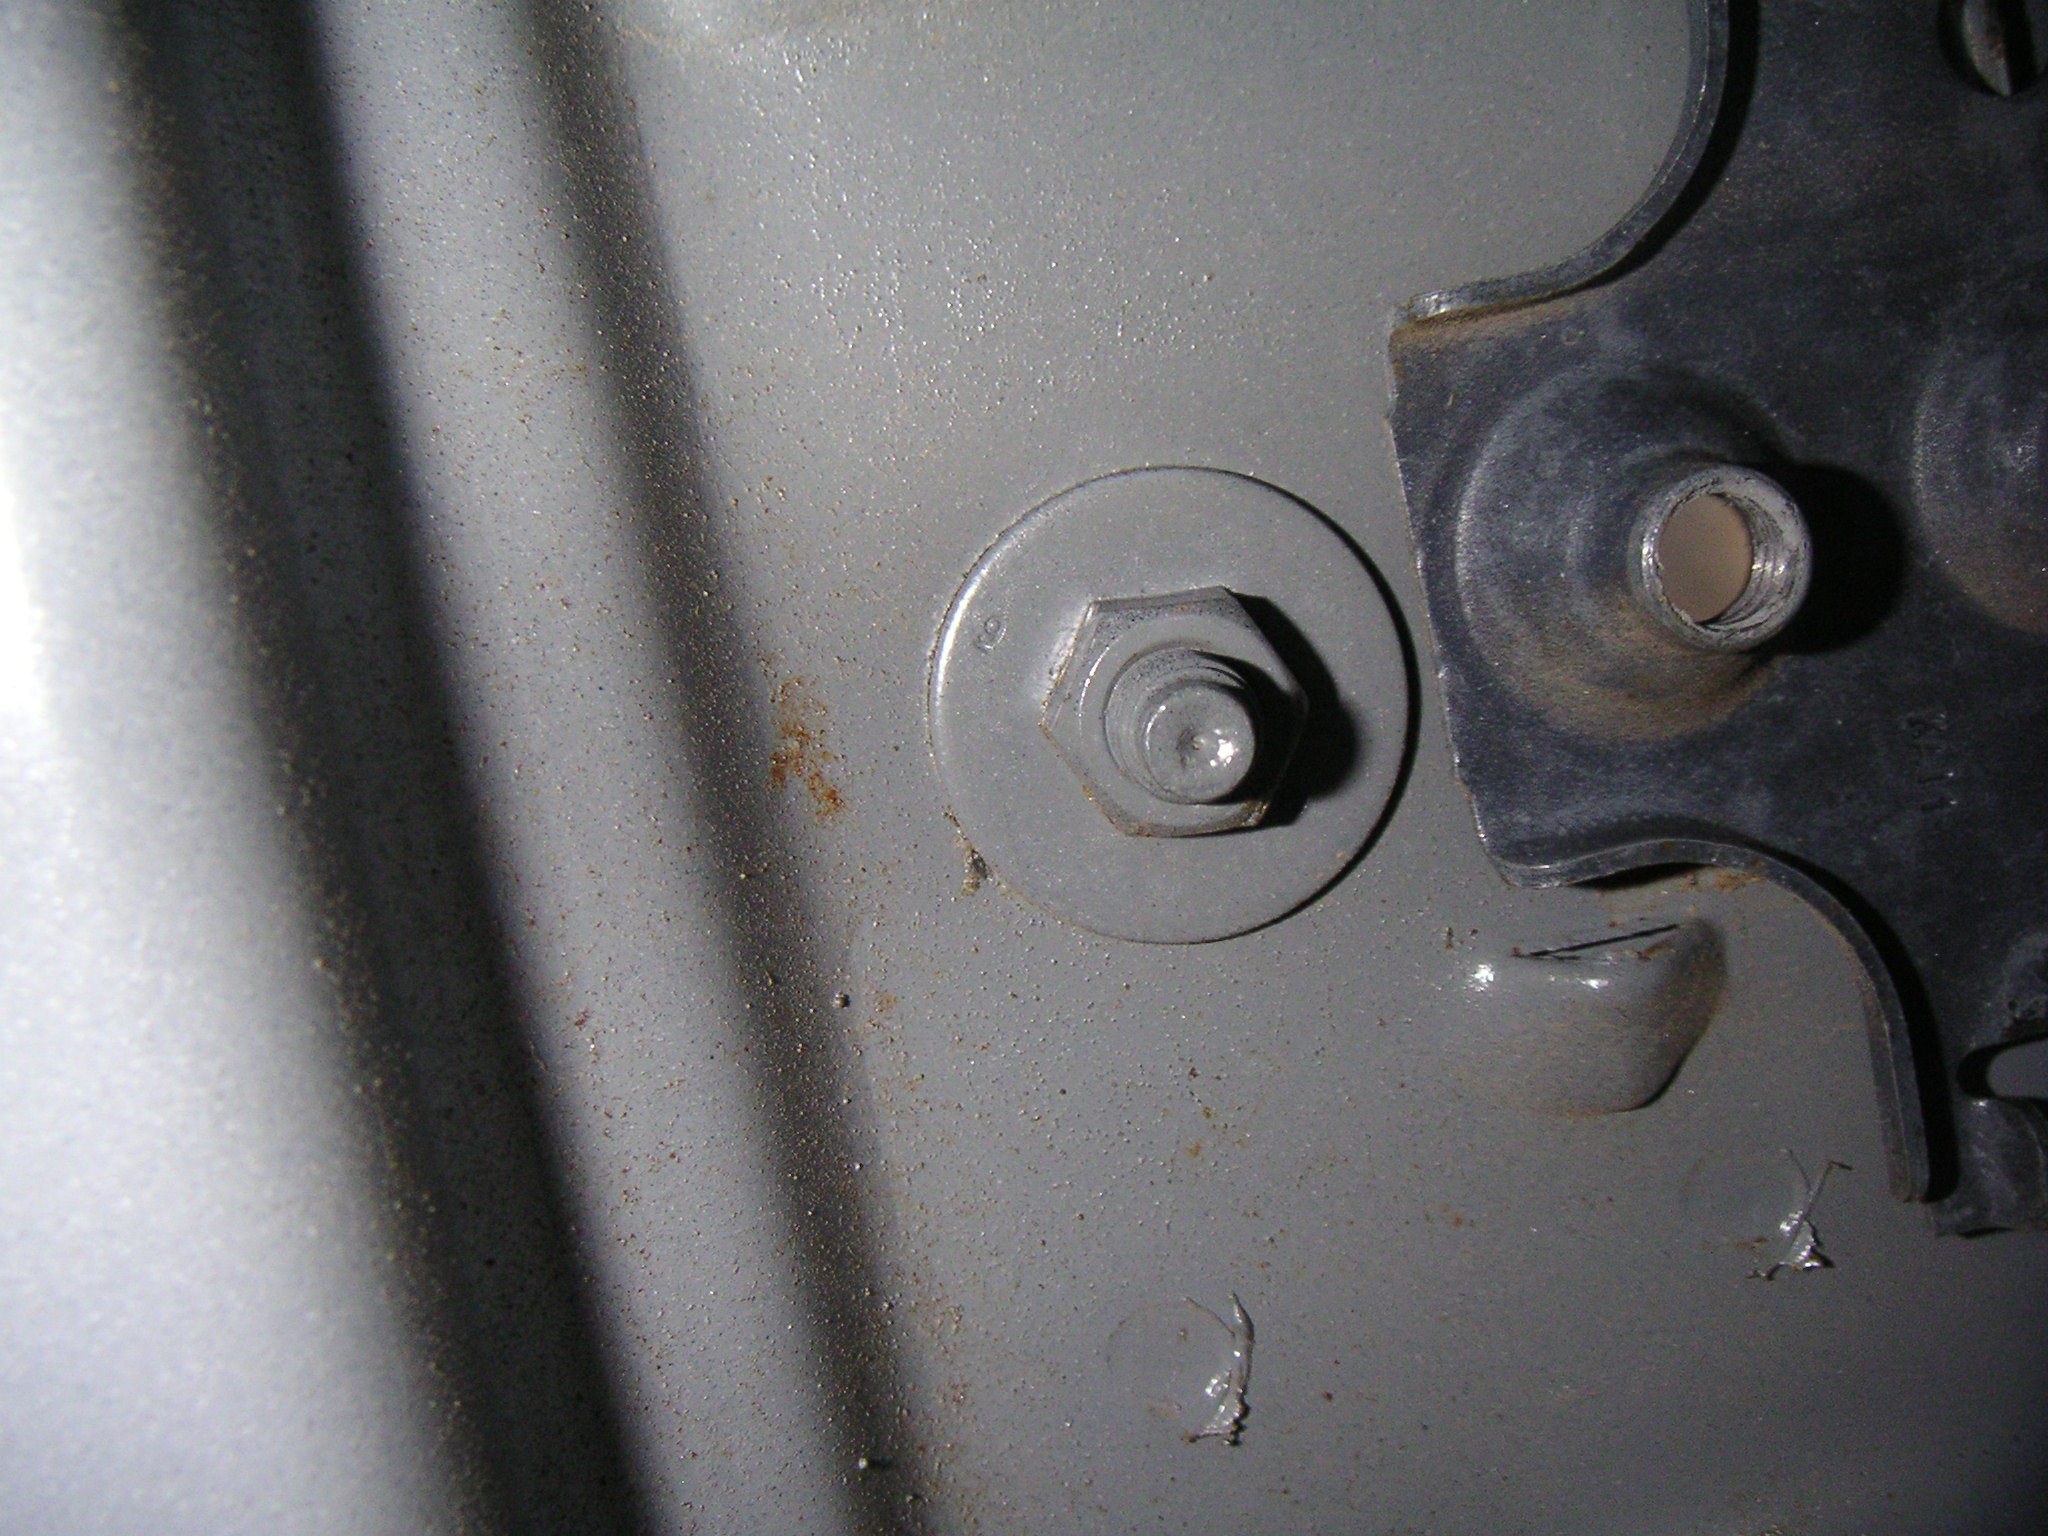
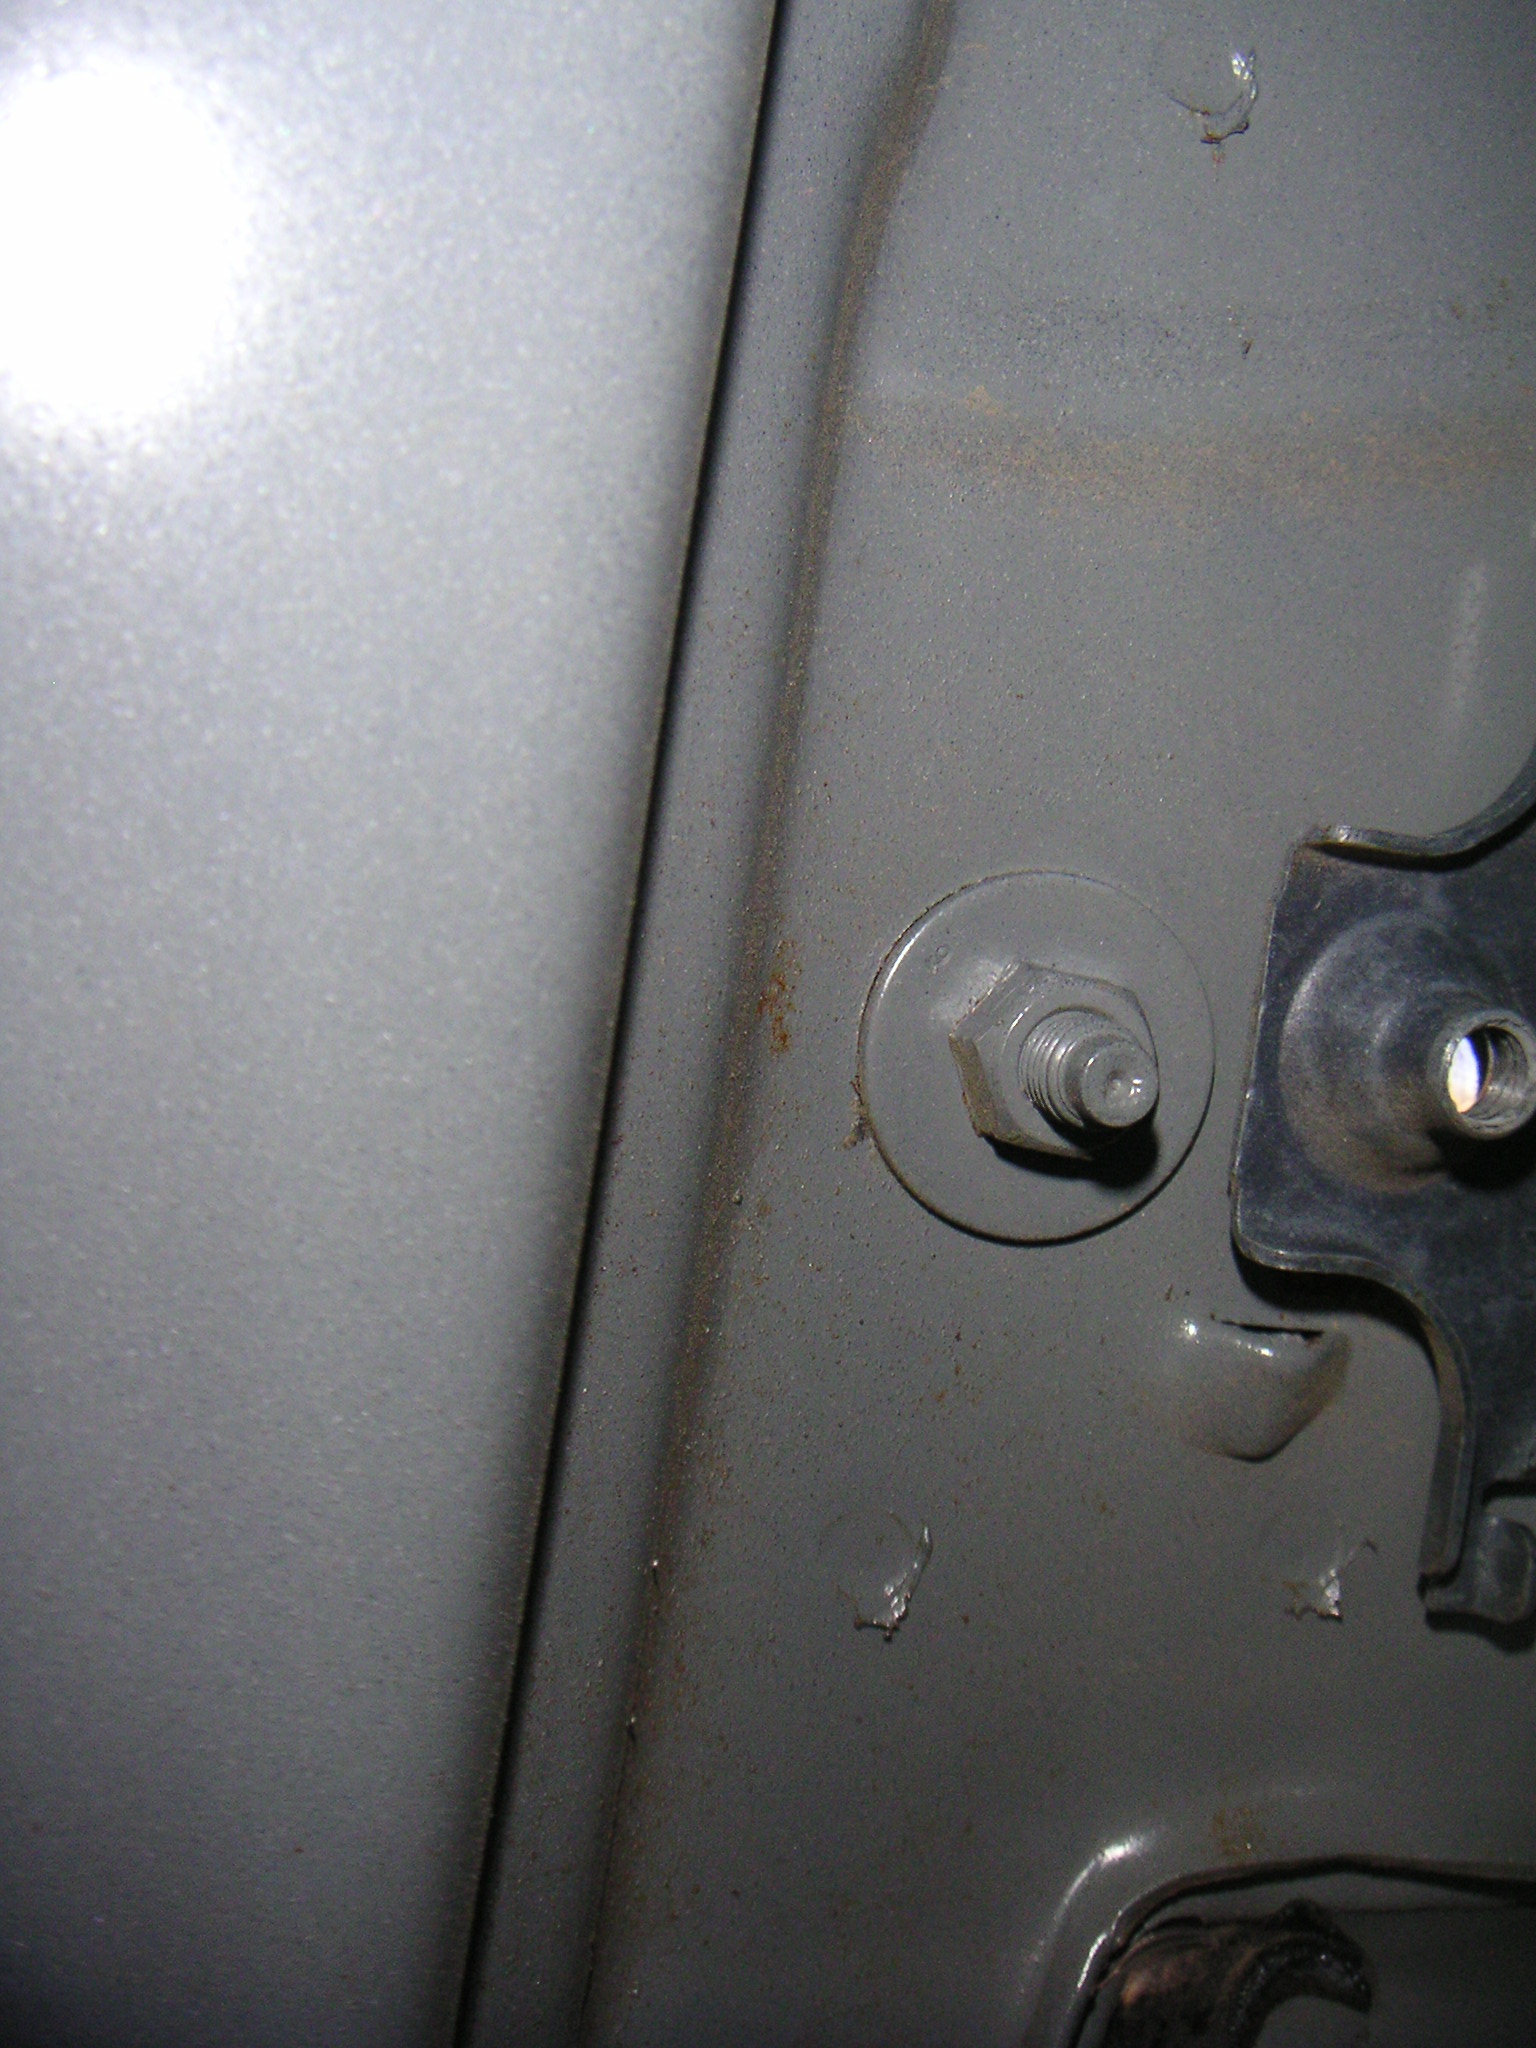
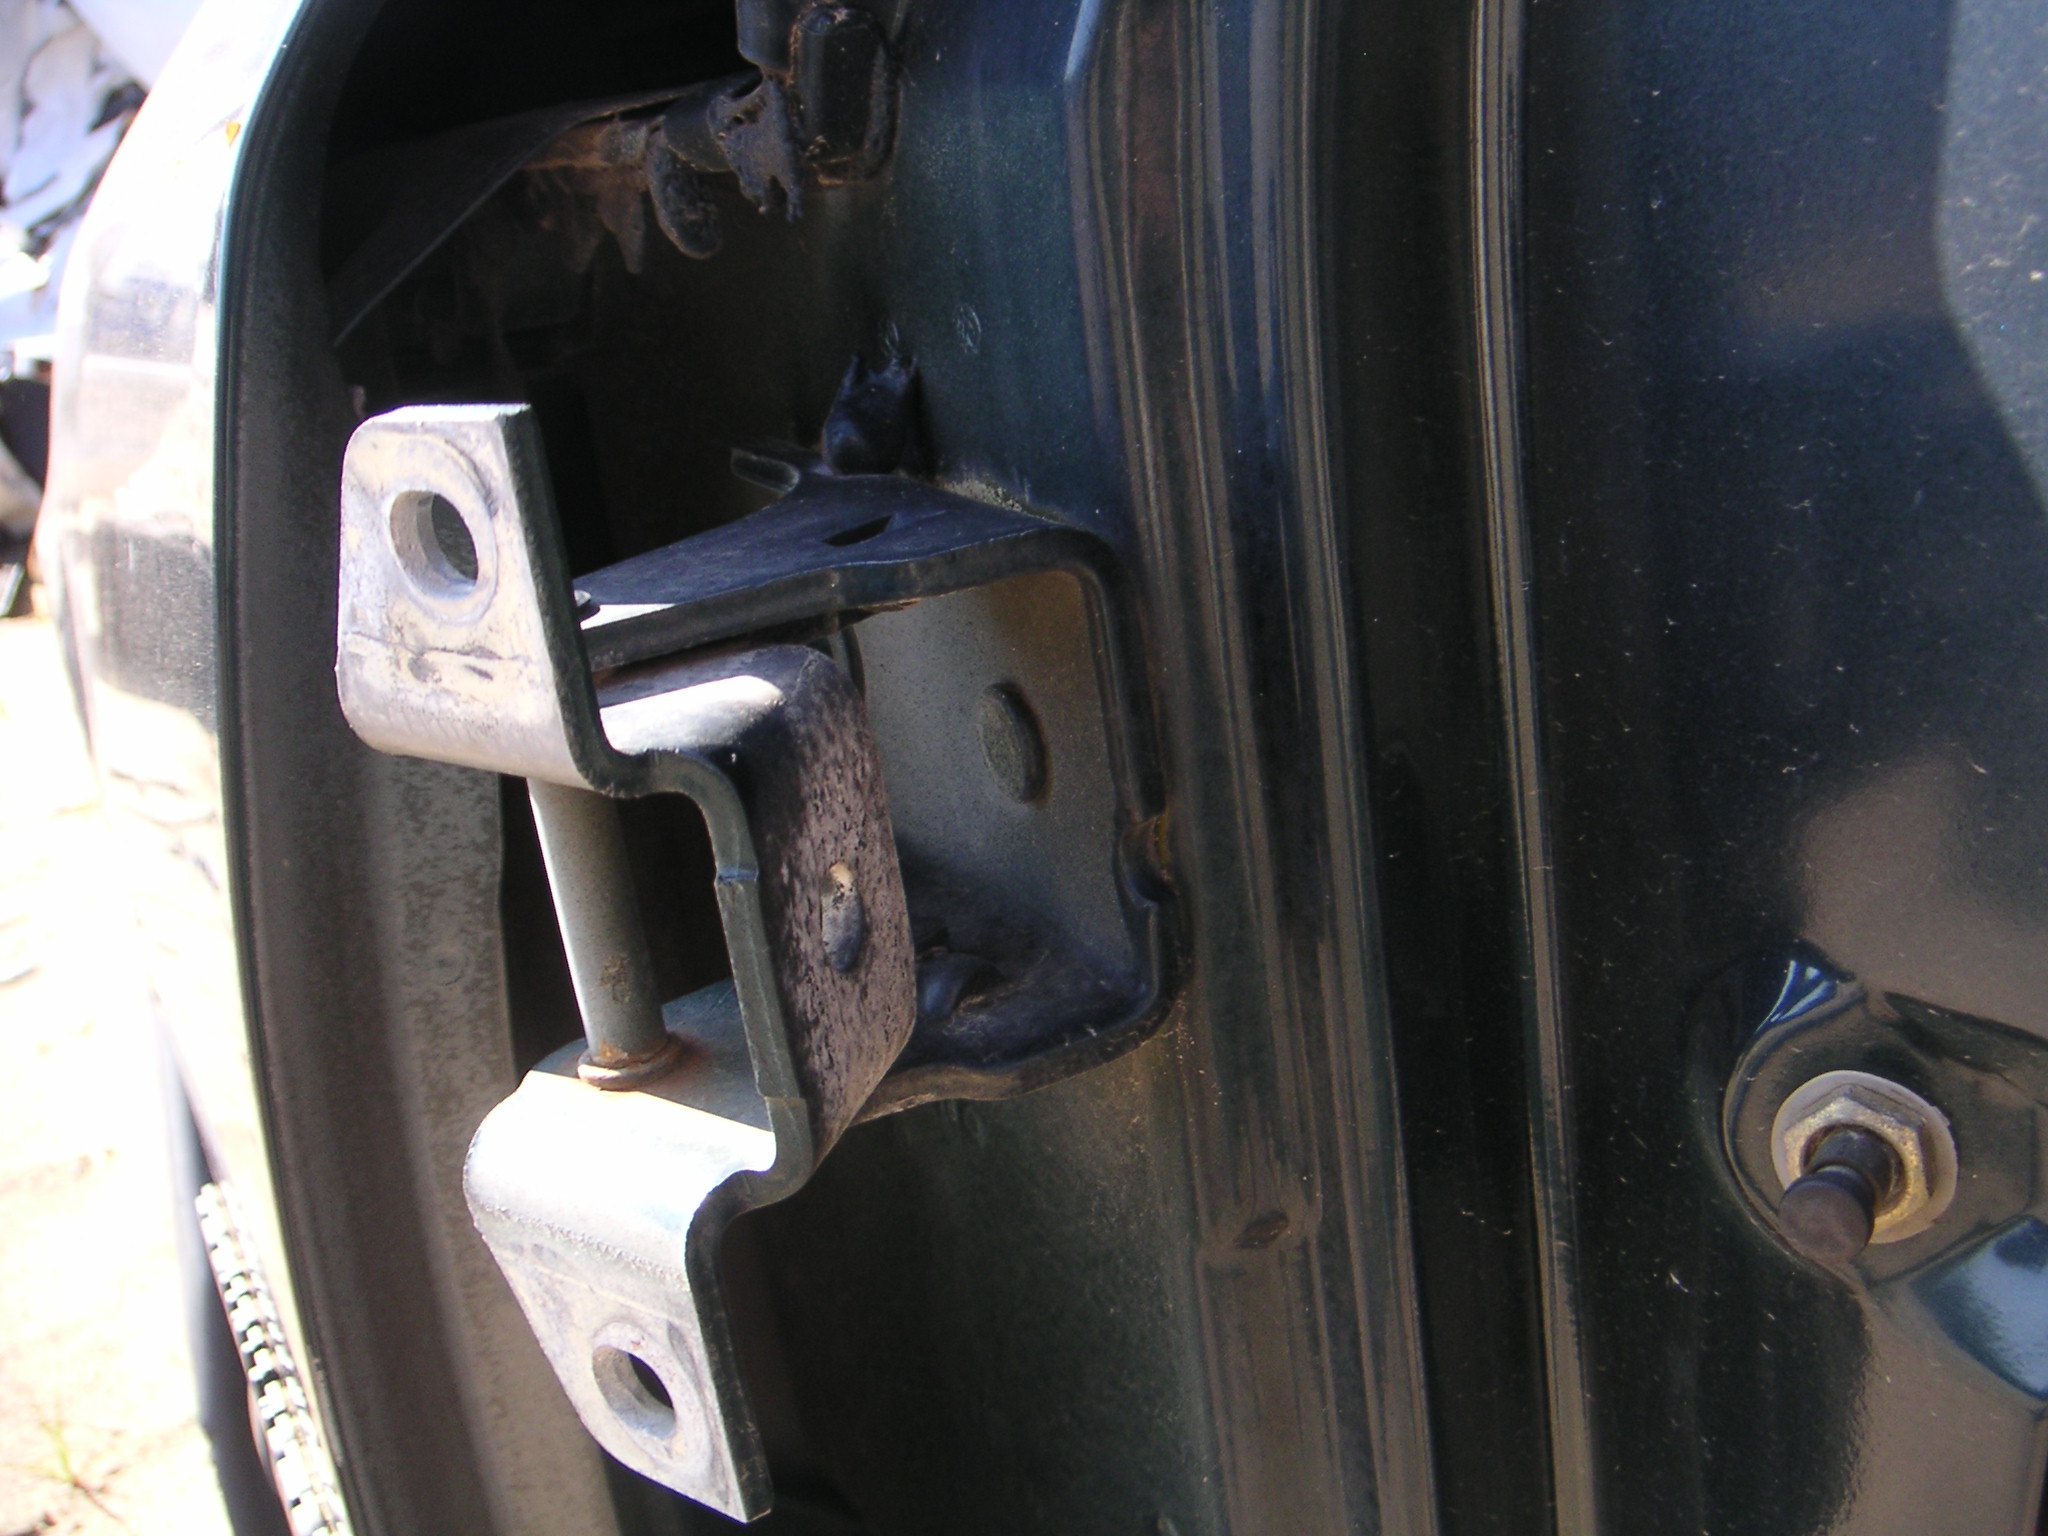
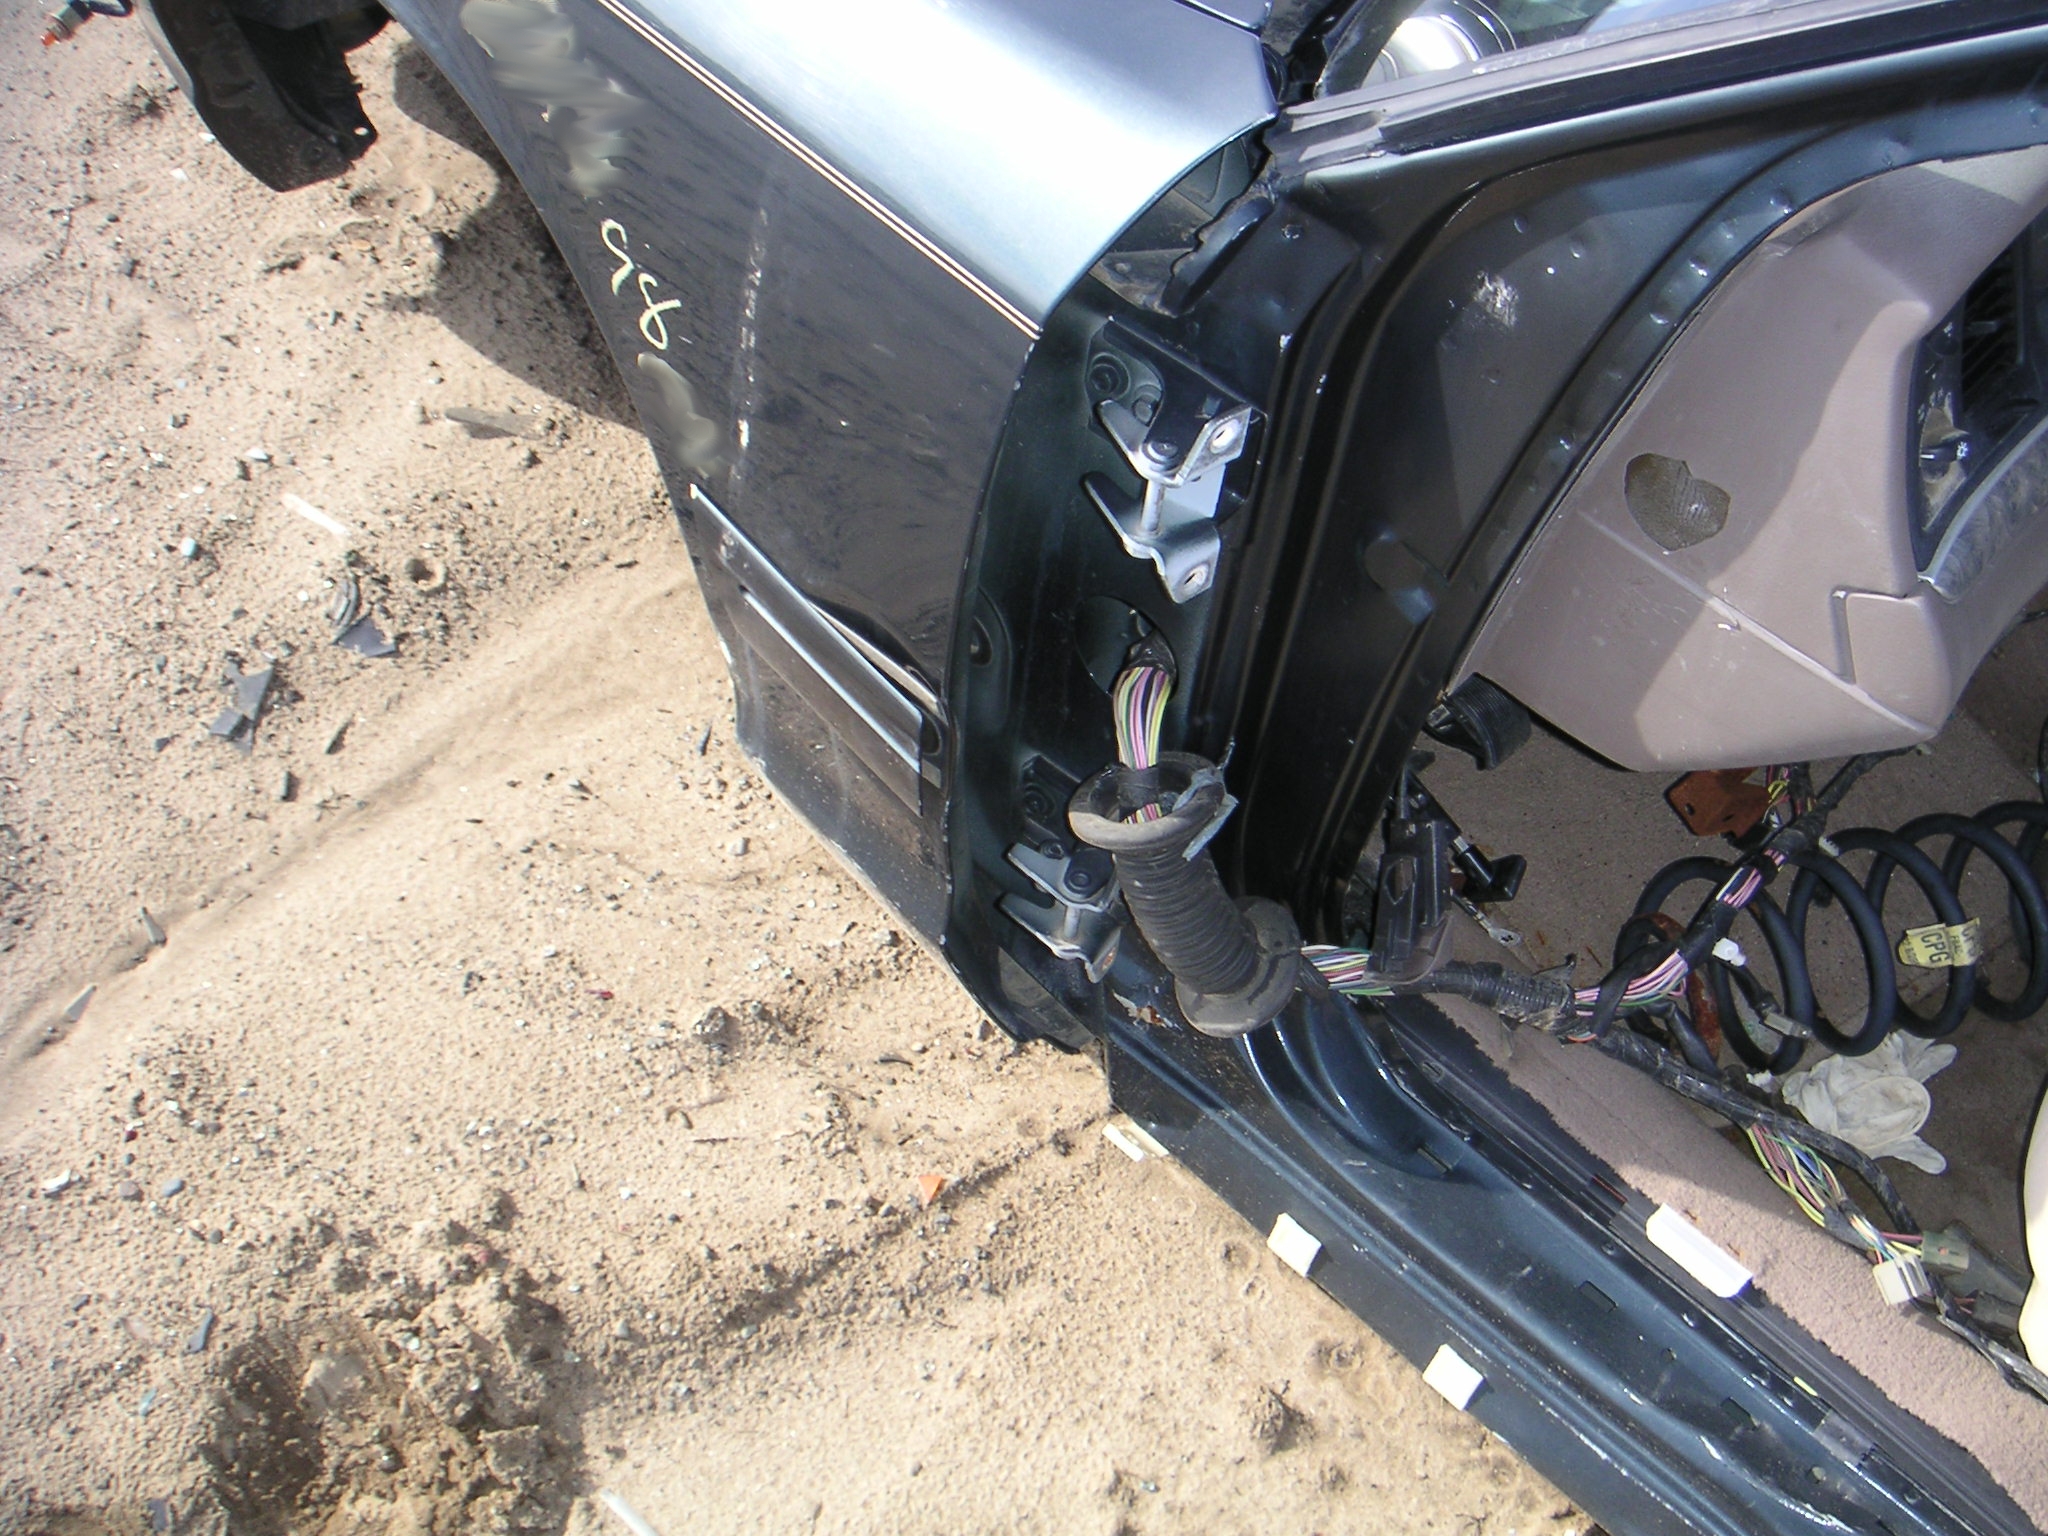
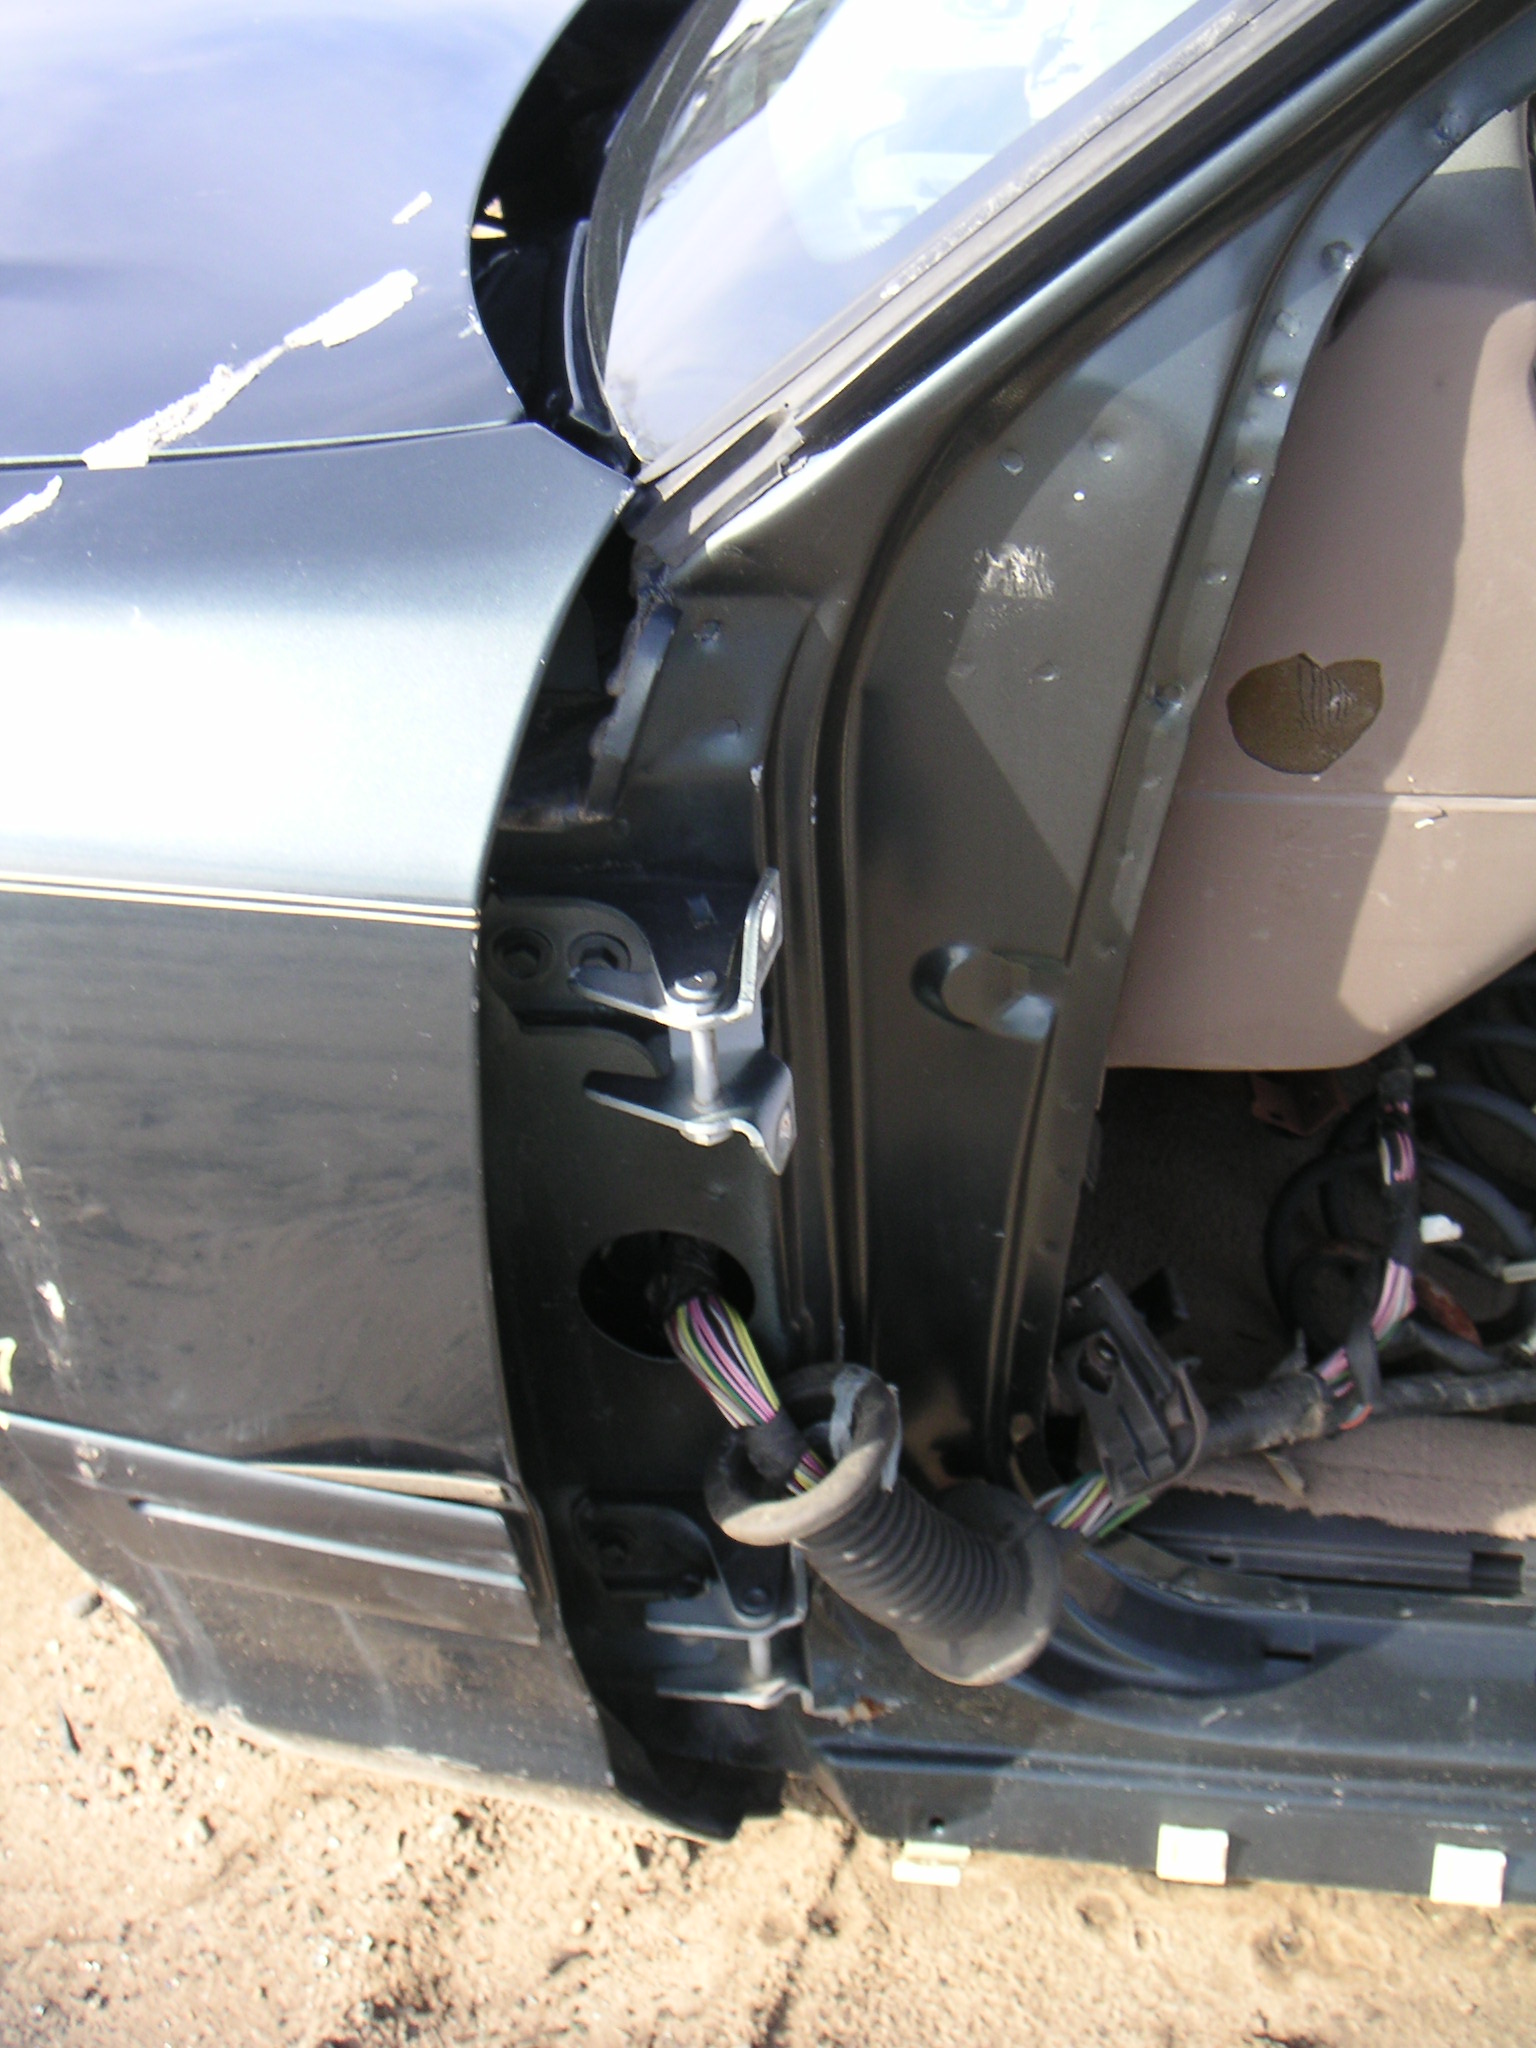
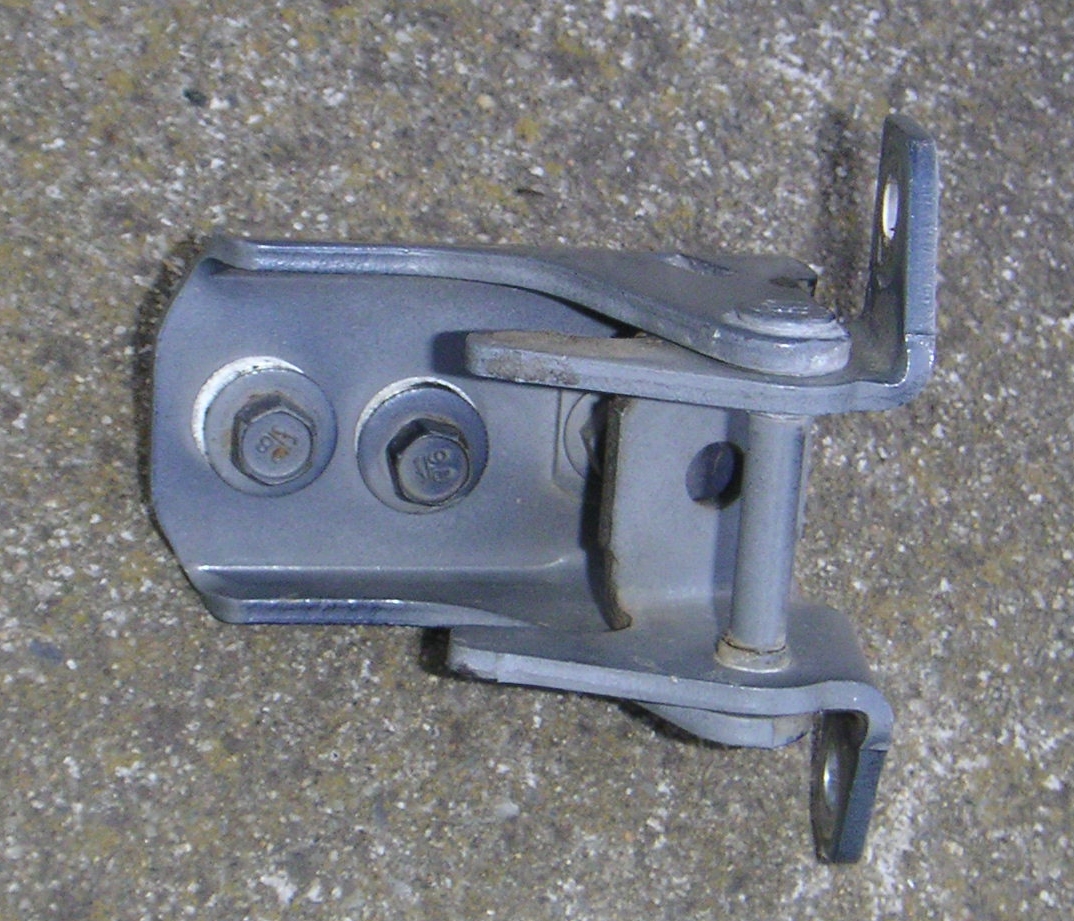
Front Door Upper Hinge (Same hinge used on driver's door as on passenger's door) (Unpainted Aluminum) |
F2AZ-5422800-A F7AZ-5422800-AA F8AZ-5422800-AA |
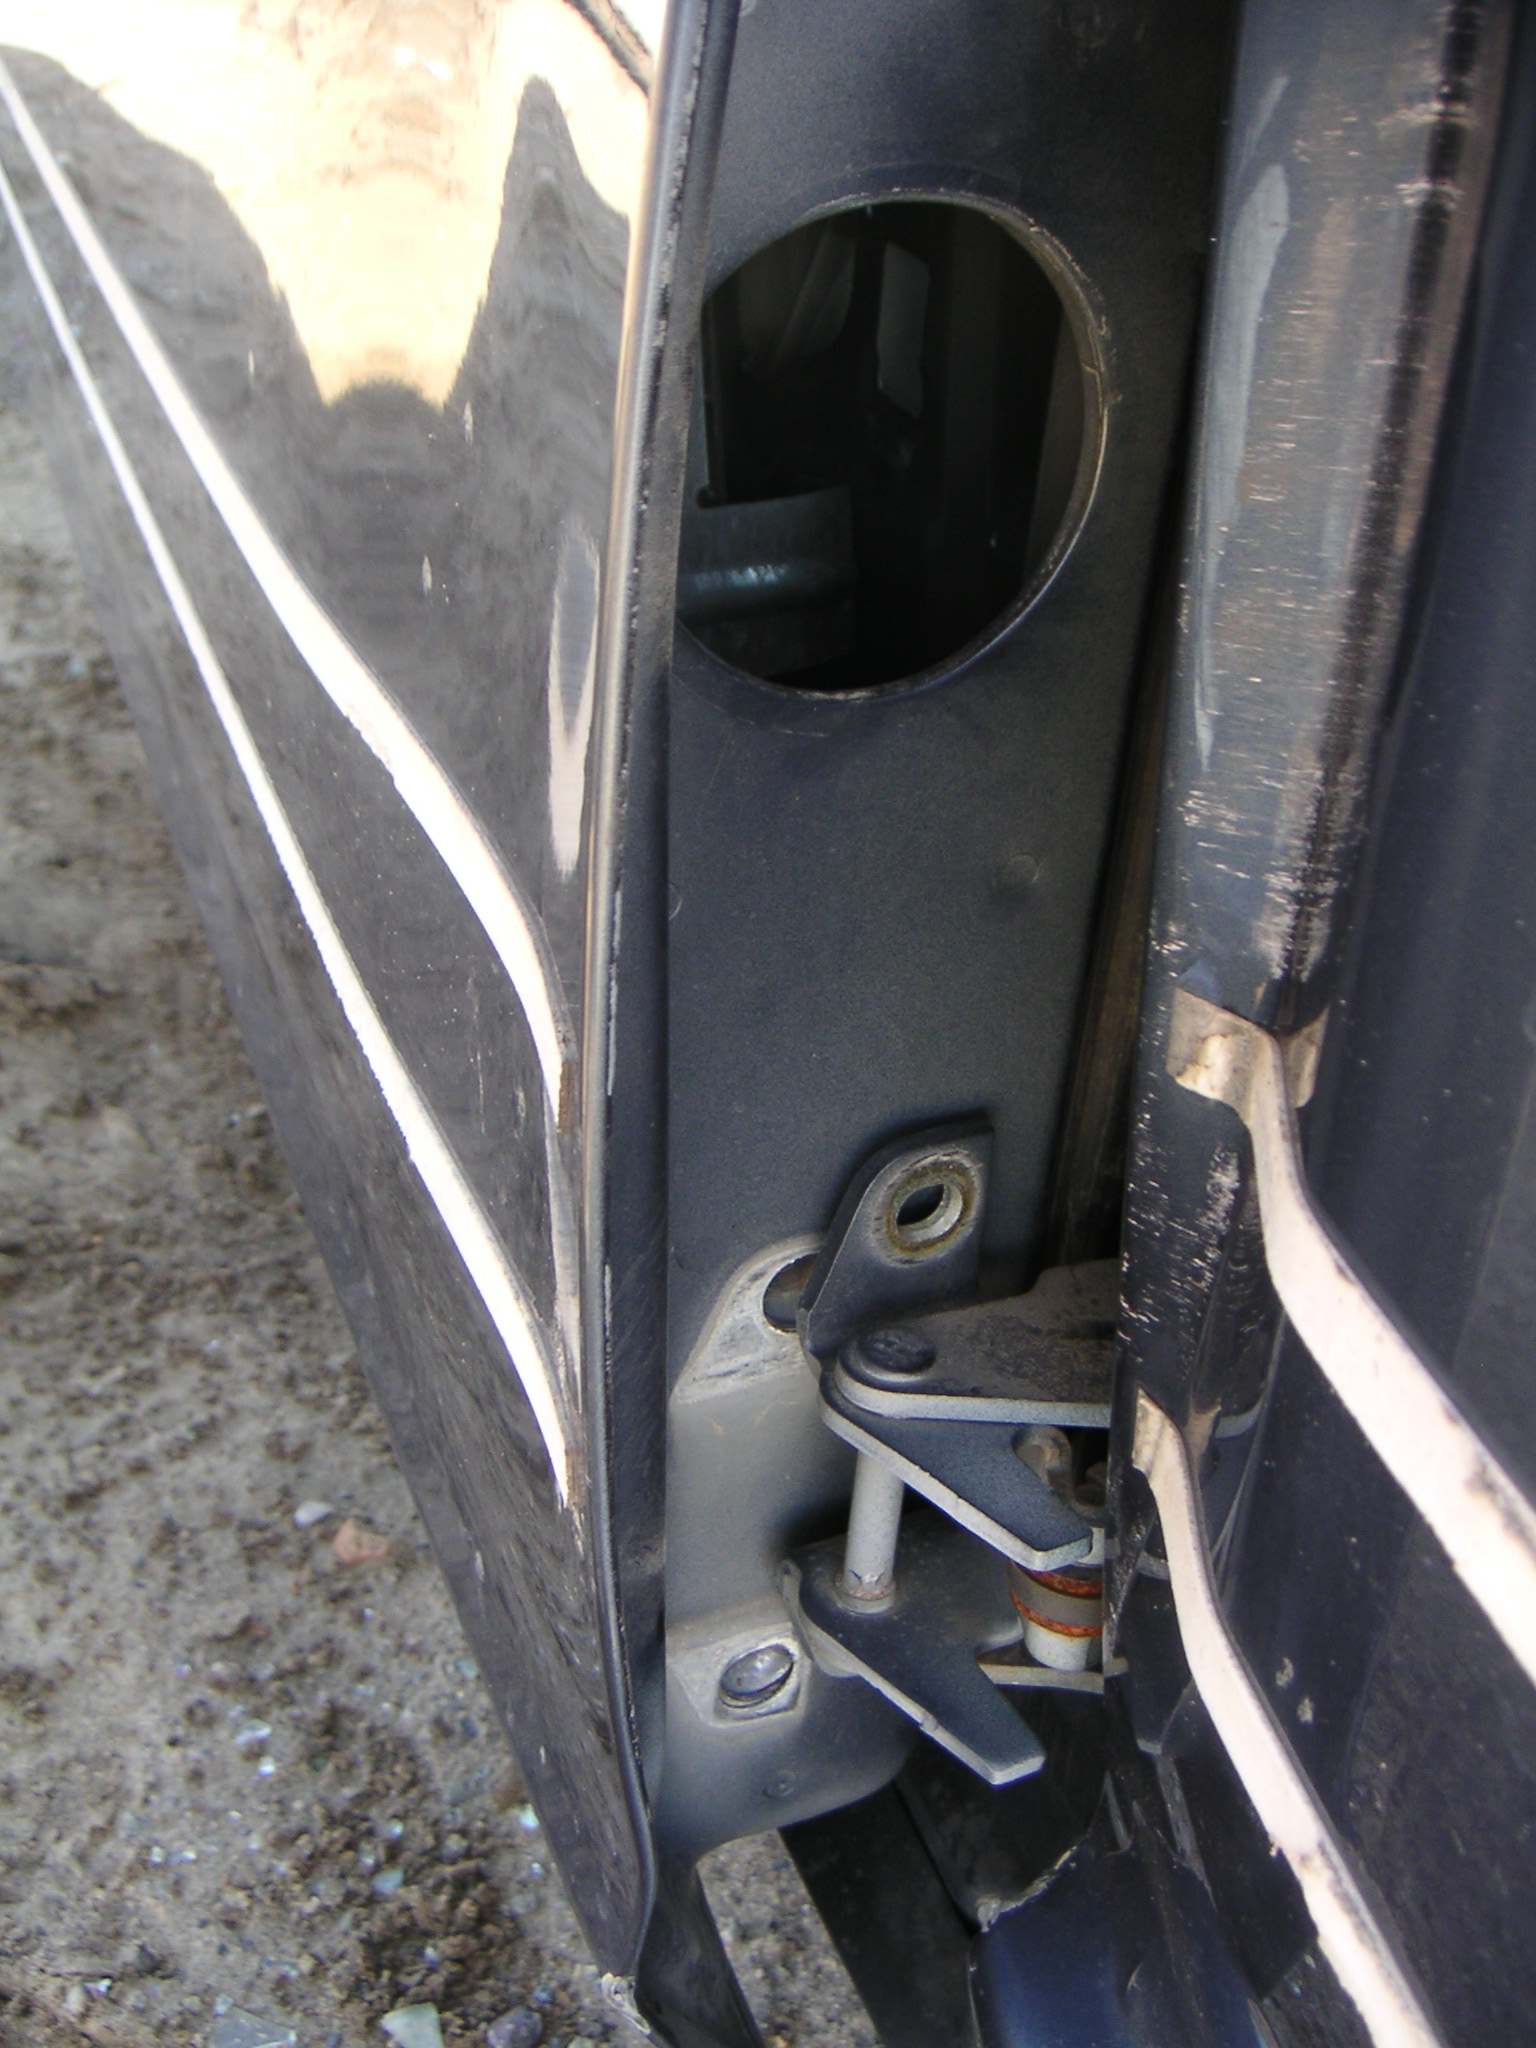
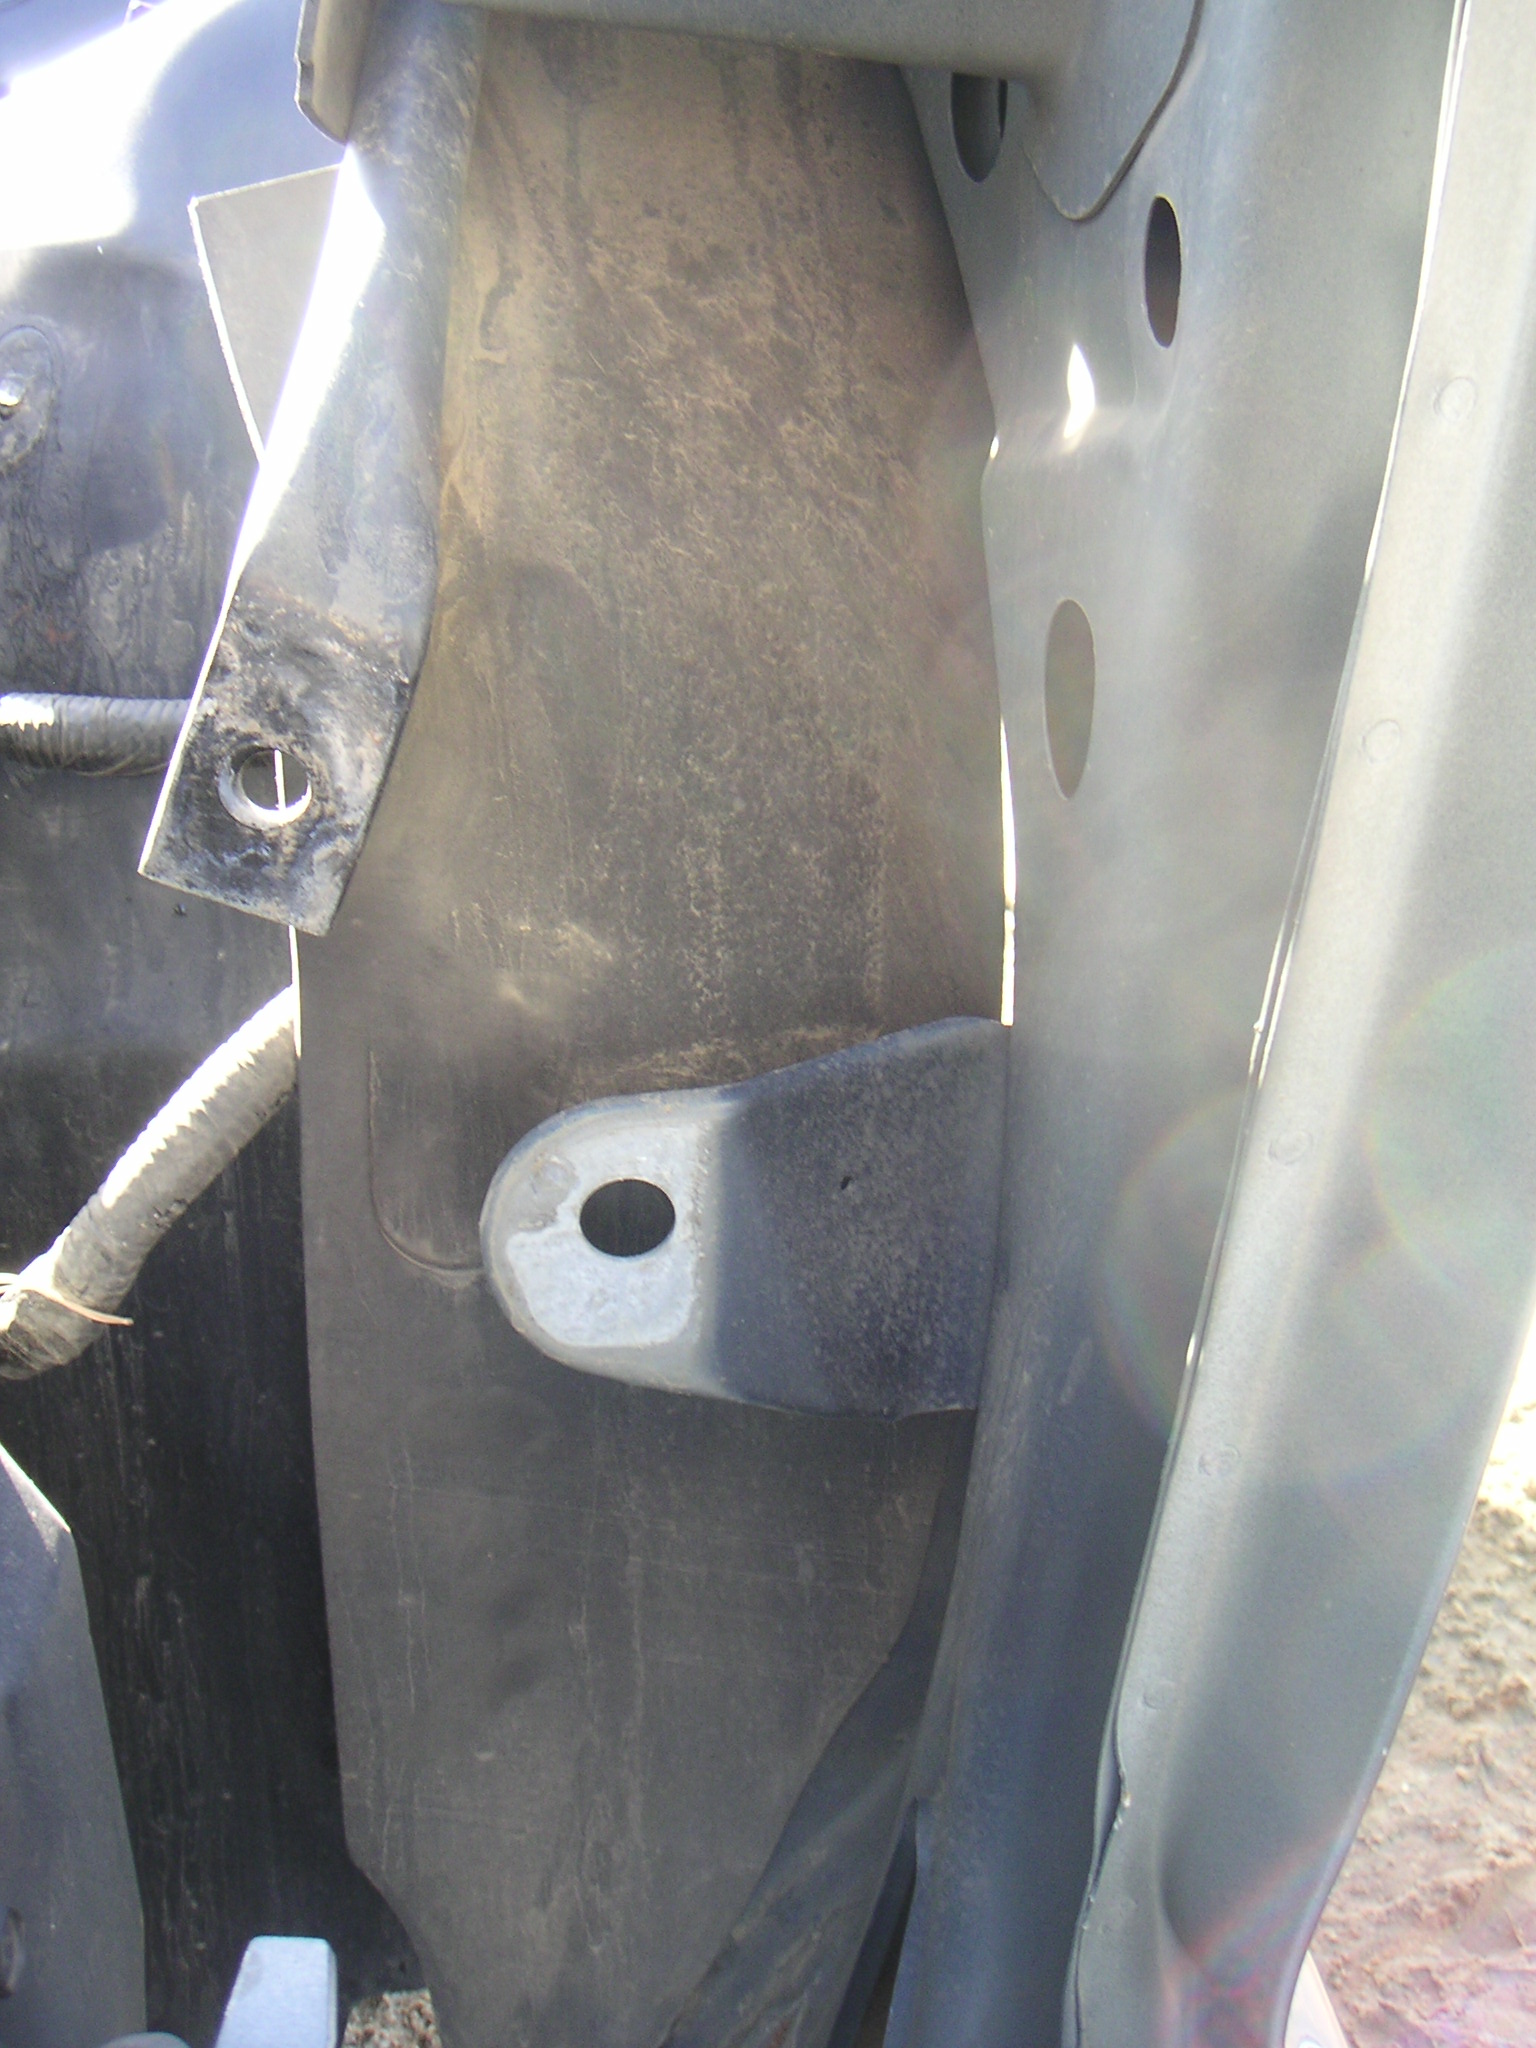
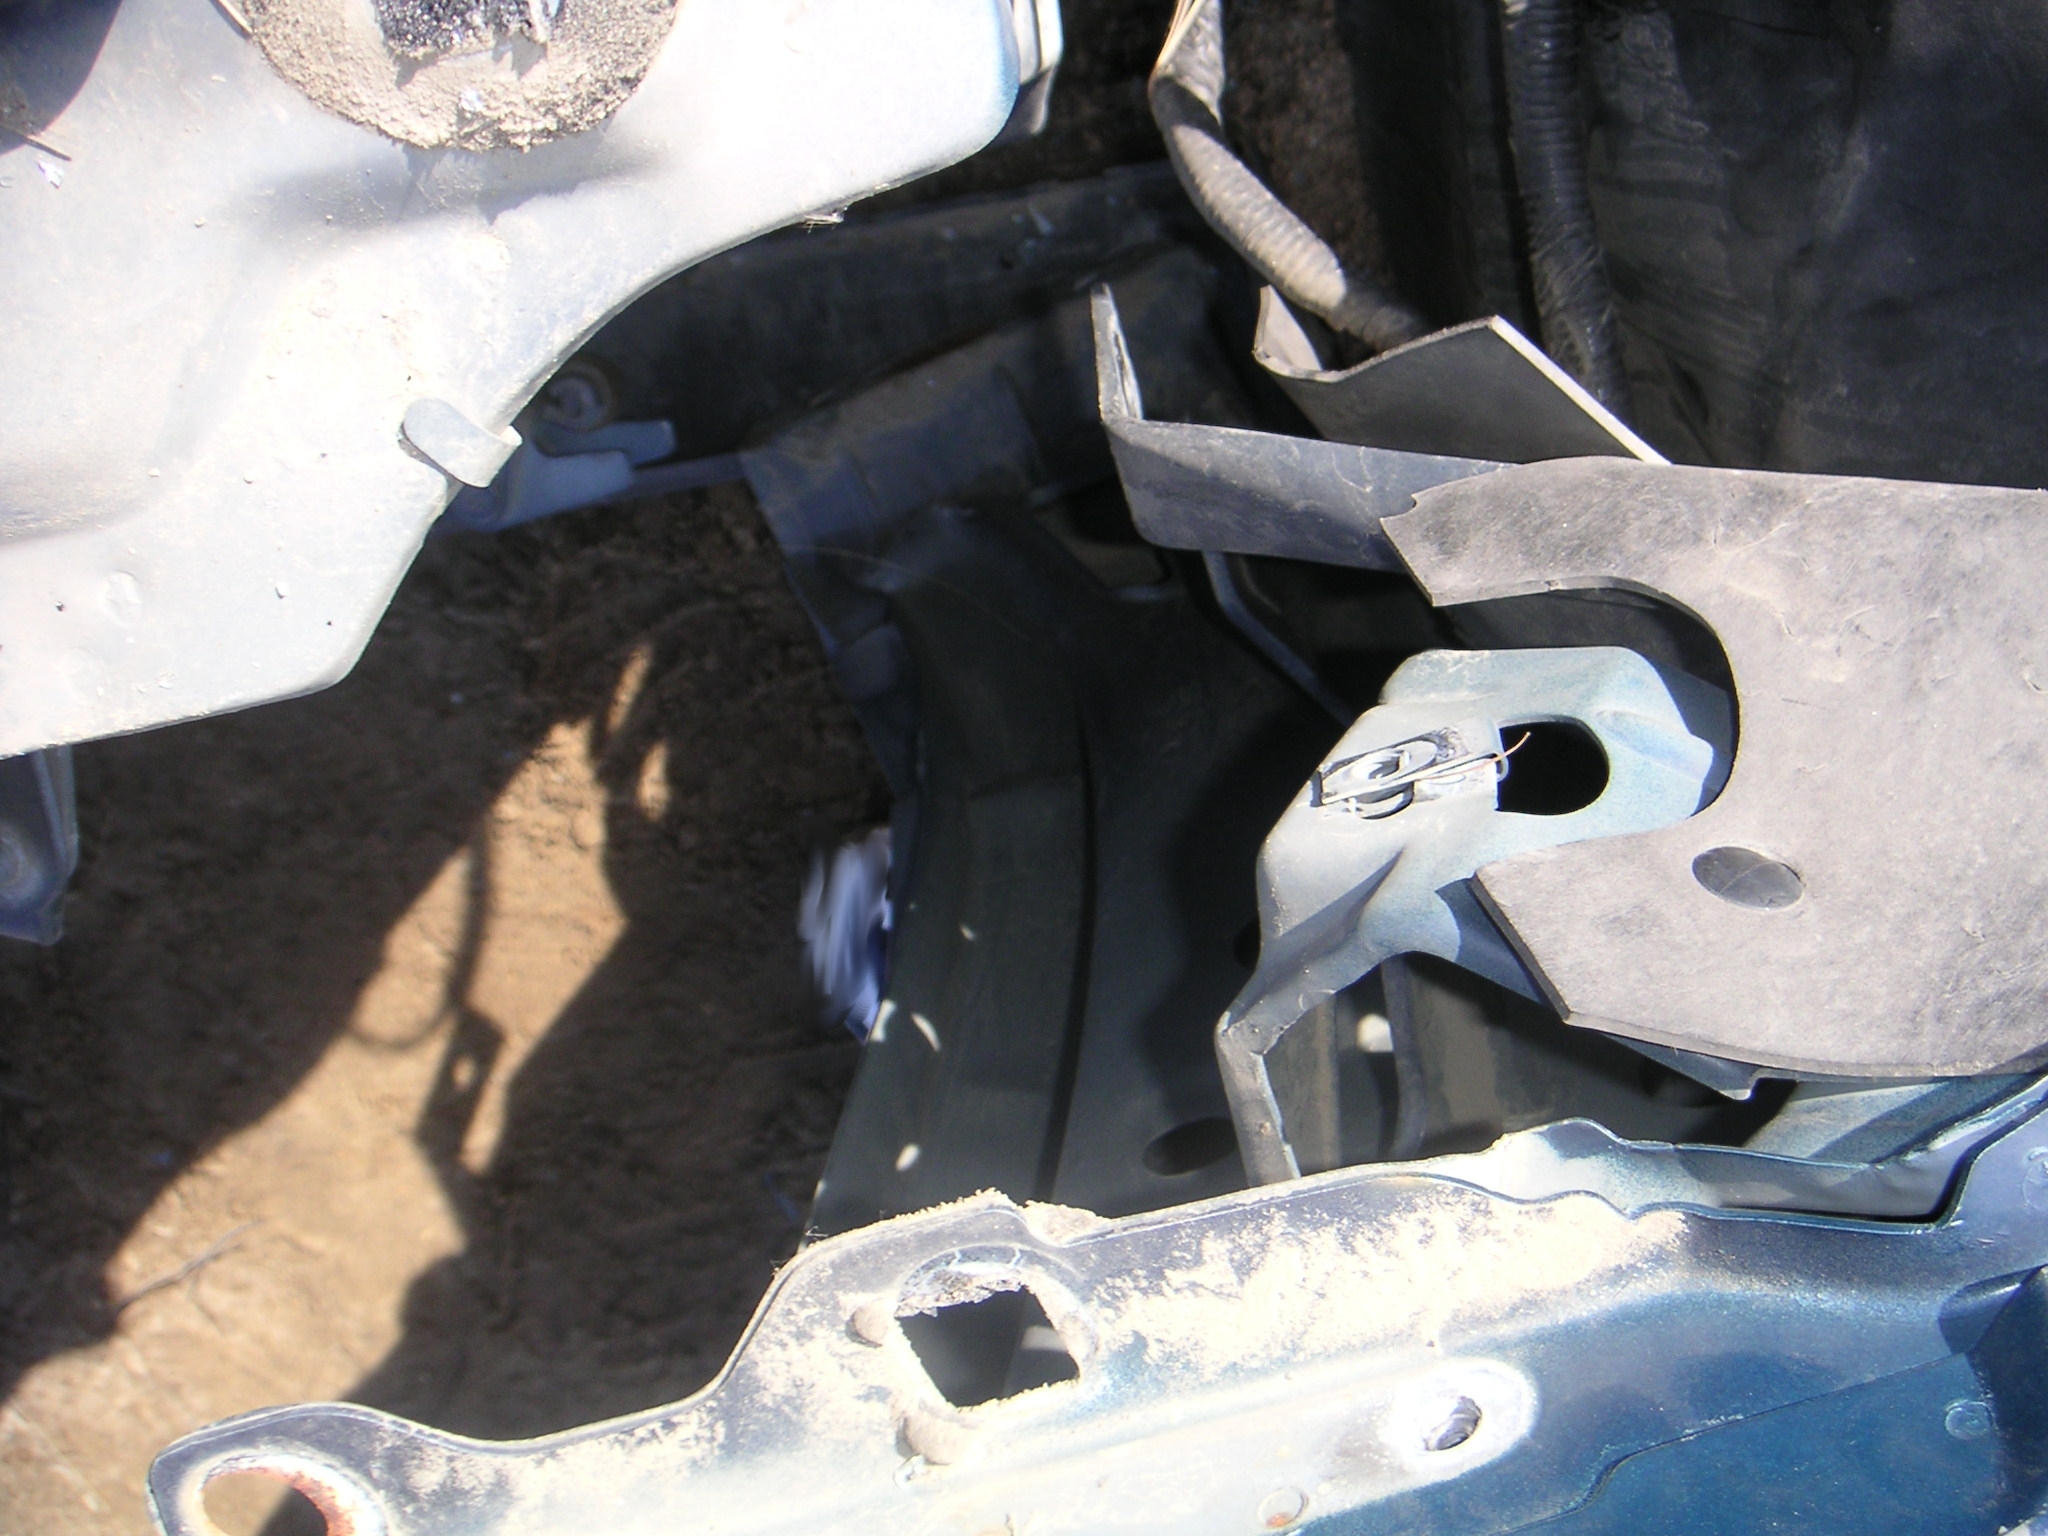
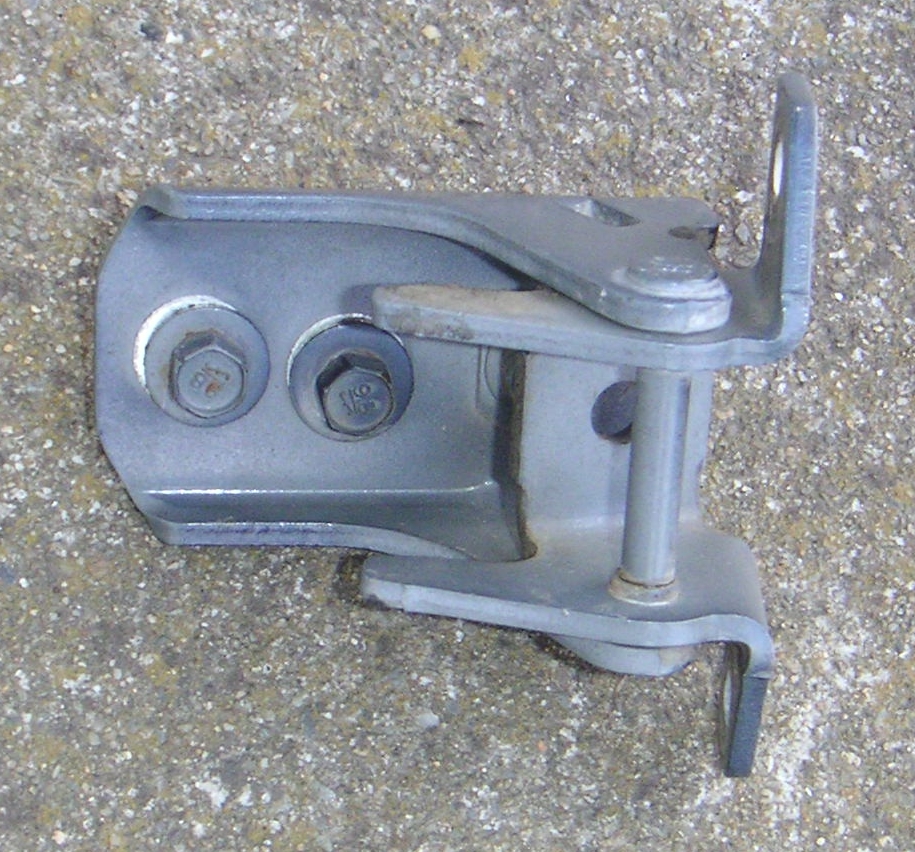
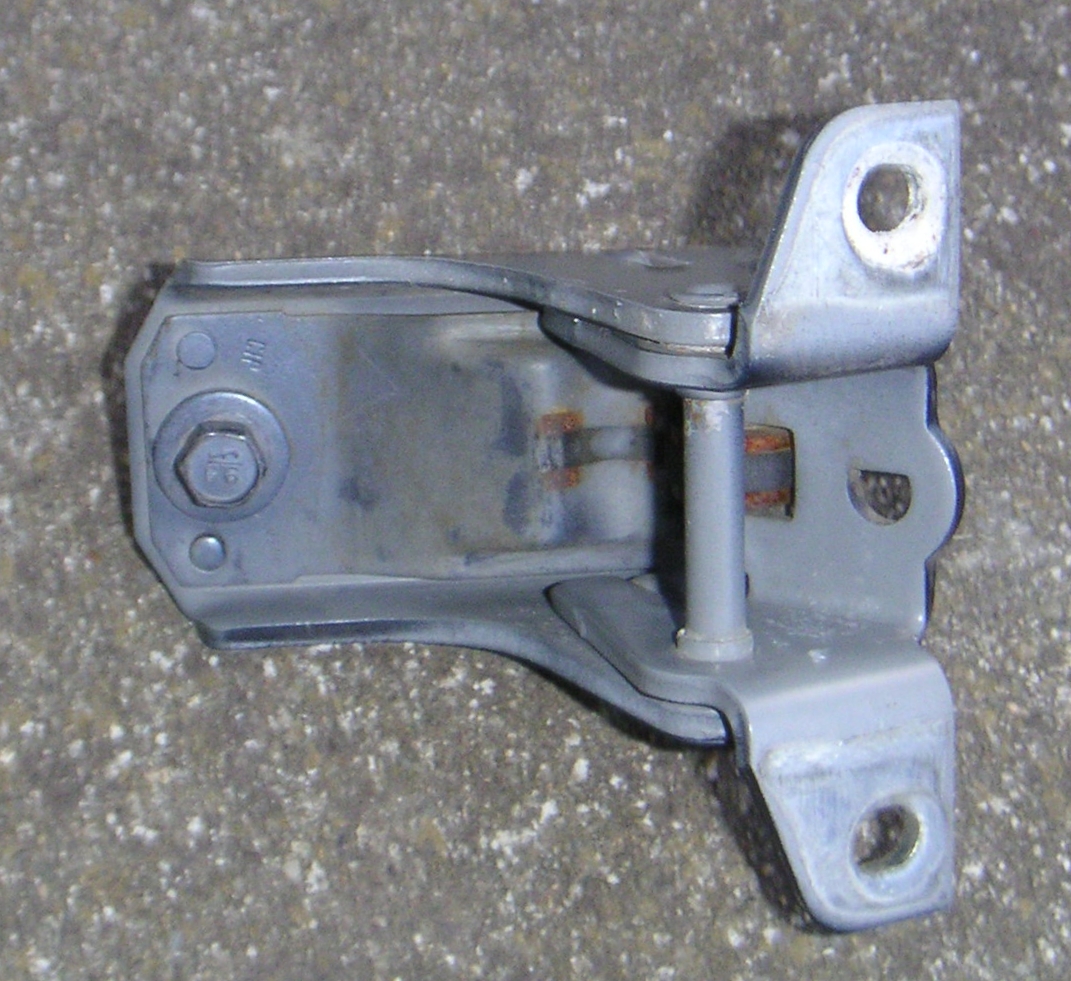
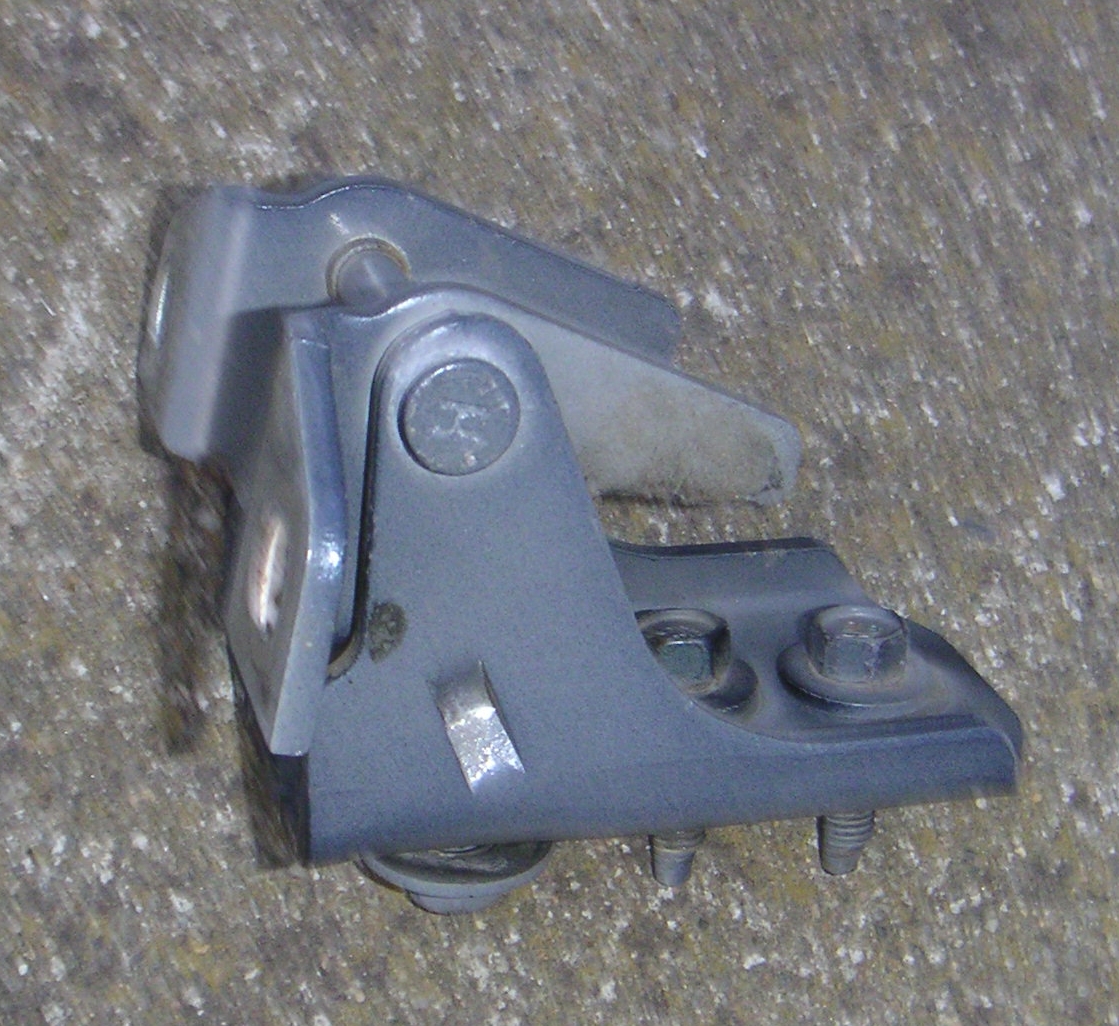
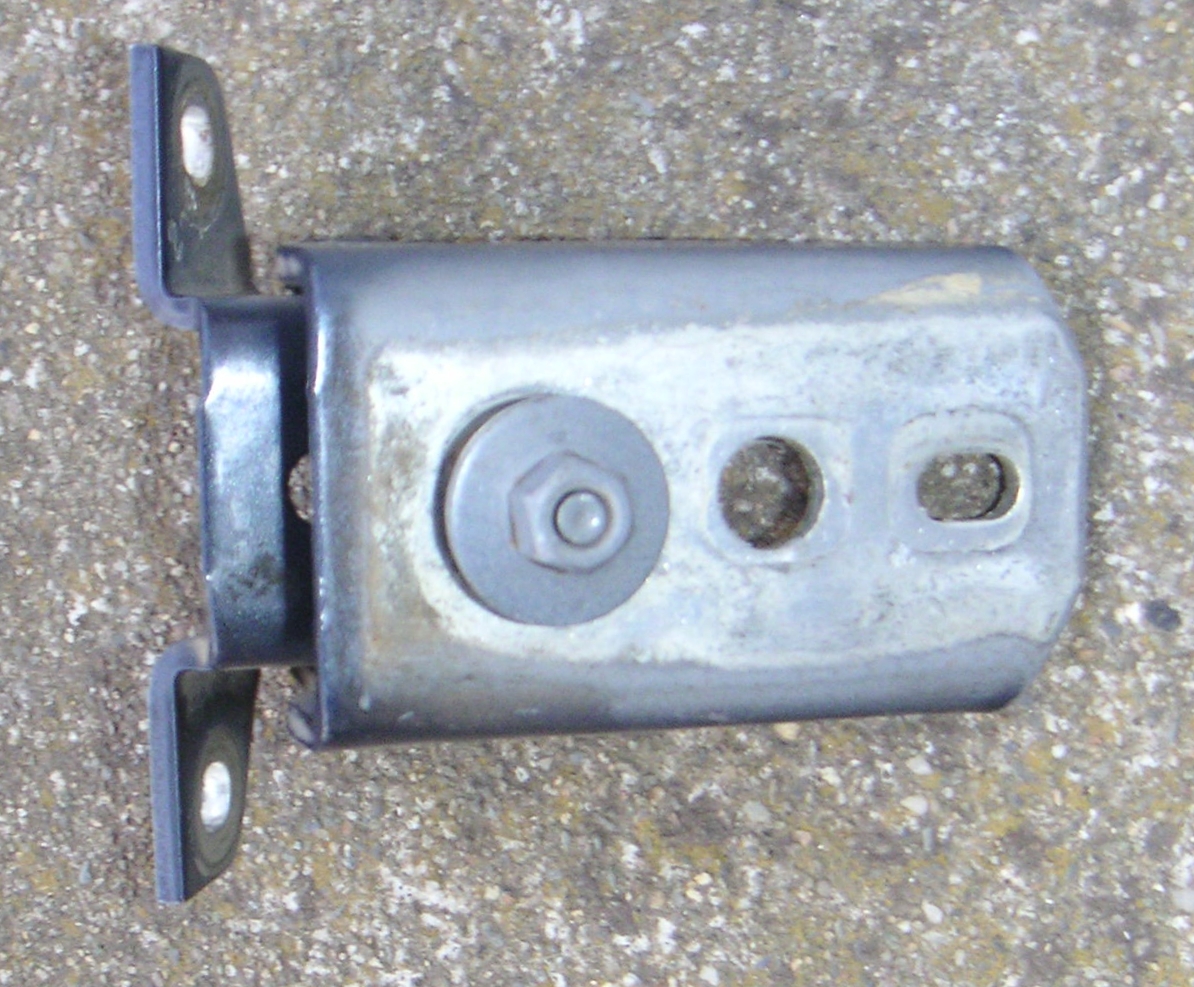
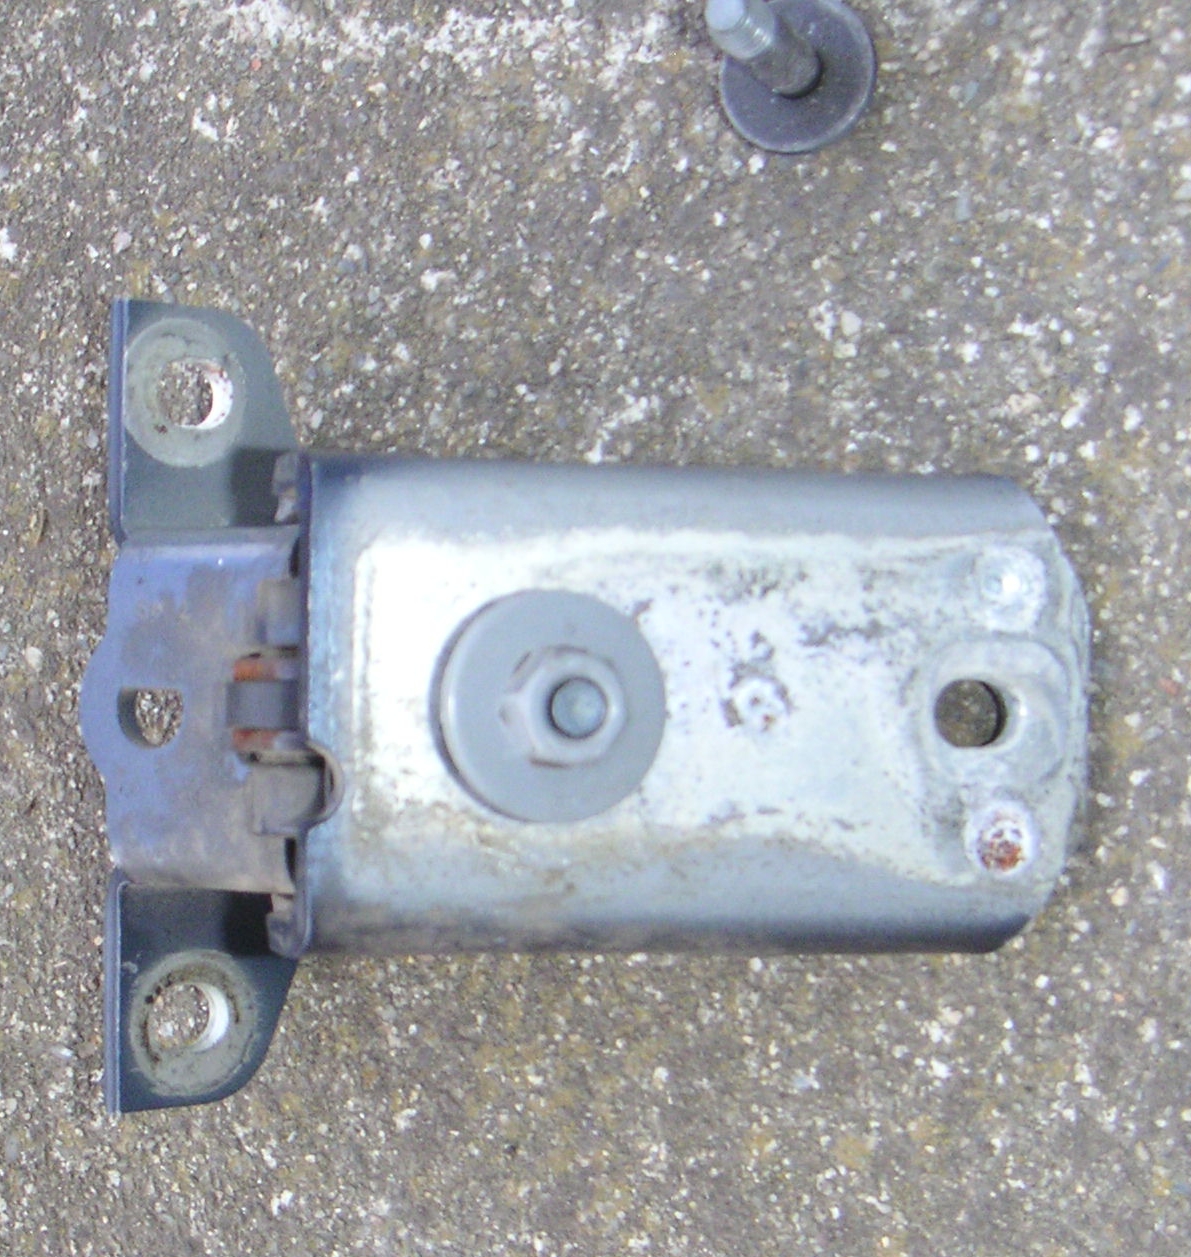
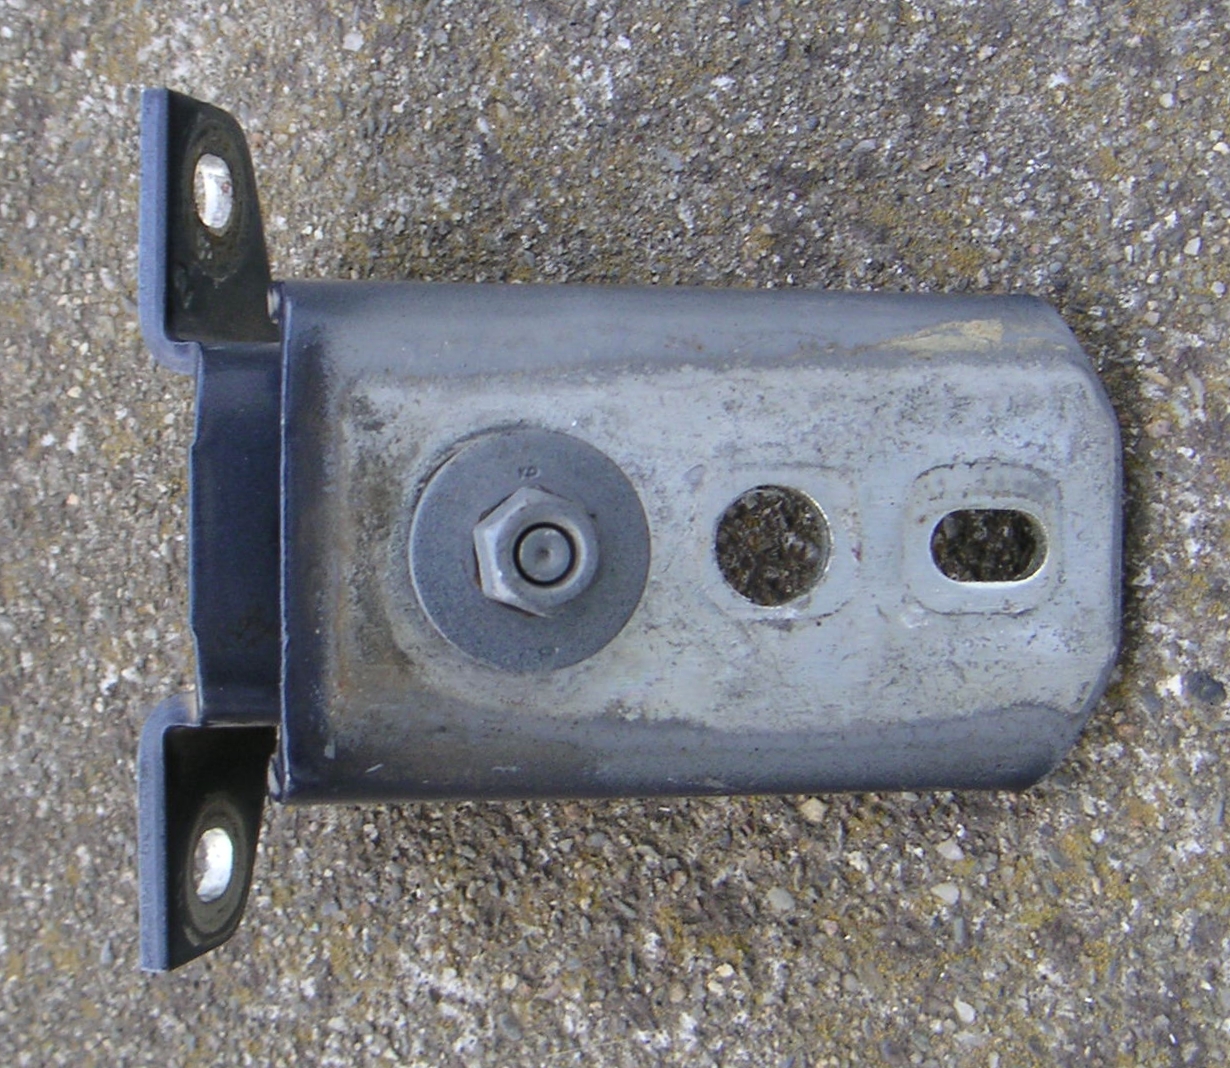
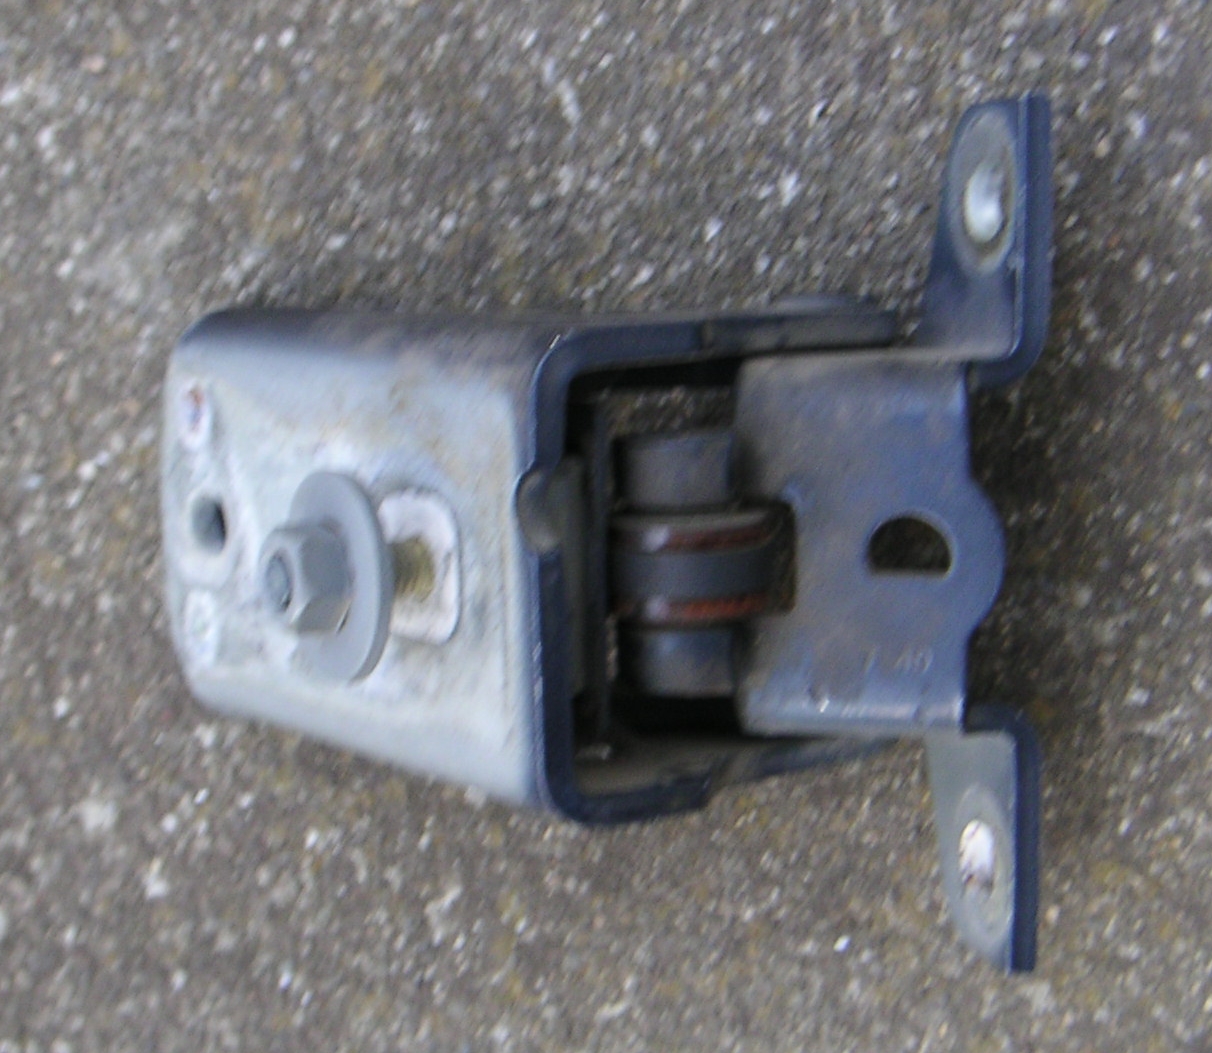
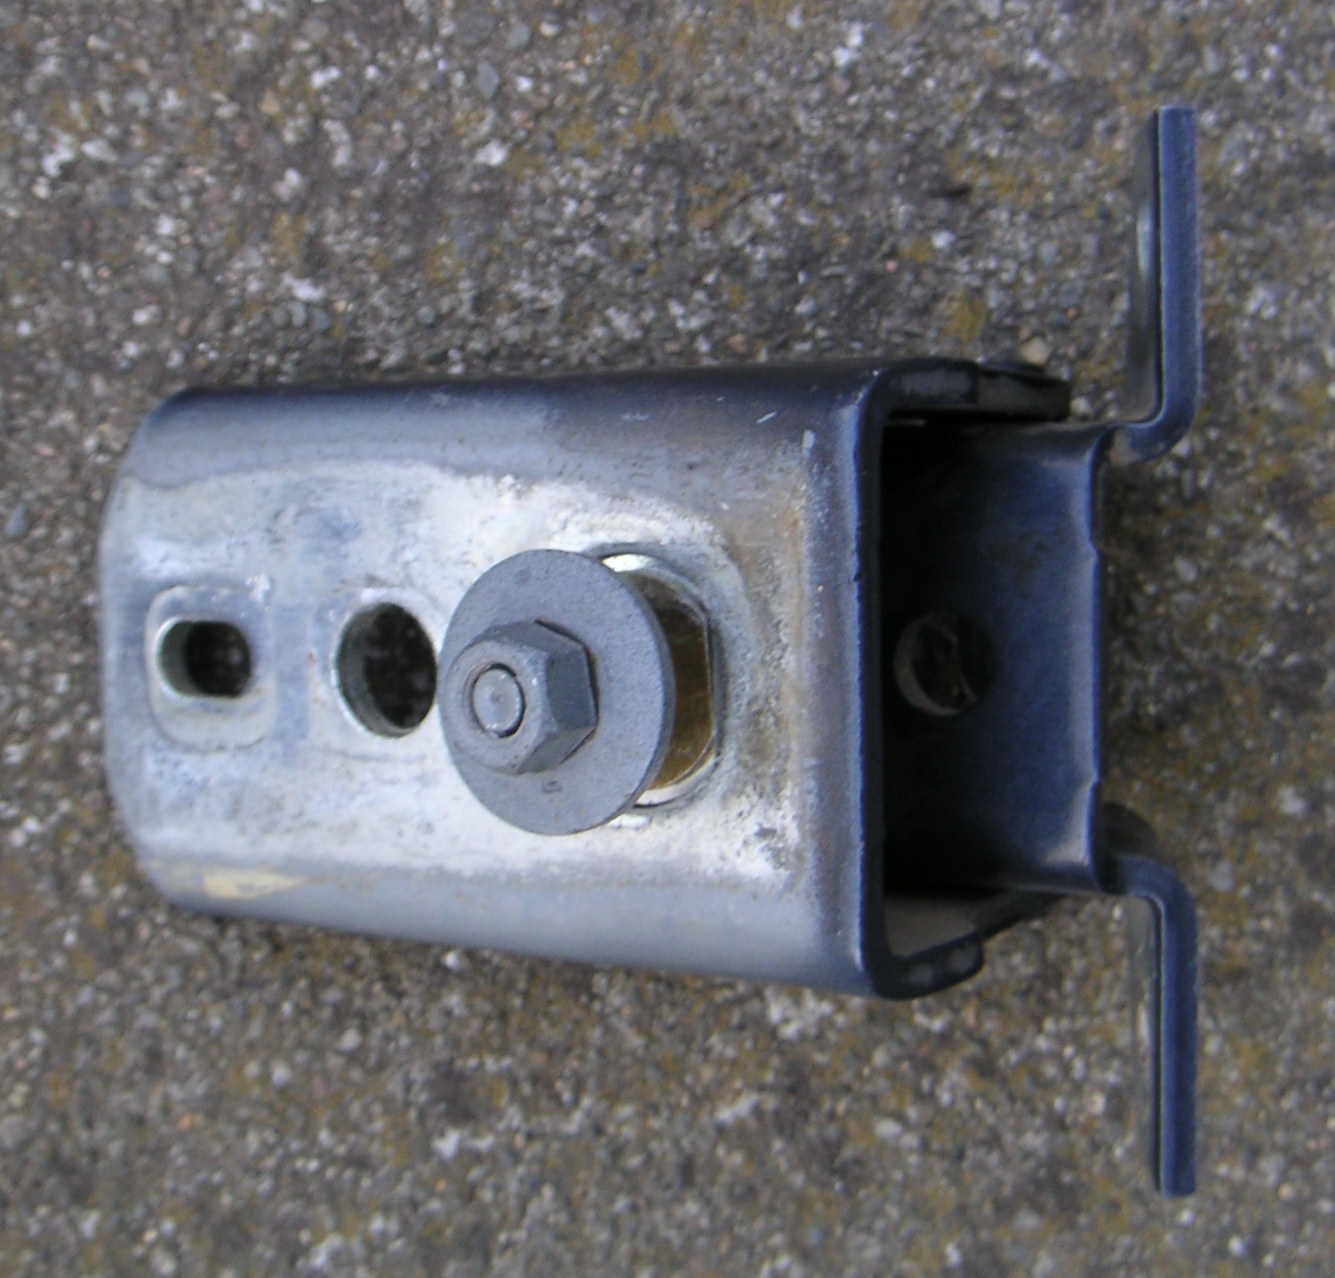
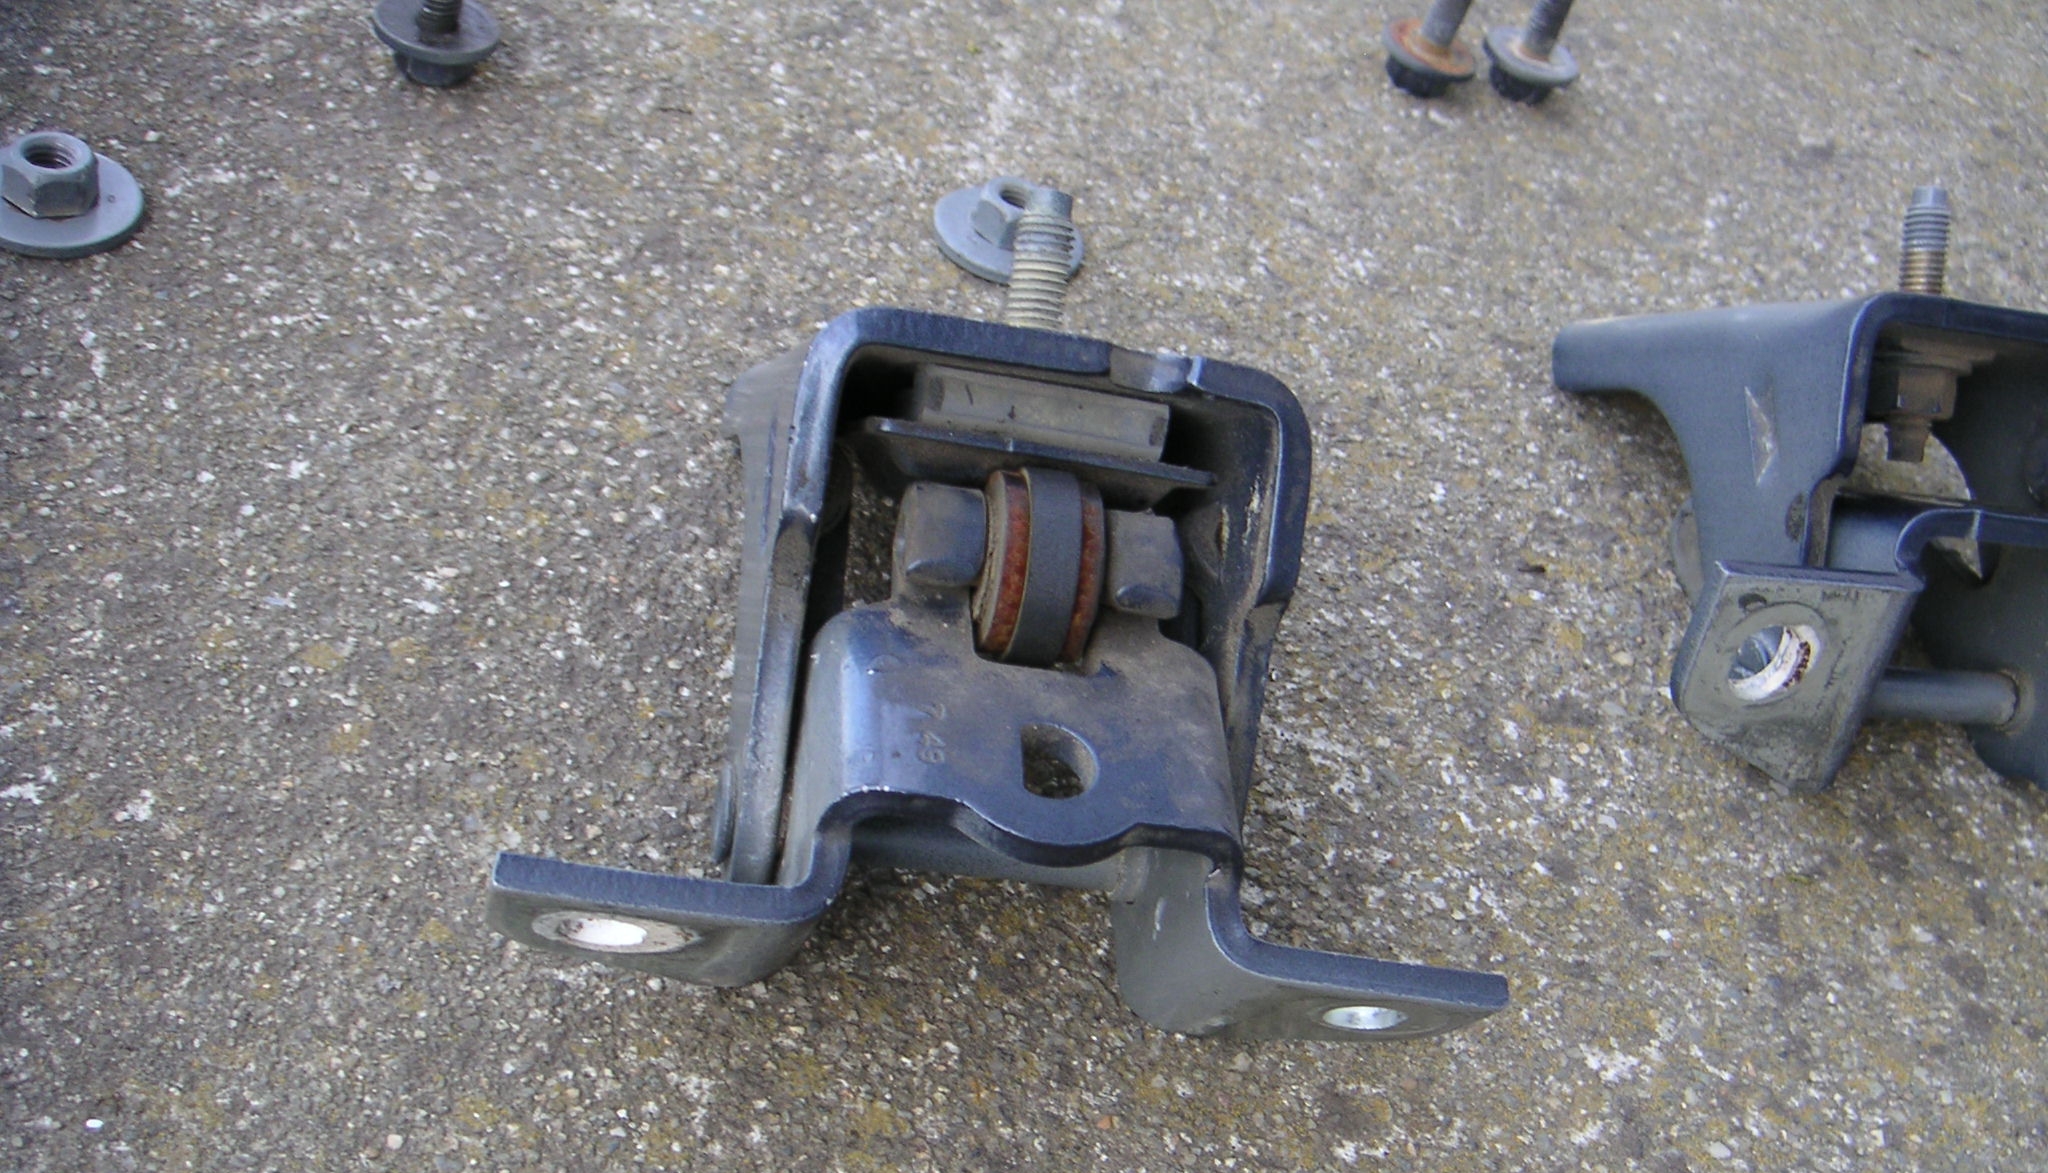
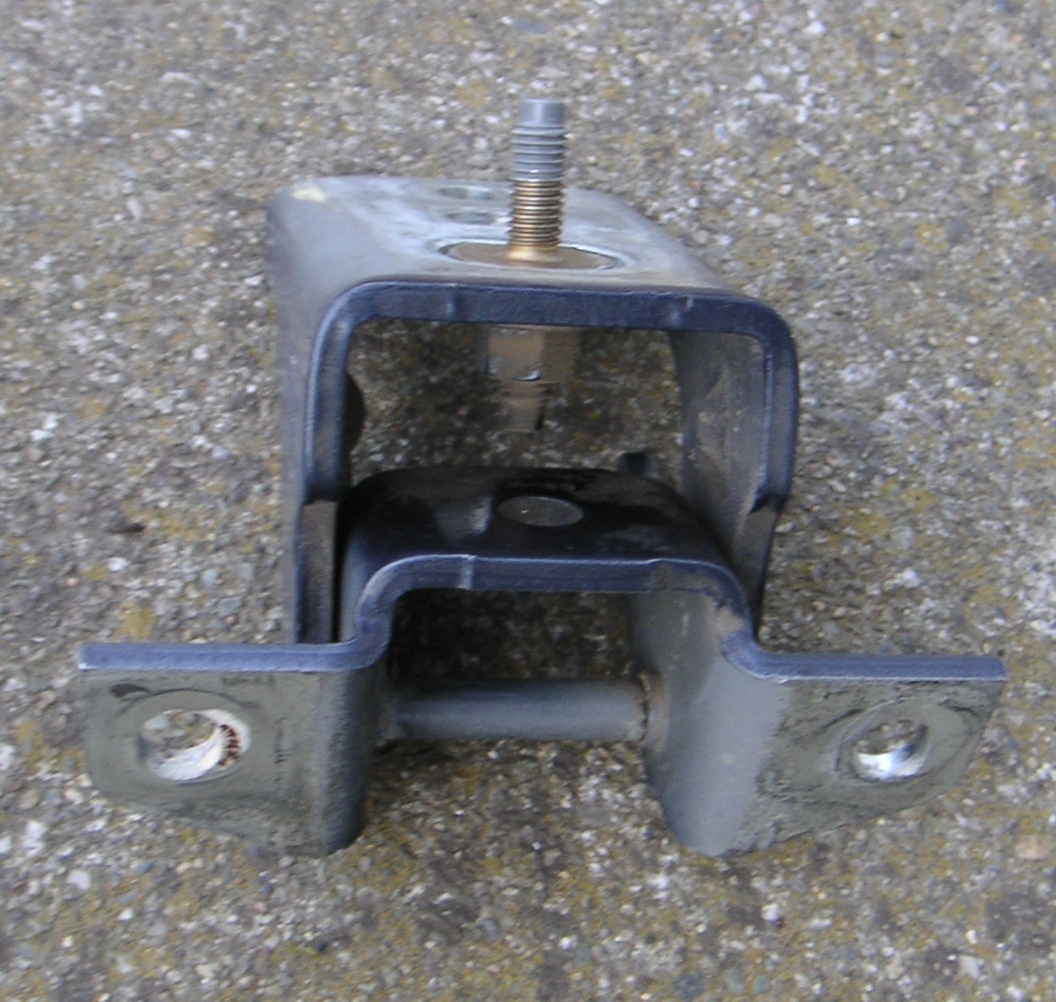
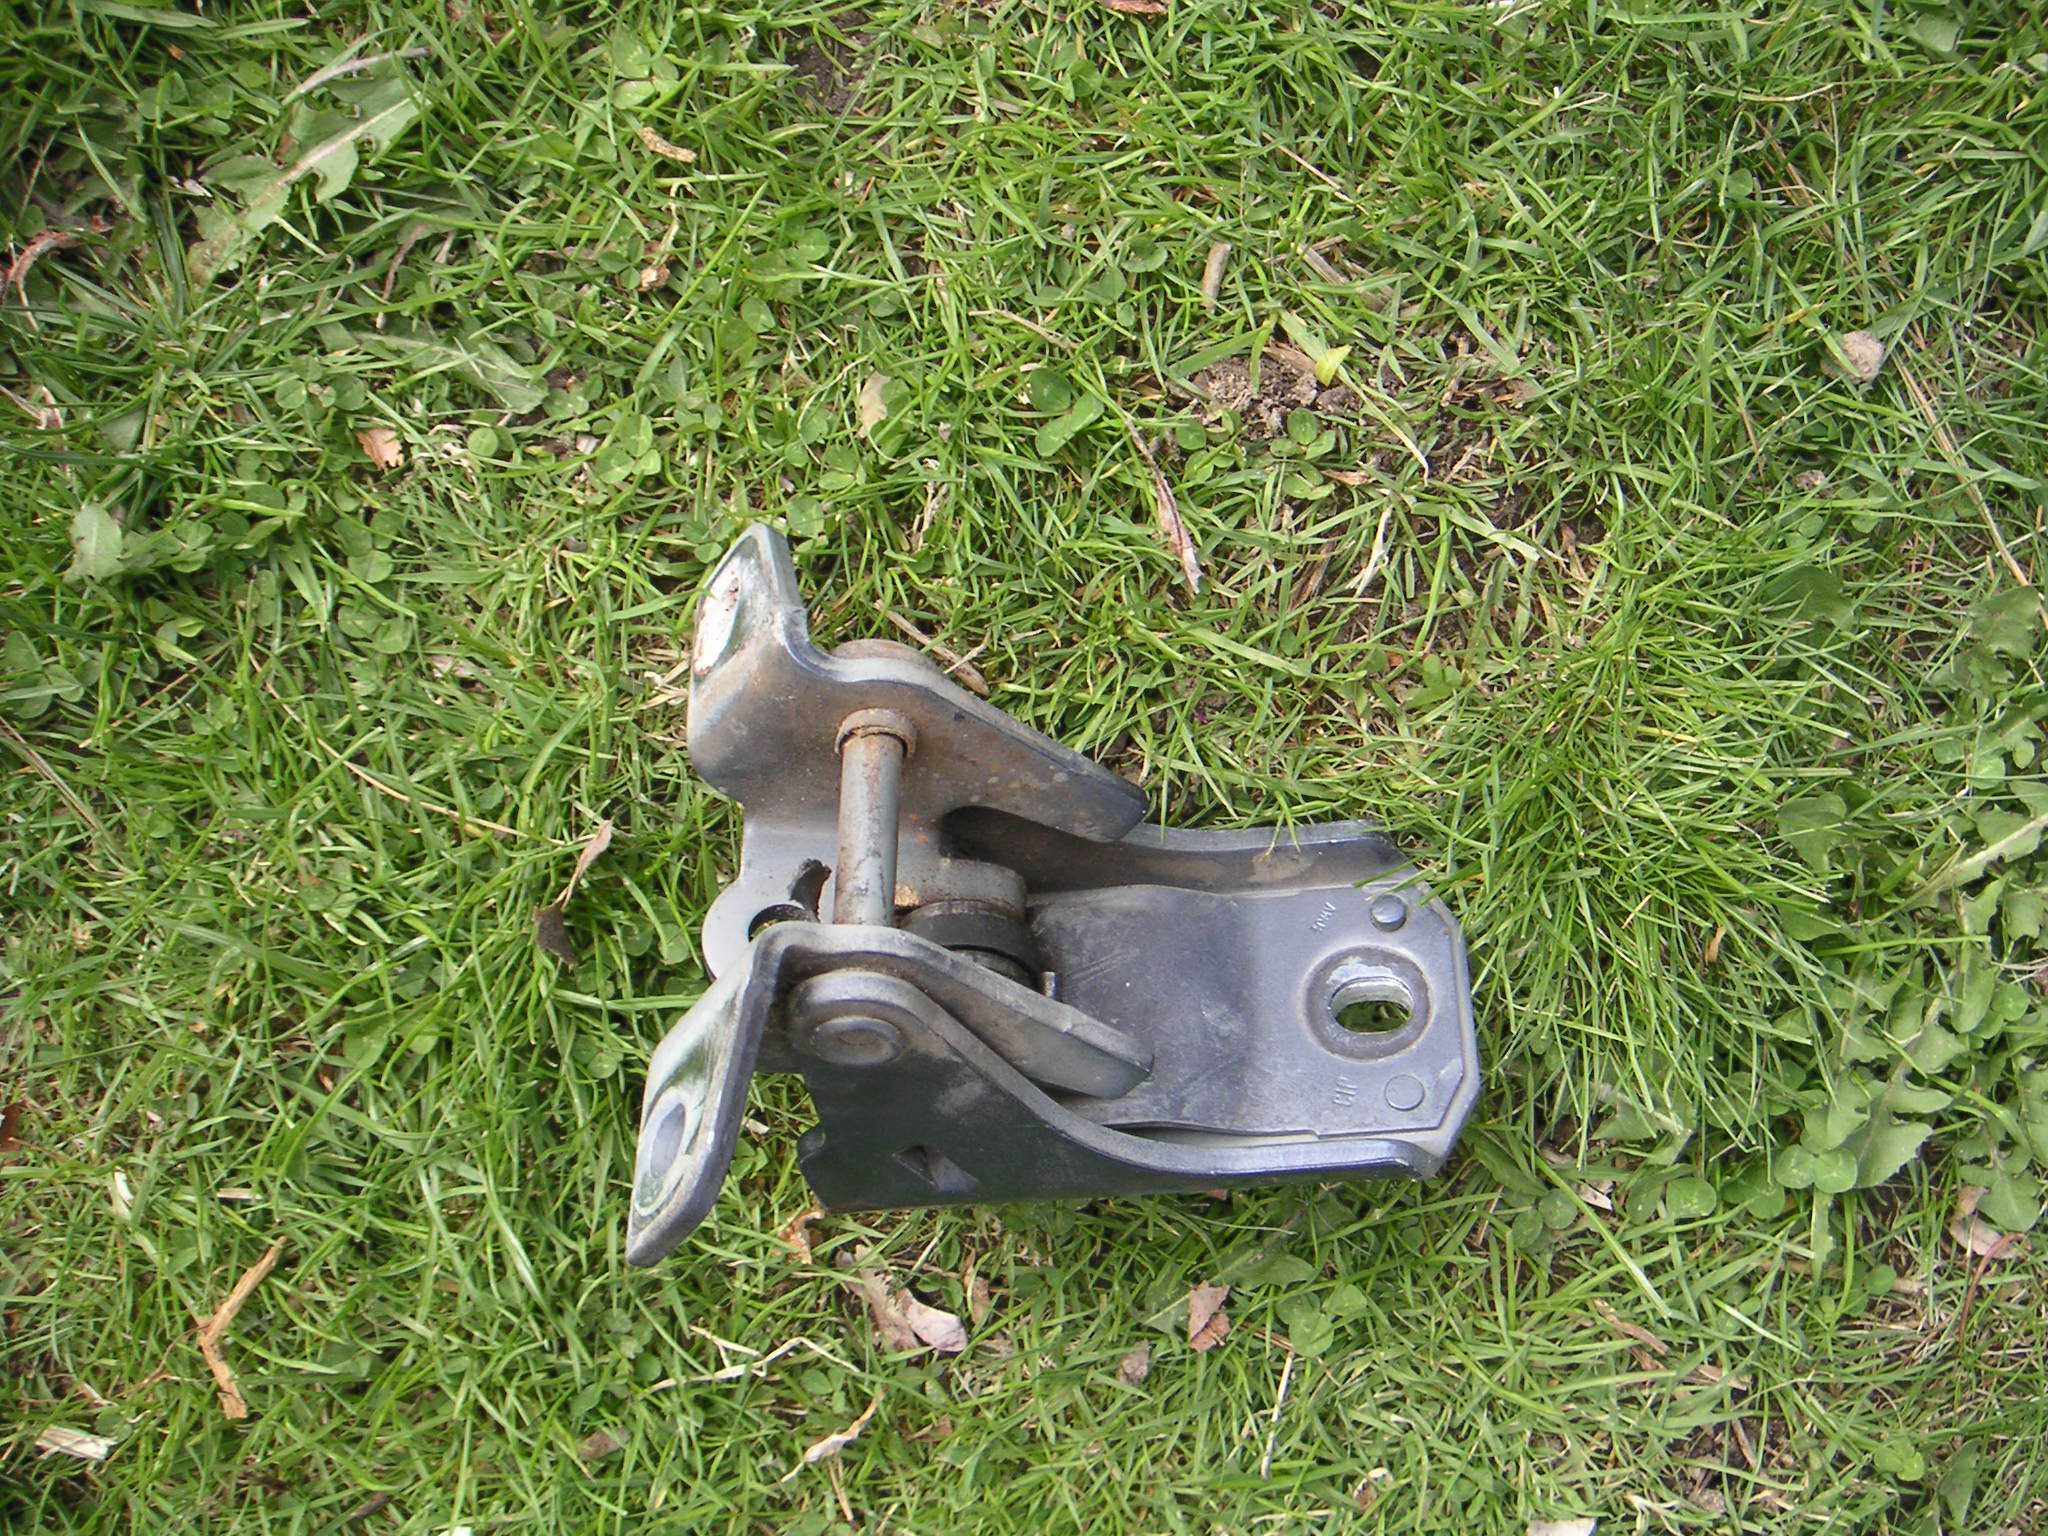
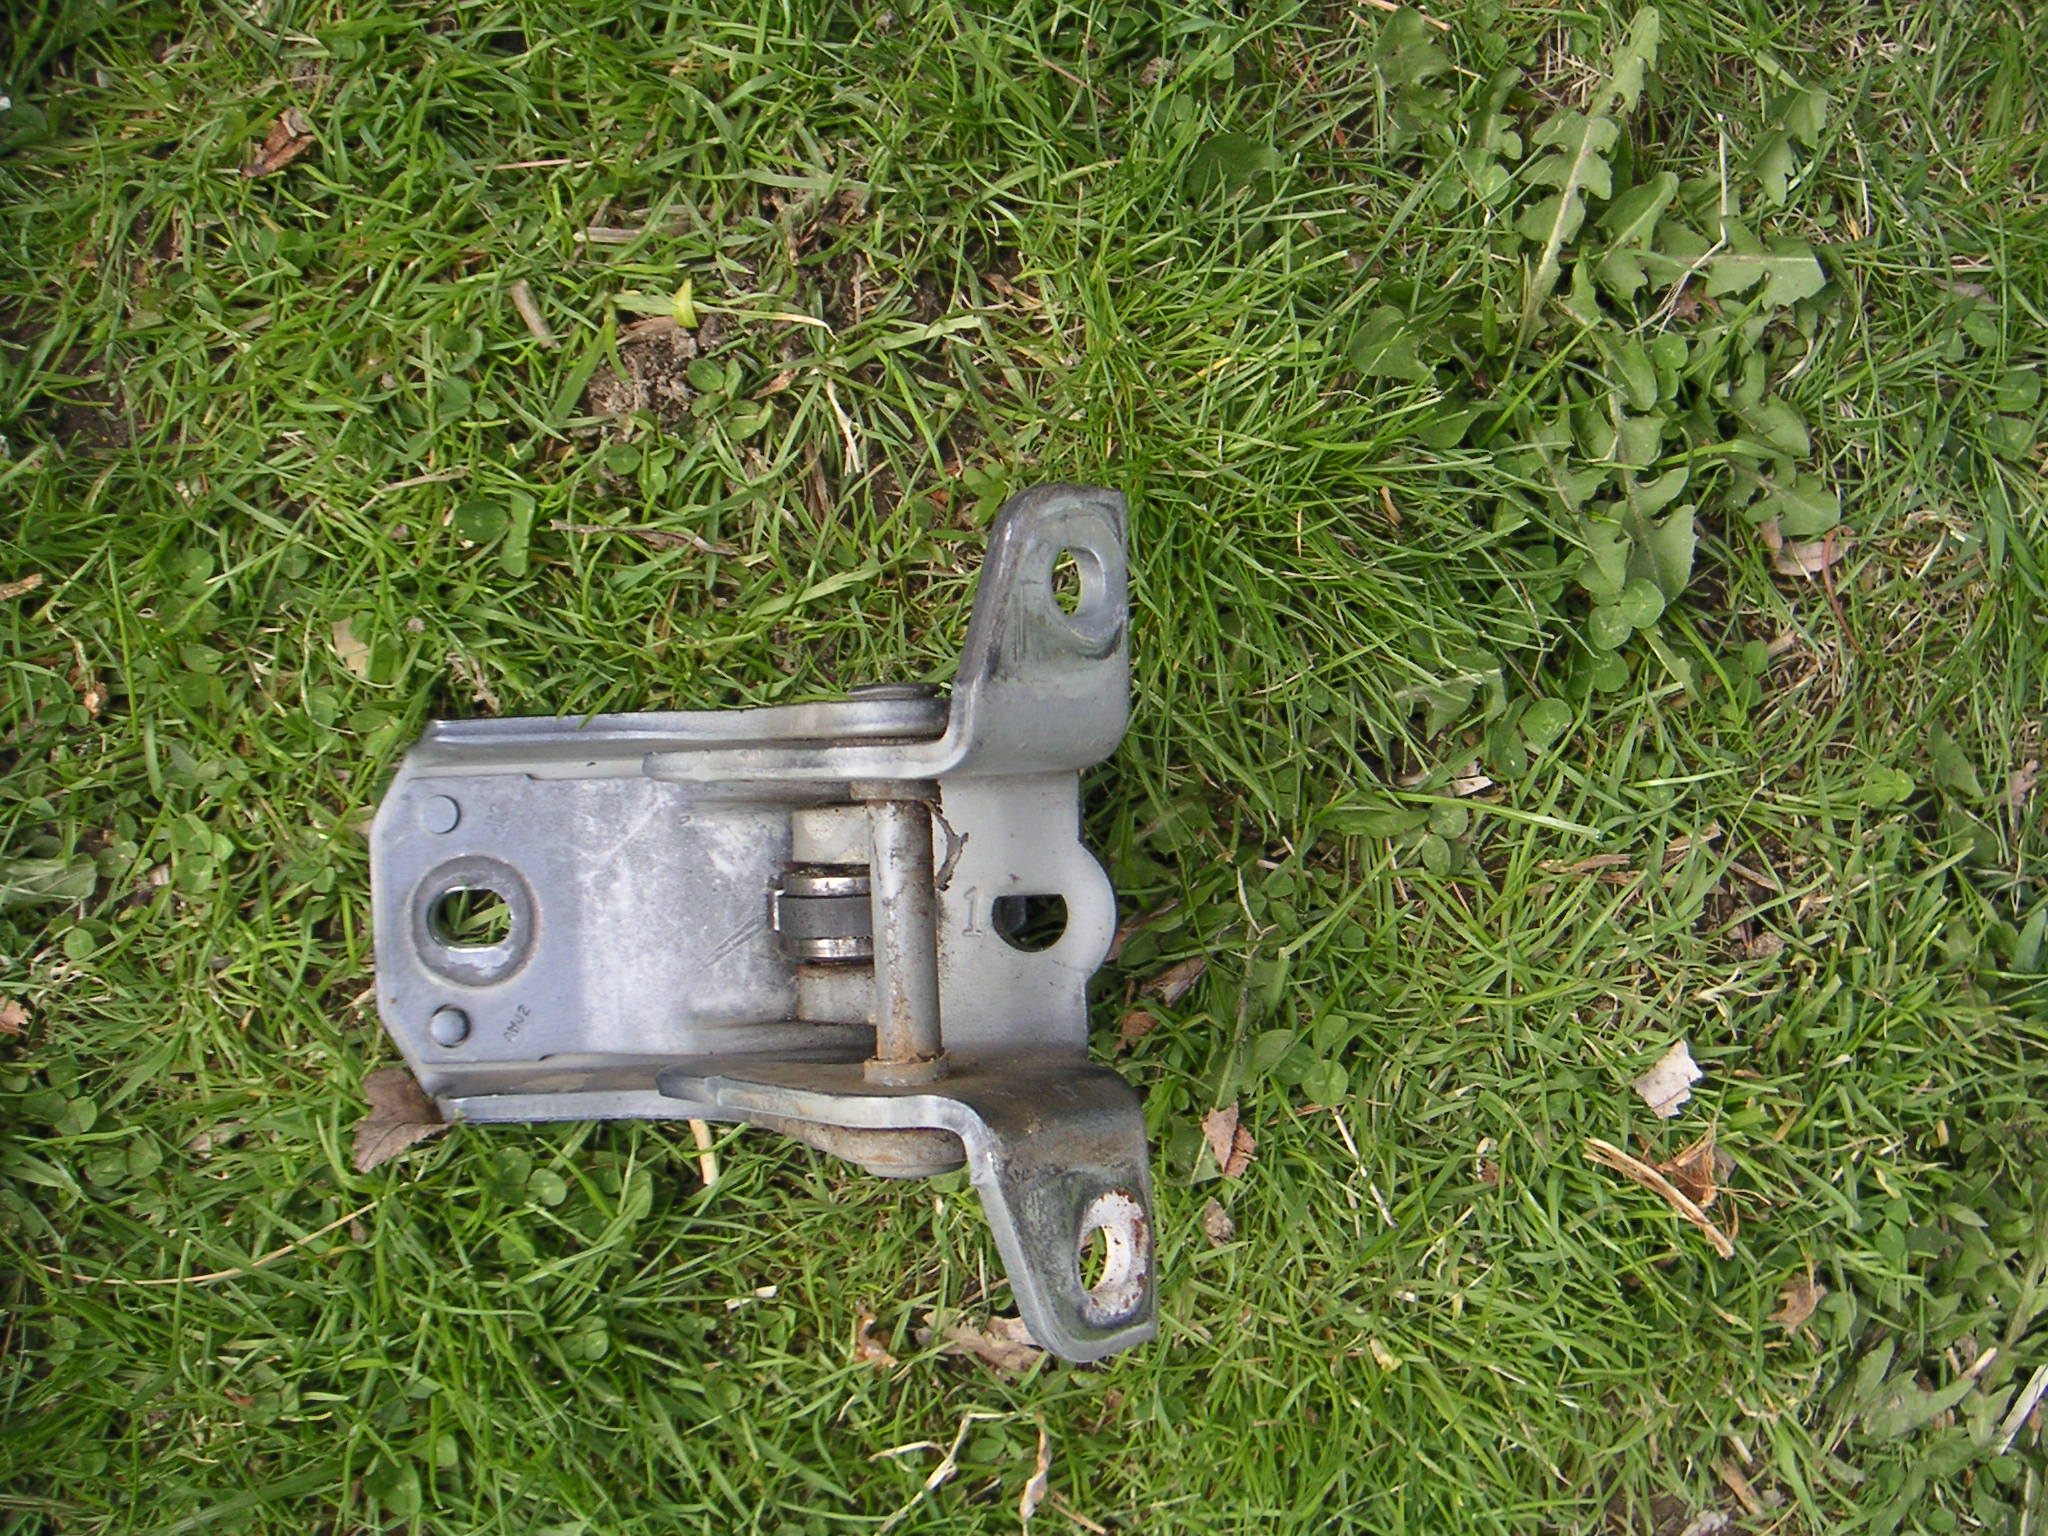
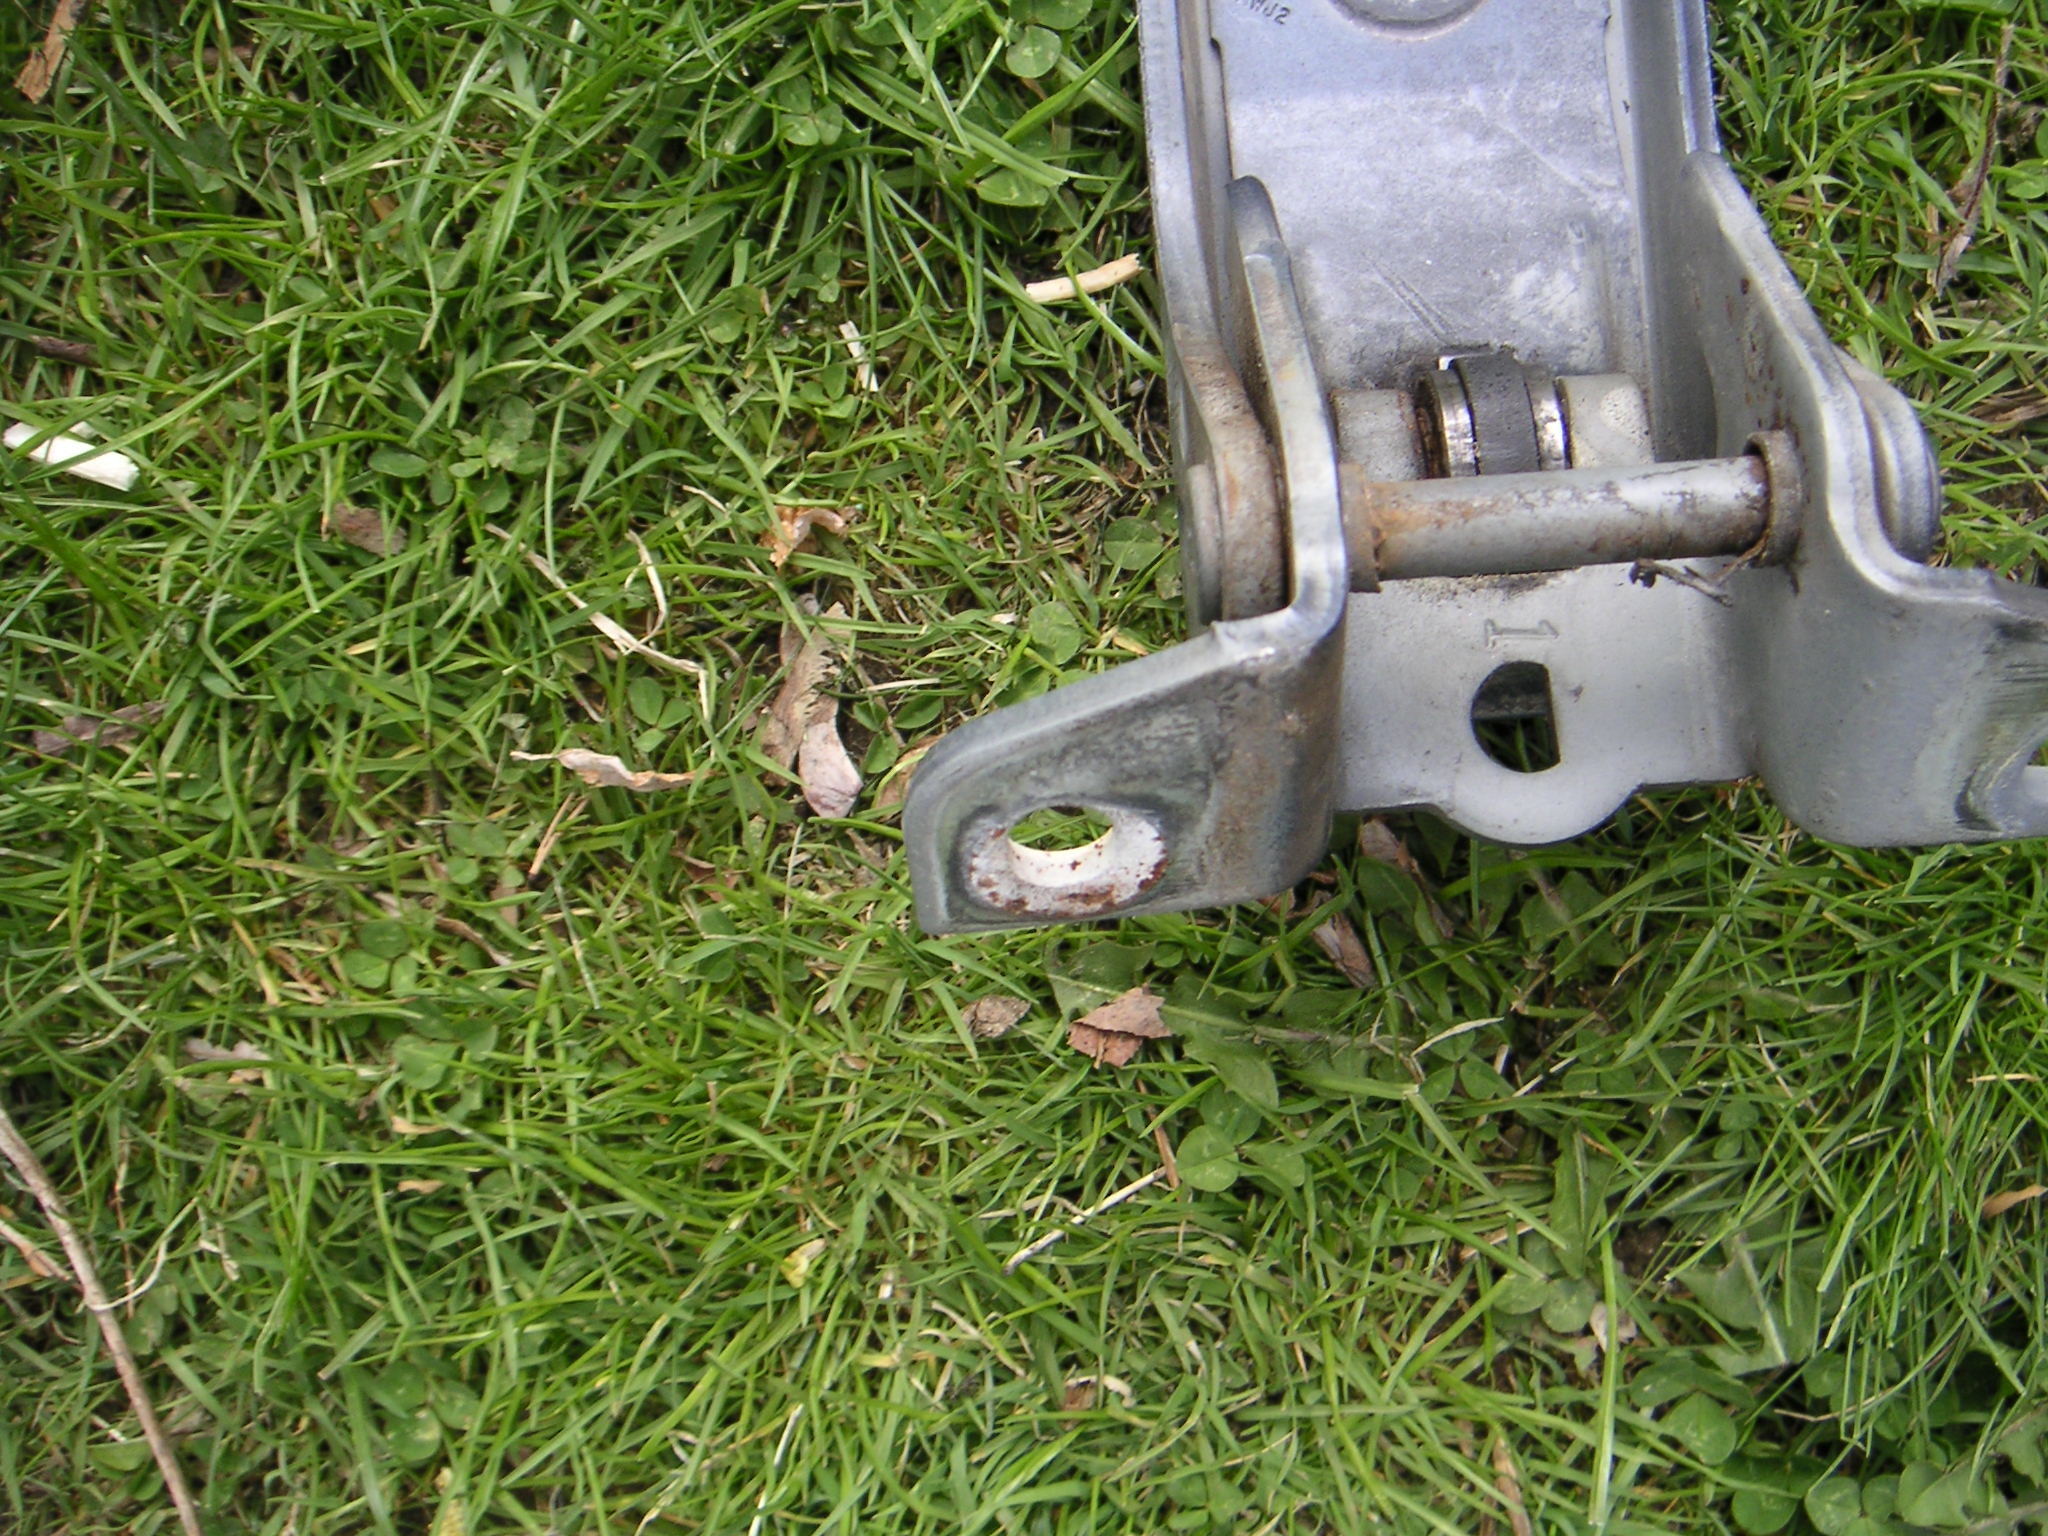
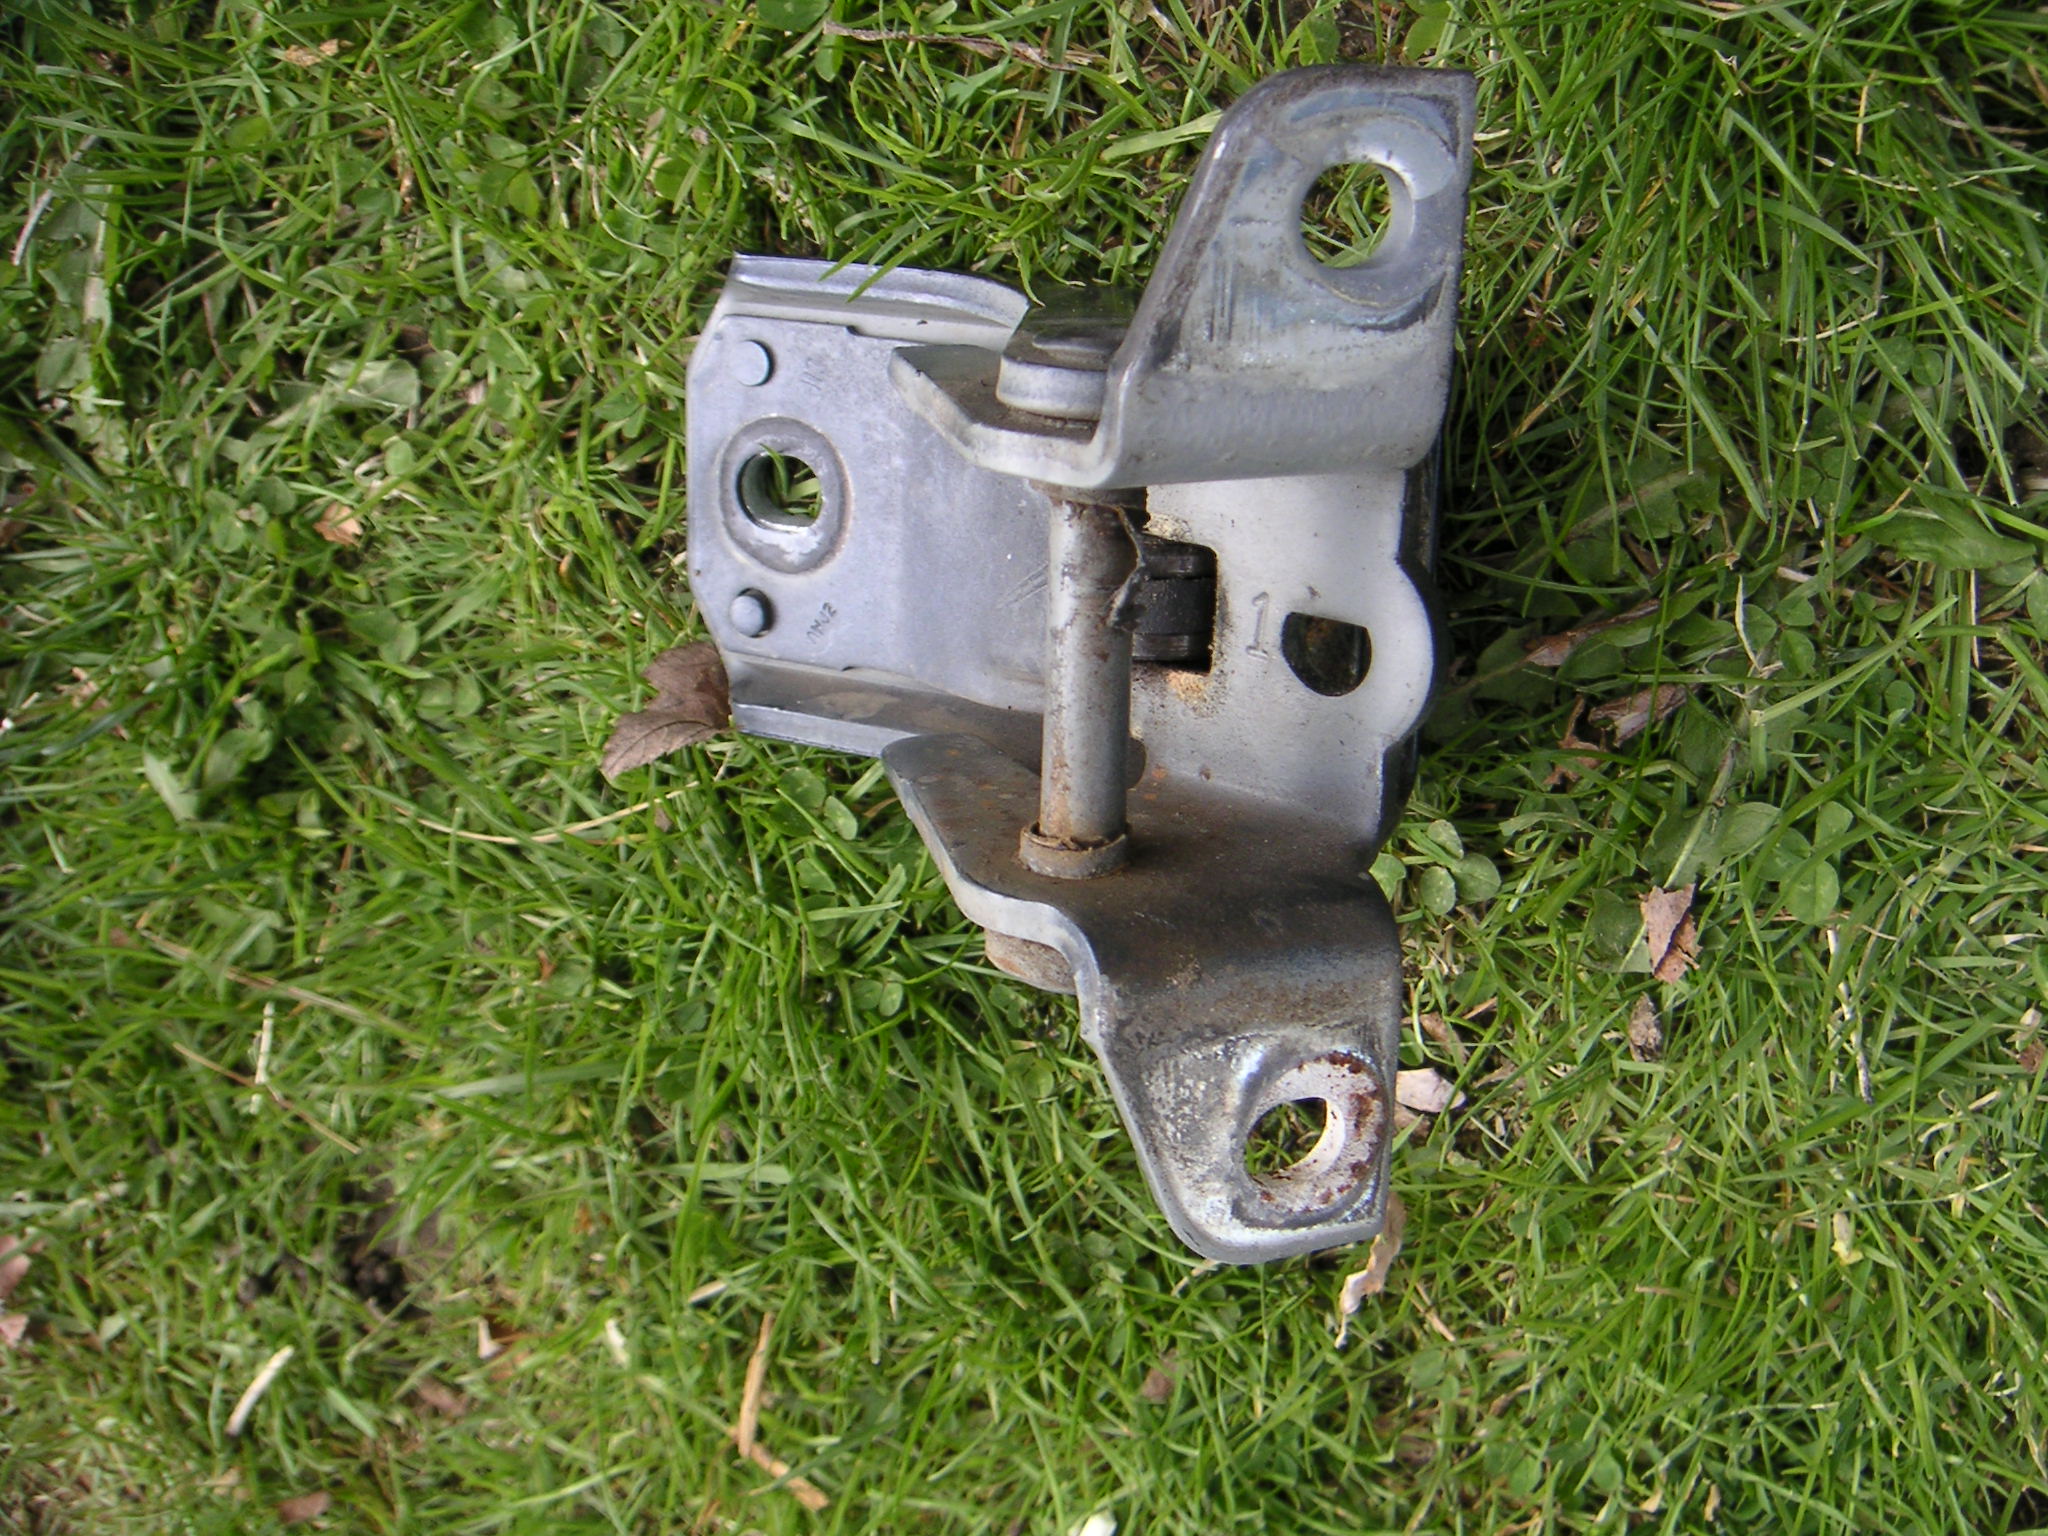
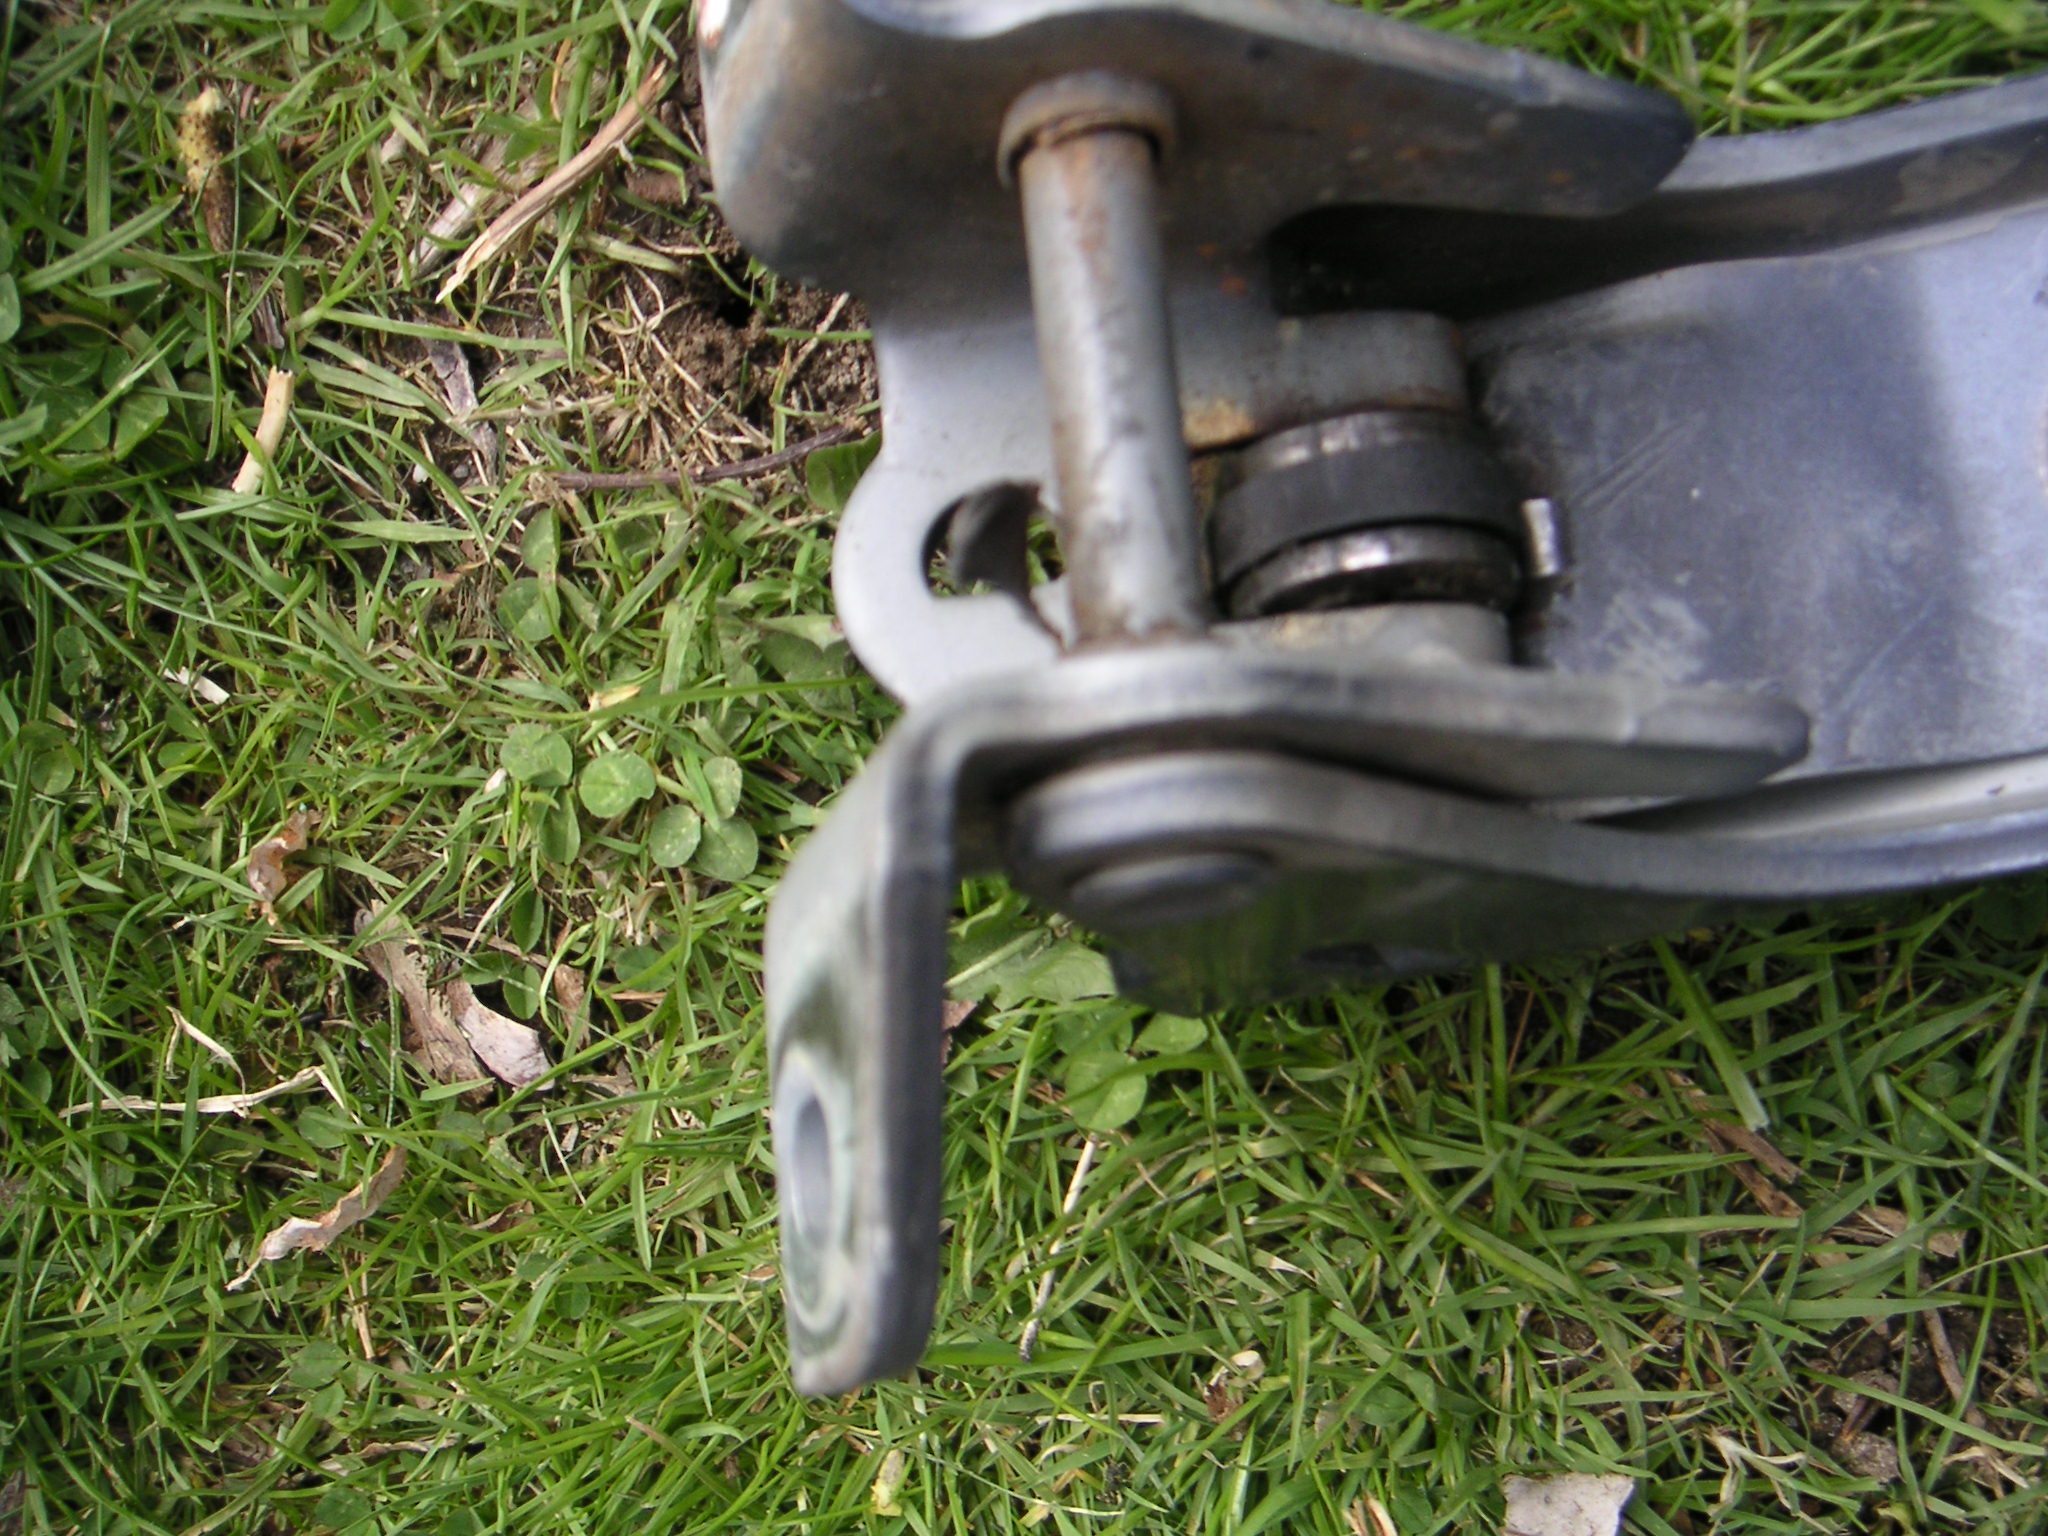
| 6W1Z-5422810-A |
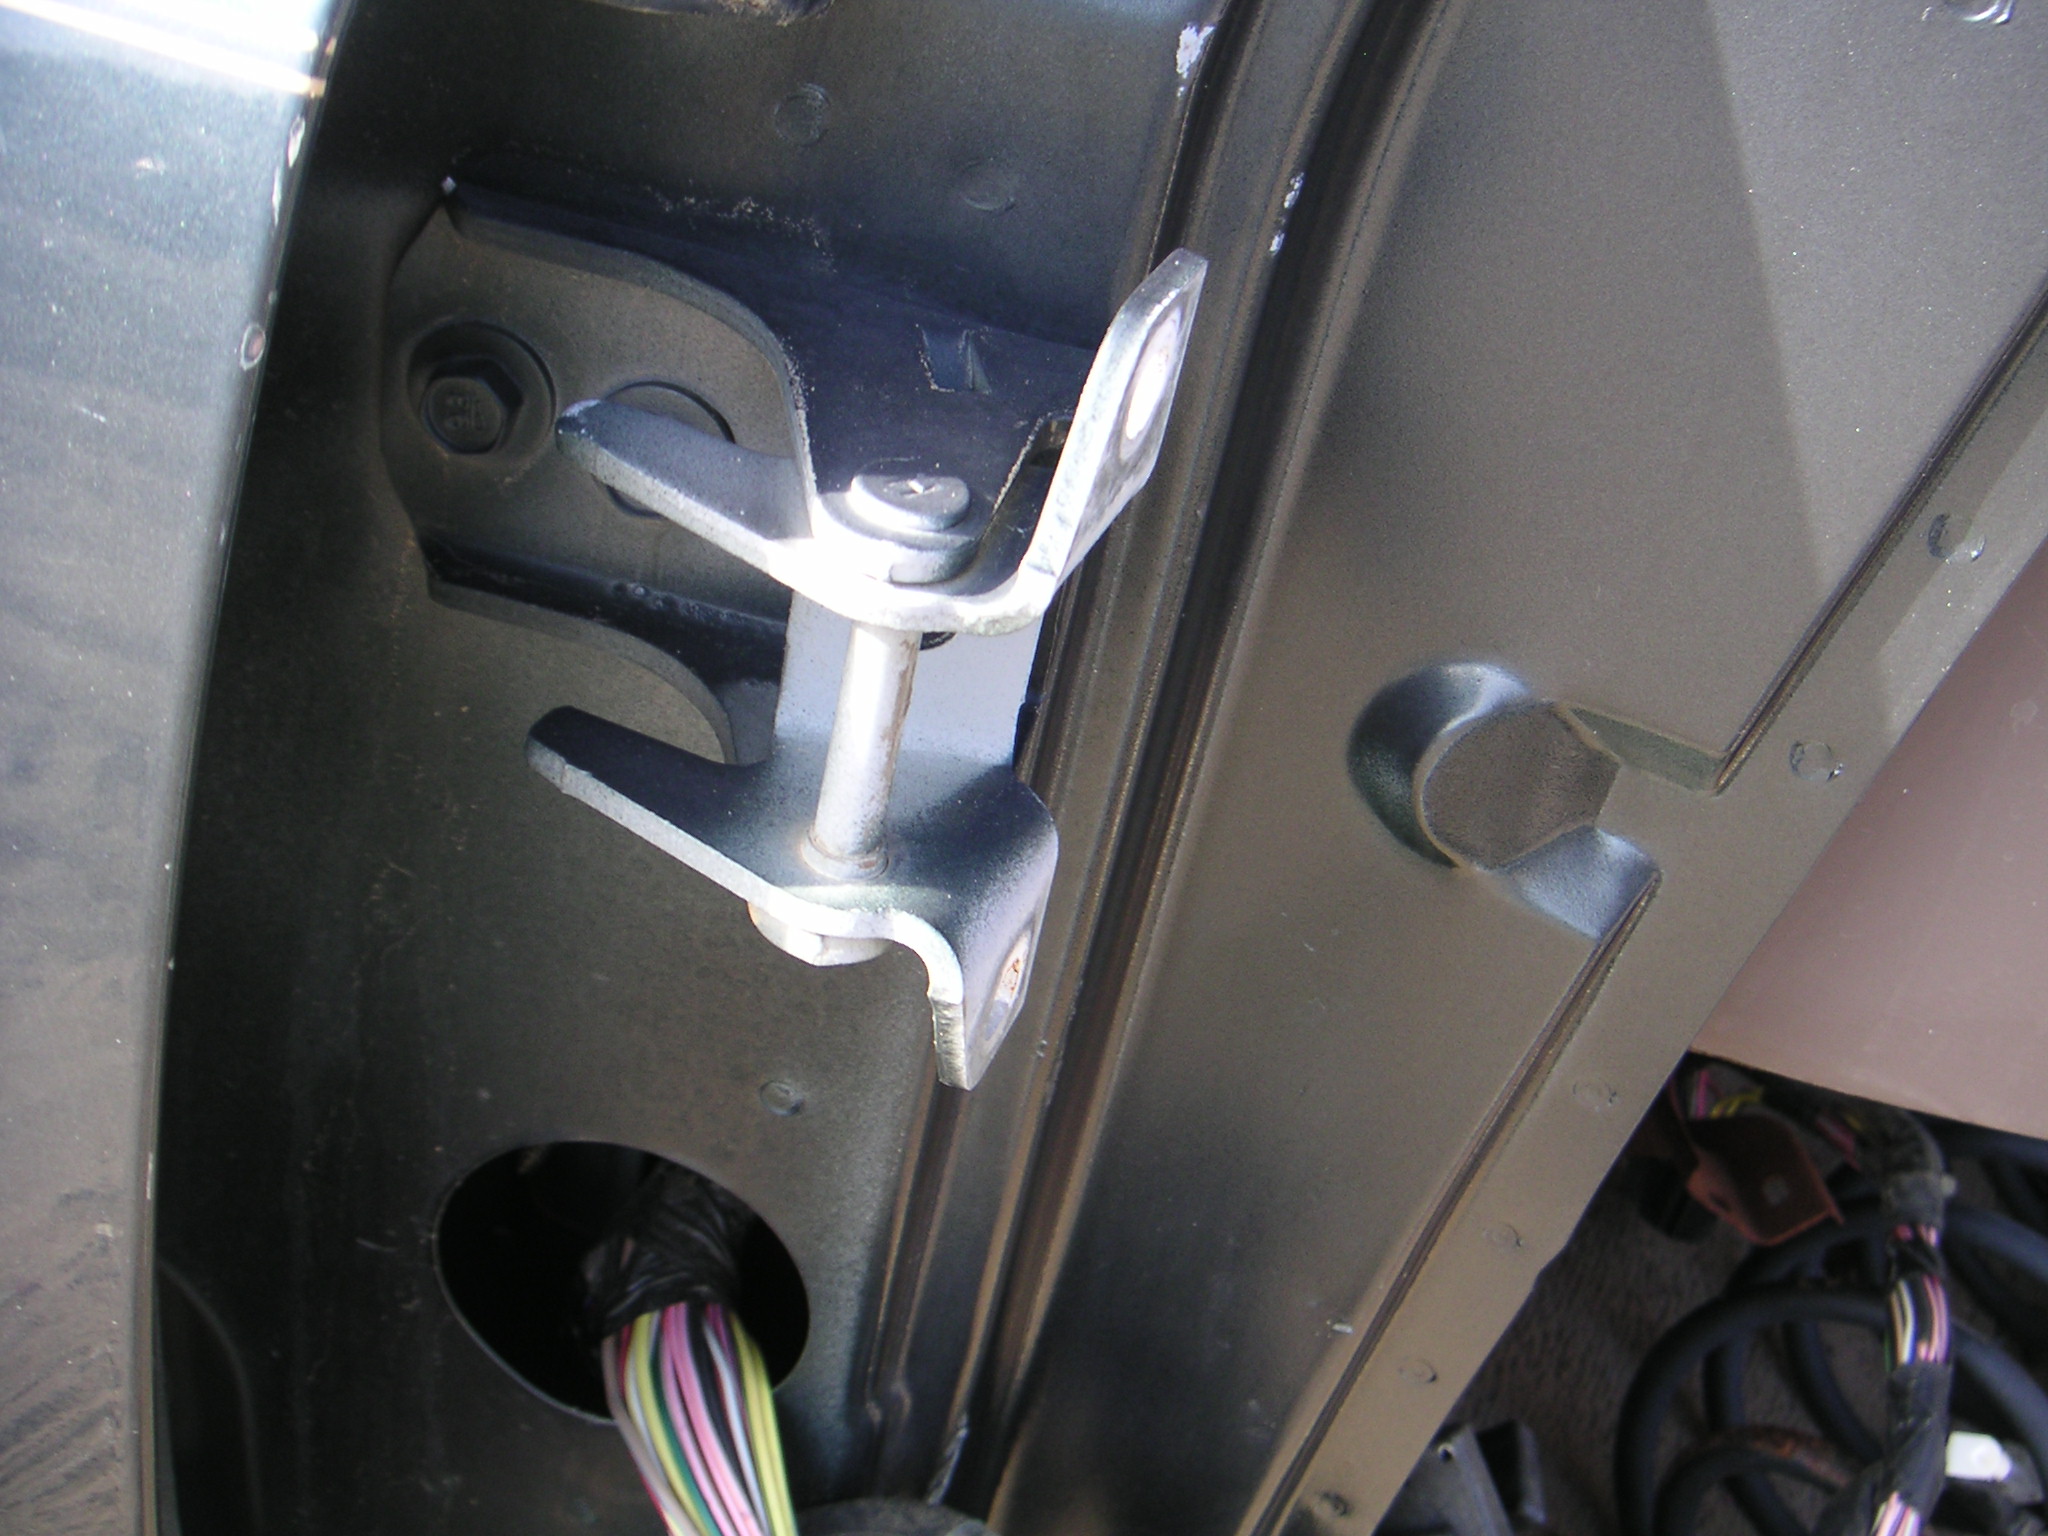
Front Door Lower Hinge (Same hinge used on driver's door as on passenger's door) (Unpainted Aluminum) |
F2AZ-5422810-A F8AZ-5422810-AA XW1Z-5422810-AA XW7Z-5422810-AA 1W1Z-5422810-AA 1W7Z-5422810-AA 6W7Z-5422810-A |